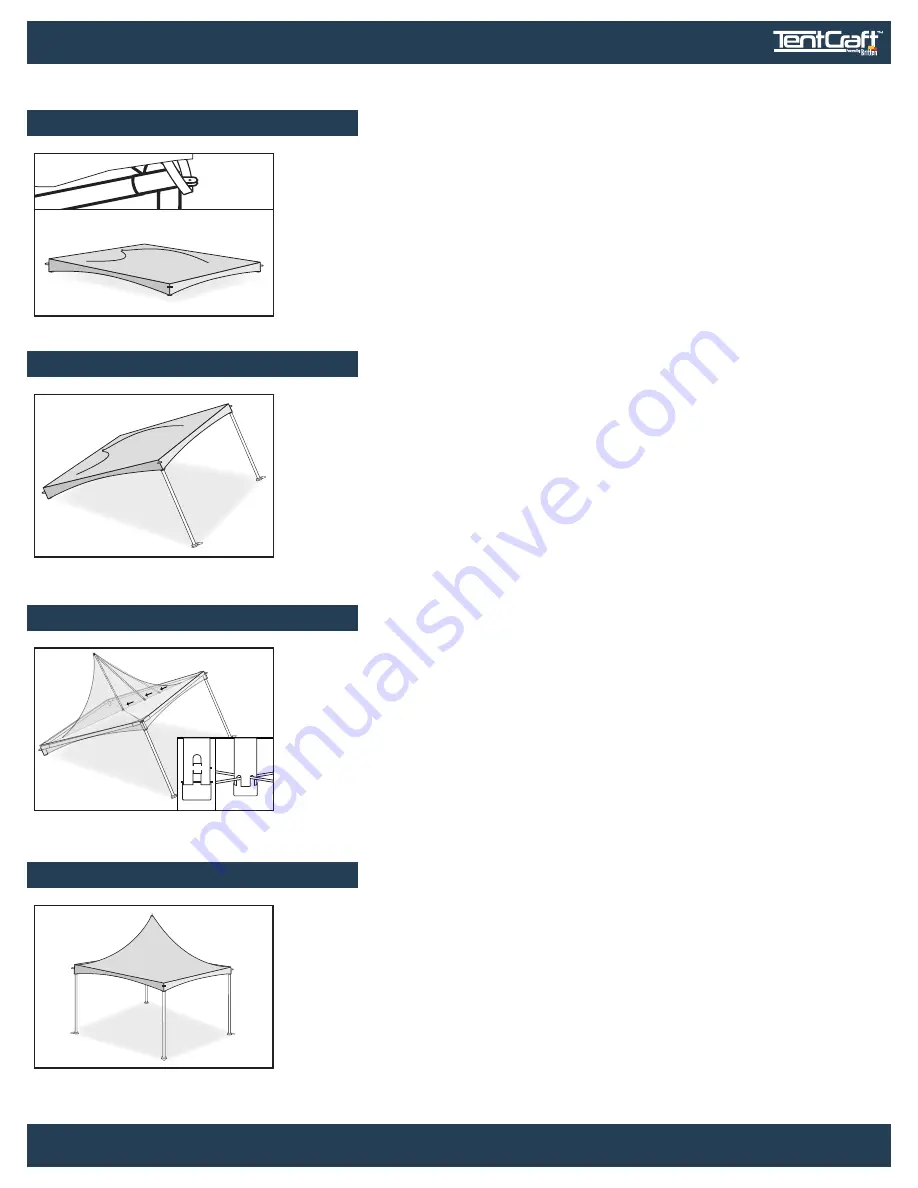
Step 5
S-SERIES | 20x20
5
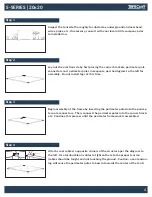
Unroll vinyl top across frame making sure the extra peak material is on top of
the setup. Stretch the corner webbing loops sewn into the tent top over the
cast eyelet on the outside of the corner bracket. Note that the last corner
may be difficult to stretch over the eyelet, especially in cold conditions.
Step 8
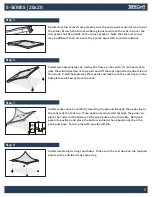
Install remaining two legs and bases. Make sure the cast hook on the footpad
points to the outside of the corner leg.
Step 6
Install two adjacent legs by raising the frame on one side. (It is important to
note the wind direction at this point and lift the legs opposite the direction of
the wind). Install baseplates at this point and make sure the cast hook on the
baseplates point away from the tent.
Step 7
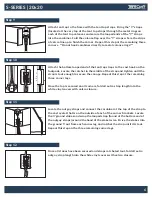
Install center pole by carefully inserting the pin end through the peak ring in
the center of the tent top. Once peak pole is inserted through the peak cap,
place the roller on the bottom of the peak pole on the top cable. Roll peak
pole into position and place the bottom cable in the opposite notch on the
peak pole base. Secure pins with provided D-Pin.
ROLL
ROLL
ROLL
ROLLER
ROLLER


