install - concepts - PixMaster - switcher - CG - clips - controls - team - appendix
FLINT
V1.1
4.
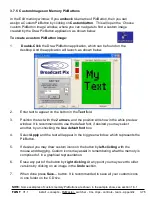
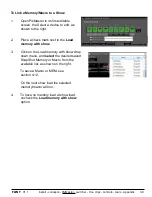
Click on
Assign to button
, the memory is now displayed on the PixButton in the
window, and a red bar will appear above the button to represent that a memory is
assigned.
5.
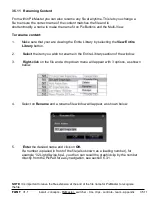
To have the memory name/icon visible on the PixButton on the Panel/SoftPanel,
place a check mark next to
Use memory names on buttons.
Deselecting this option will continue to show the source name/icon when in the
memory mode.
6.
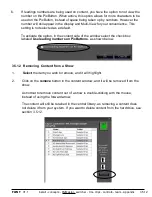
To view source names/icons on unassigned memory buttons, place a check mark
next to
Show source names on unassigned buttons.
Selecting this option will show a mix of memory icons and sources icons when in
the memory mode.
7.
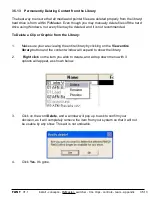
To apply these changes to the Memory row, click on
OK.
This will close the Memory row organizer window.
To unassign a MEM to the Memory row:
1.
Repeat steps 1 through 3 above.
2.
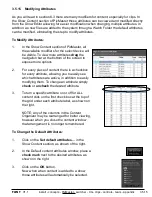
In the Assign memory button window, click on
Unassign memory.
3.
Click on
OK
in the Memory row organizer to apply the changes.
3.7.6

