install - concepts - PixMaster - switcher - CG - clips - controls - team - appendix
FLINT
V1.1
4.
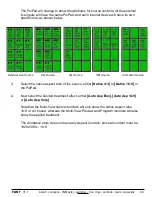
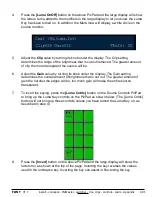
Press the
[Luma OnOff]
button on the above PixPad and the large display will show
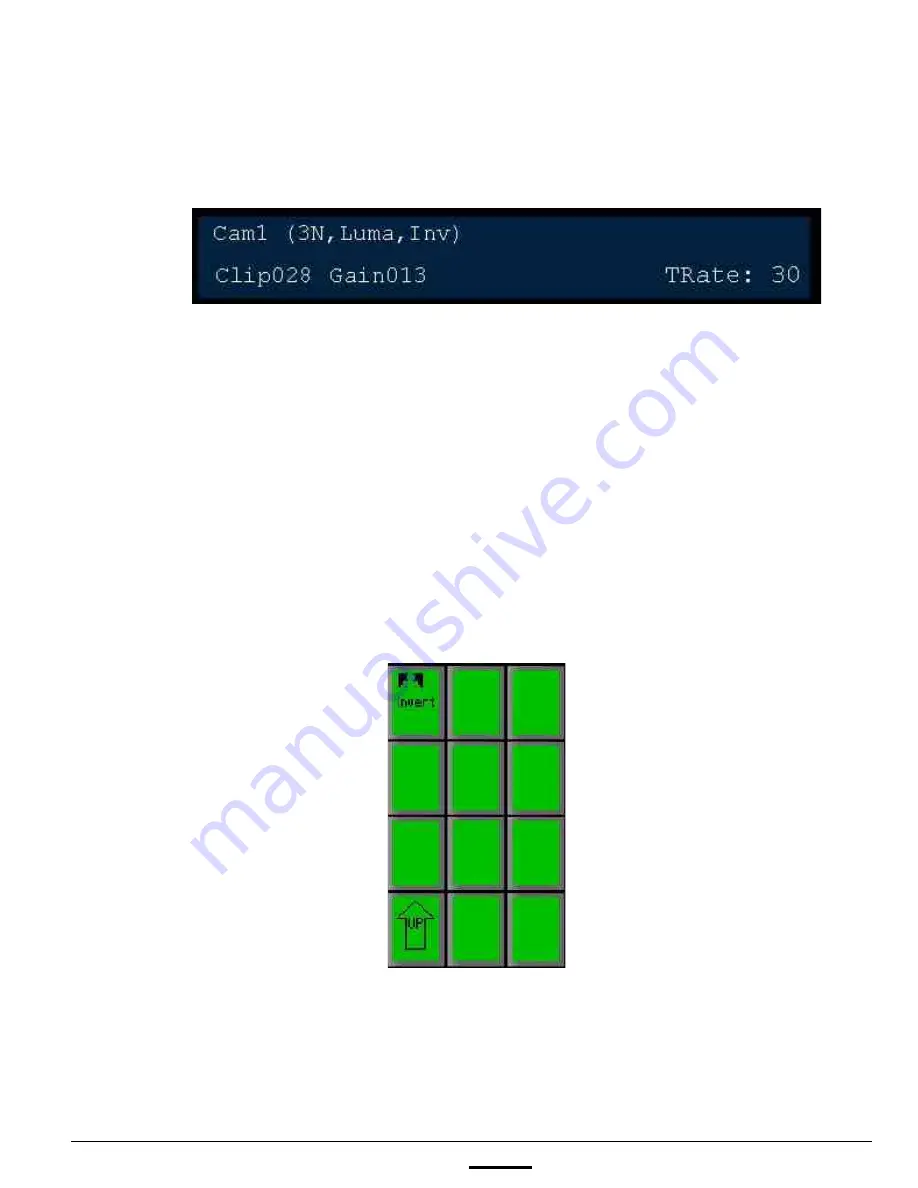
the letters Luma added to the modifiers in the large display to let you know the Luma
Key has been turned on. In addition, the Multi-View will display a white circle on the
source monitor.
5.
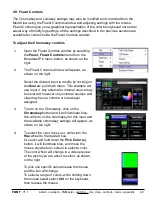
Adjust the
Clip
value by turning its knob under the display. The Clip setting
determines the range of the brightness that is cut out/removed. The greater amount
of clip the more transparent the source will be.
6.
Adjust the
Gain
value by turning its knob under the display. The Gain setting
determines the overall amount of brightness that is cut out. The greater amount of
gain the harsher the edges will be, too much gain will make the entire source
transparent.
7.
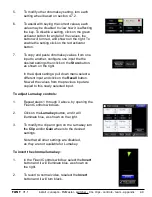
To invert the keying, press the
[Luma Cntrls]
button on the Source Controls PixPad
to bring up the Luma Key controls on the PixPad as shown below. (The [Luma Cntrls]
button will not bring up these controls unless you have turned the Luma Key on, as
described in step 4.)
8.
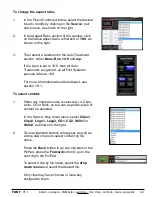
Press the
[Invert]
button on the above PixPad and the large display will show the
letters Inv, as shown at the top of the page. Inverting the key reverses the values
used in the luminance key. Inverting the key can assist in fine-tuning the key.
4.8.1

