install - concepts - PixMaster - switcher - CG - clips - controls - team - appendix
FLINT
V1.1
4.9.1
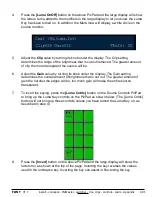
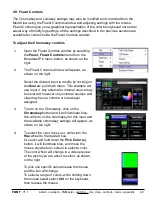
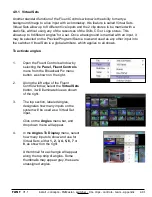
To assign a background image:
1.
Click on the
Images:
menu bar and a drop
down menu will appear, showing an image
for each folder saved on the hard drive.
All images must live in a folder in the
directory C:graphics\Virtual Sets.
Files must be 1920x1080 using
a .png, .tga, .jpg or .bmp file extension.
Other frame sizes and formats may not
scale correctly, it is recommended to use
the Image Editor to save out our Virtual
Set background, see section 4.9.2
5 stock sets are provided with each
system, users may add or remove to this
list using standard Windows conventions
of copy/paste/save.
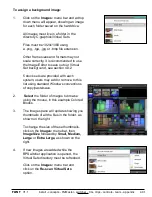
2.
Select
the folder of images to browse
using the mouse, in this example Colored
Blocks.
3.
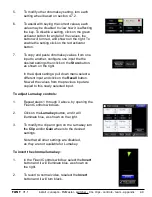
The Images pane will update showing you
thumbnails of all the files in the folder, as
shown on the right.
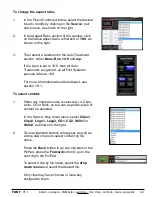
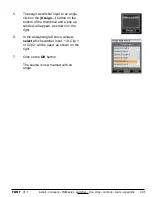
To change the size of these thumbnails,
click on the
Images:
menu bar, then
Image Size
followed by
Small, Medium,
Large
or
Extra Large,
as shown on the
right.
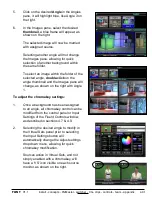
4.
If new images are added while the
BPSwitcher application is opened, the
Virtual Sets directory must be refreshed.
Click on the
Images:
menu bar and
click on the
Re-scan Virtual Sets
option.

