install - concepts - PixMaster - switcher - CG - clips - controls - team - appendix
FLINT
V1.1
6.
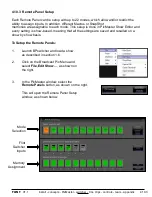
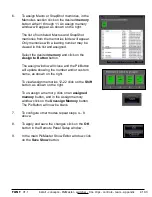
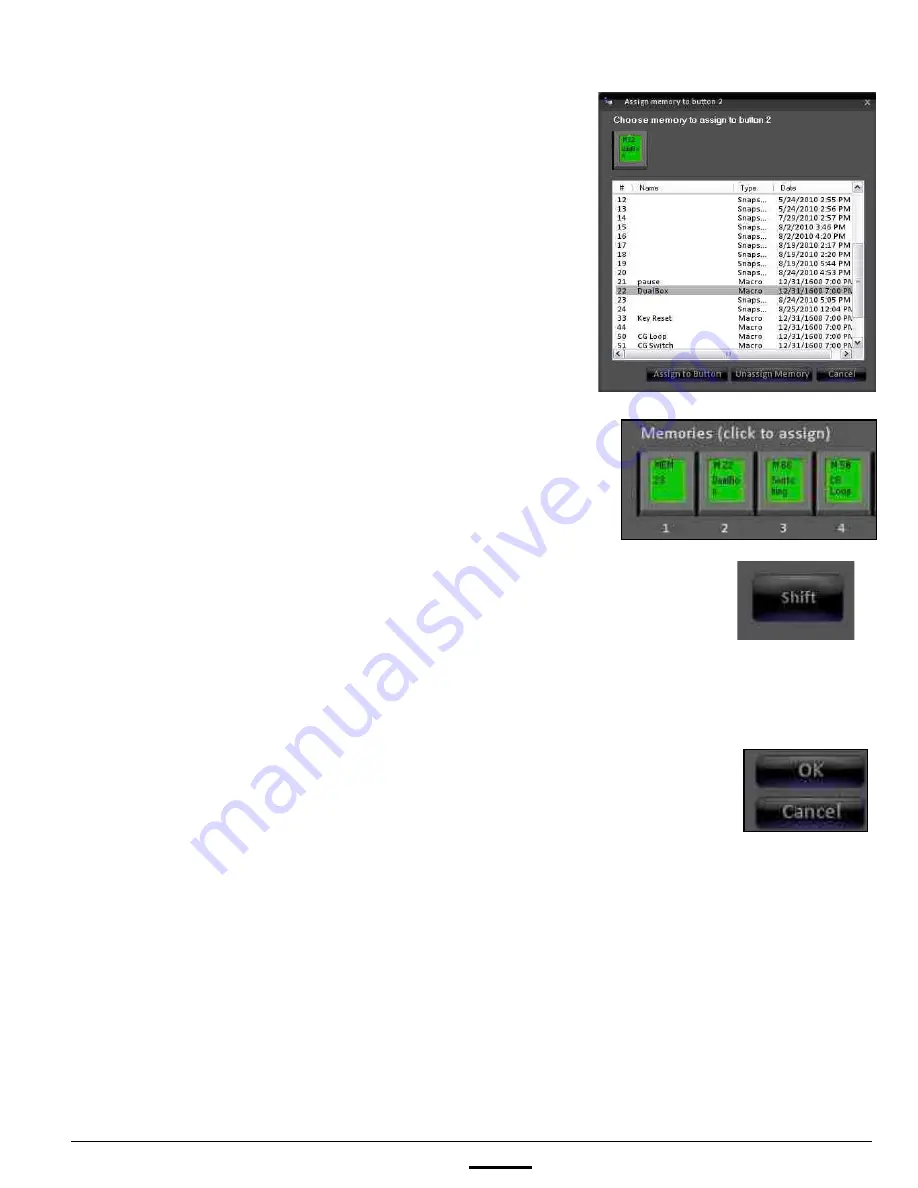
To assign Macro or SnapShot memories, in the
Memoires section click on the desired
memory
button either 1 through 11. An assign memory
window will appear, as shown on the right.
The list of numbered Macros and SnapShot
memories from the memories folder will appear.
Only memories with a leading number may be
viewed in this list and assigned.
Select the desired
memory
and click on the
Assign to Button
button.
The assign window will close and the PixButton
will update showing the number and/or custom
name, as shown on the right.
To view/assign memories 12-22 click on the
Shift
button, as shown on the right.
To un-assign a memory, click on an
assigned
memory
button, and in the Assign memory
window click on the
Unassign Memory
button.
The PixButton will now be blank.
7.
To configure other modes repeat steps 4 – 8
above.
8.
To apply and save the changes click on the
OK
button in the Remote Panel Setup window.
9.
In the main PixMaster Show Editor window, click
on the
Save Show
button.
4.10.3

