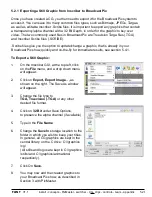
install - concepts - PixMaster - switcher - CG - clips - controls - team - appendix
FLINT
V1.1
4.12.6
4.
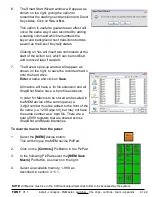
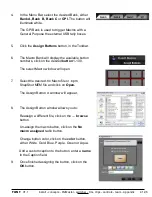
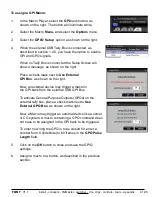
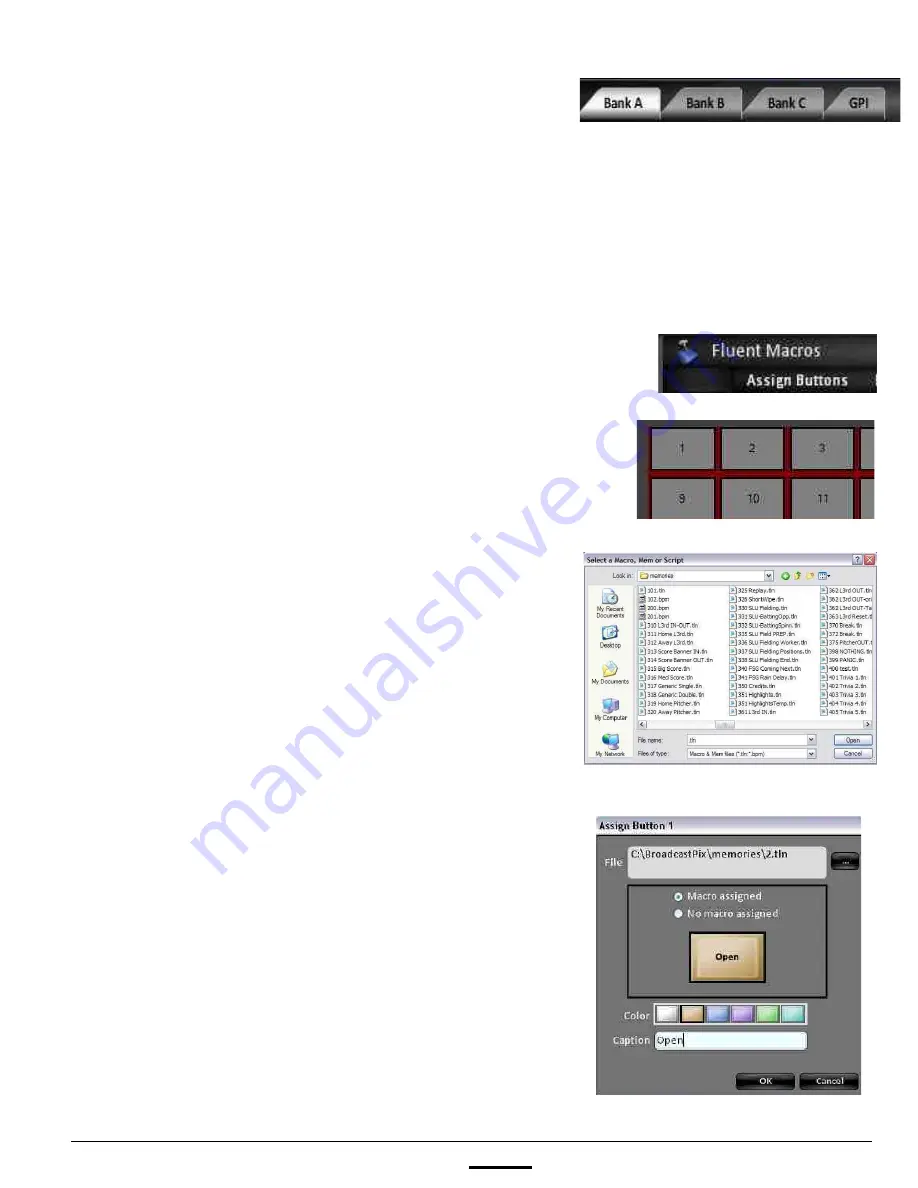
In the Menu Bar, select the desired Bank, either
Bank A, Bank B, Bank C
or
GPI.
The button will
illuminate white.
The GPI Bank is used to trigger Macros with a
General Purpose the external USB tally boxes.
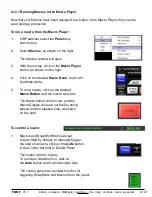
5.
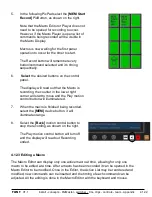
Click the
Assign Buttons
button, in the Toolbar.
6.
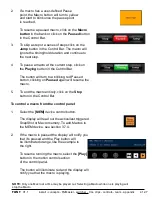
The Macro Bank will display the available button
numbers, click on the desired
button
1-100.
The select Macro window will open.
7.
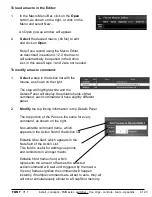
Select the desired .tln Macro file or .bpm
SnapShot MEM file and click on
Open.
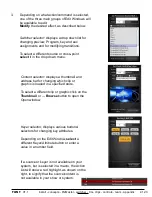
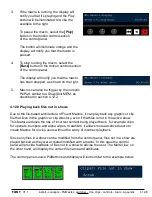
The Assign Button X window will appear.
8.
The Assign Button window allows you to:
Reassign a different file, click on the
… browse
button.
Un-assign the macro button, click on the
No
macro assigned
radio button.
Change button color, click on the
color
button,
either White, Gold, Blue, Purple, Green or Aqua.
Add a custom caption to the button, enter a
name
in the Caption field.
9.
Once finished assigning the button, click on the
OK
button.

