install - concepts - PixMaster - switcher - CG - clips - controls - team - appendix
FLINT
V1.1
5.9.3
NOTE:
It is important to create your CG Layouts in the way you would like them to appear on air. The only
content that Rapid CG will change are the RTX Tag values. No color, font or sizing attributes will be affected.
3.
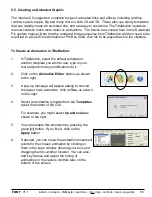
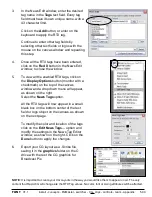
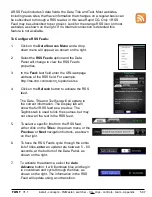
In the News Edit window, enter the desired
tag name in the
Tags
text field. Every tag
field must have its own unique name, with a
43 character limit.
Click on the
Add
button, or enter on the
keyboard to apply the RTX tag.
Continue to enter other tag fields by
selecting other text fields or logos with the
mouse on the canvas window and repeating
this step.
4.
Once all the RTX tags have been entered,
click on the
Red X
button in the News Edit
window, to close the window.
5.
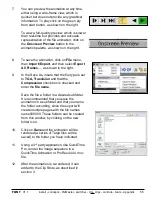
To view all the enabled RTX tags, click on
the
Display Options
button (monitor with a
checkmark) on the top of the canvas
window and a drop down menu will appear,
as shown on the right.
Select the
News Tags
option.
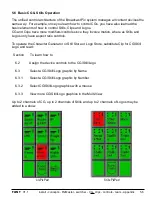
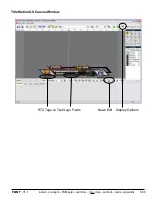
All the RTX tags will now appear in a small
black box on the bottom center of the text
field or logo object on the canvas, as shown
on the next page.
To modify the color and location of the tags
click on the
Edit News Tags…
option and
modify the settings in the News Tag Editor
window, as shown on the right. Click on the
Done
button to apply the changes.
6.
Export your CG layout as a .Scribe file,
saving it in the
graphics
folder on the C
drive with the rest the CG graphics for
Broadcast Pix.

