install - concepts - PixMaster - switcher - CG - clips - controls - team - appendix
FLINT
V1.1
1.
Start the clip playing as described in
section 6.3.
2.
Pause the clip when you have reached
the desired image you wish to capture by
pressing the
[>]
button again on the
control panel.
3.
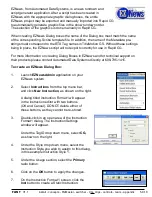
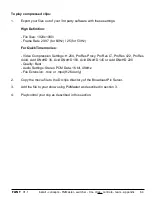
Click on the
File
menu in BPswitcher,
then click on the
Create Thumbnail
menu.
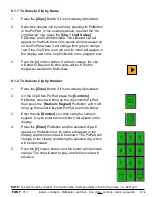
4.
Select
Clip Thumbnail (ch1)
, as shown
on the right.
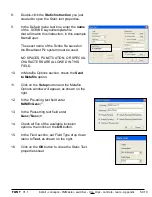
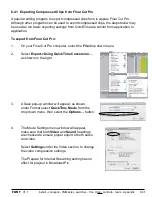
The Create clip thumbnail window will
appear.
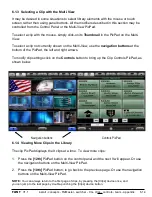
5.
Click on the
Create
button, as shown on
the right.
As an alternative, you may specify the
frame number of the clip you wish to
capture by selecting the Use frame #
radio button and entering a frame
number.
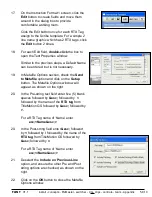
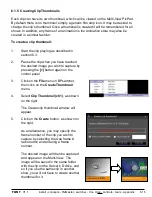
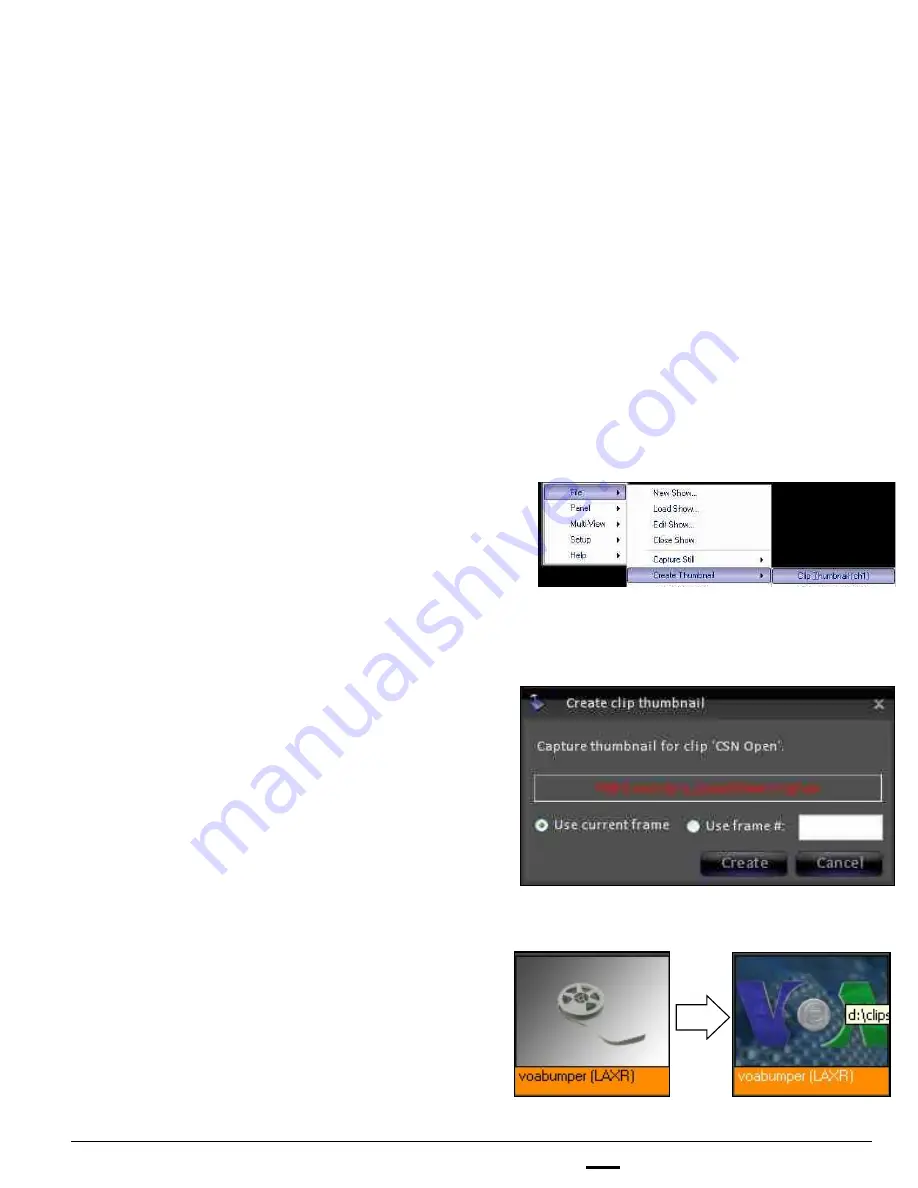
The desired image will then be captured
and appear on the Multi-View. The
image will be saved in the same folder
with the clip on the Server’s D drive, and
so if you use the same clip in another
show, you will not have to create another
thumbnail for it.
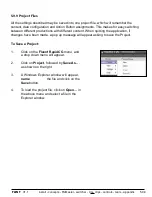
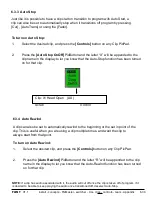
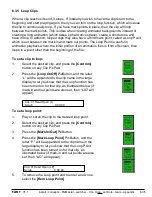
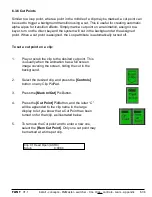
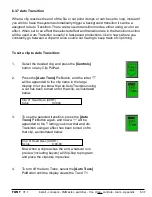
6.1.5 Creating Clip Thumbnails
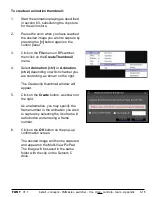
Each clip can have its own thumbnail, which can be viewed on the Multi-View PixPad.
By default there is no thumbnail, simply a generic film strip icon. It may be desired to
change the clip’s thumbnail. Once a thumbnail is created it will be remembered for all
shows. In addition, any frame of an animation is the Animation store may also be
created in a similar fashion.
To create a clip thumbnail:
6.1.5

