install - concepts - PixMaster - switcher - CG - clips - controls - team - appendix
FLINT
V1.1
7.19.4
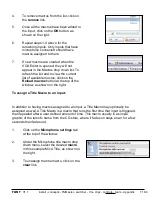
4.
To remove macros from the list, click on
the
remove
link.
5.
Once all the macros have been added to
the input, click on the
OK
button, as
shown on the right.
6.
Repeat steps 1-4 above for the
remaining inputs. Only inputs that have
microphone connected should have
macros assigned to them.
7.
If new macros are created when the
VOX Editor is opened, they will not
appear in the Macros drop down list. To
refresh the list and to view the current
list of available macros, click on the
Reload macros
button at the top of the
window, as shown on the right.
To assign a Title Macro to an input:
In addition to having macros assigned to an input, a Title Macro may optionally be
assigned as well. A Title Macro is a macro that runs the first time that input is triggered,
then repeated after a user defined amount of time. This macro usually is a simple
graphic of the talent’s name from the CG store, where it fades on stays on air for a few
seconds then fades out.
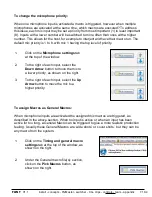
1.
Click on the
Microphone settings
tab
at the top of the window.
2.
Under the Microphone title macro drop
down menu, select the desired
macro
,
in this example Mic A Title, as shown on
the right.
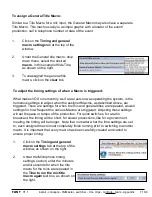
3.
To unassign the title macro, click on the
clear
link.

