G730-Install-IG100 Installation Guide
Brocade
®
G730 Switch Hardware Installation Guide
Installing the Device in the Rack
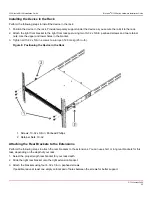
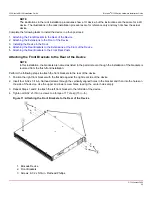
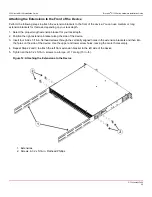
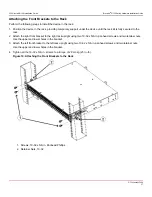
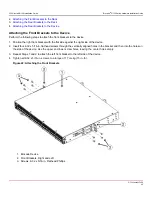
Perform the following steps to install the device in the rack:
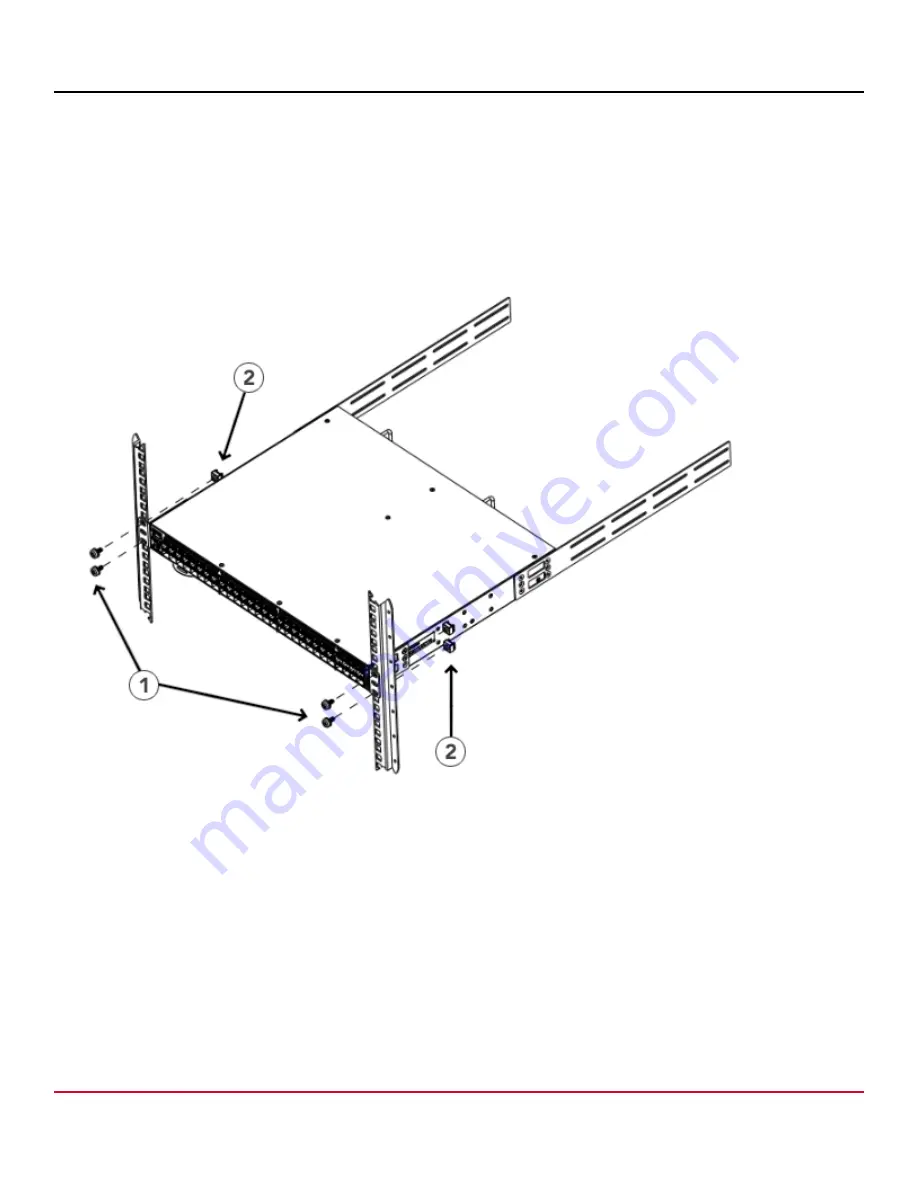
1. Position the device in the rack. Provide temporary support under the device as you secure the rail kit to the rack.
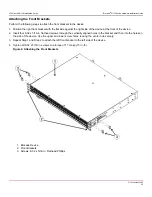
2. Attach the right front bracket to the right front rack post using two 10-32 x 5/8-in. panhead screws and two retainer
nuts. Use the upper and lower holes in the bracket.
3. Tighten all 10-32 x 5/8-in. screws to a torque of 29 cm-kg (25 in.-lb).
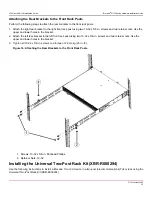
Figure 8: Positioning the Device in the Rack
1. Screws, 10-32 x 5/8-in. Panhead Phillips
2. Retainer Nuts, 10-32
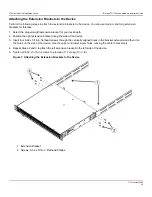
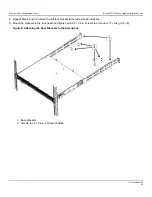
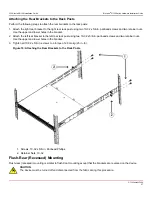
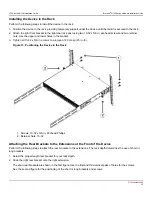
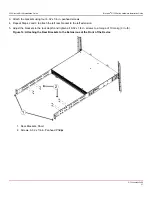
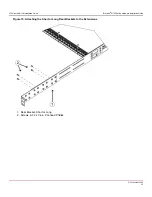
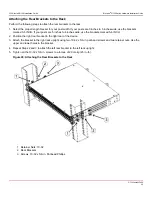
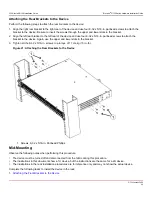
Attaching the Rear Brackets to the Extensions
Perform the following steps to attach the rear brackets to the extensions. You can use short or long rear brackets for this
task, depending on the depth of your rack.
1. Select the proper length rear bracket for your rack depth.
2. Slide the right rear bracket onto the right extension bracket.
3. Attach the brackets using four 6-32 x 1/4-in. panhead screws.
If possible, leave at least one empty vertical pair of holes between the screws for better support.
G730-Install-IG100
25
Summary of Contents for Brocade G730
Page 94: ......

