background image

MODELS  B5830SS • B5836SS

Page 8

OPERATION

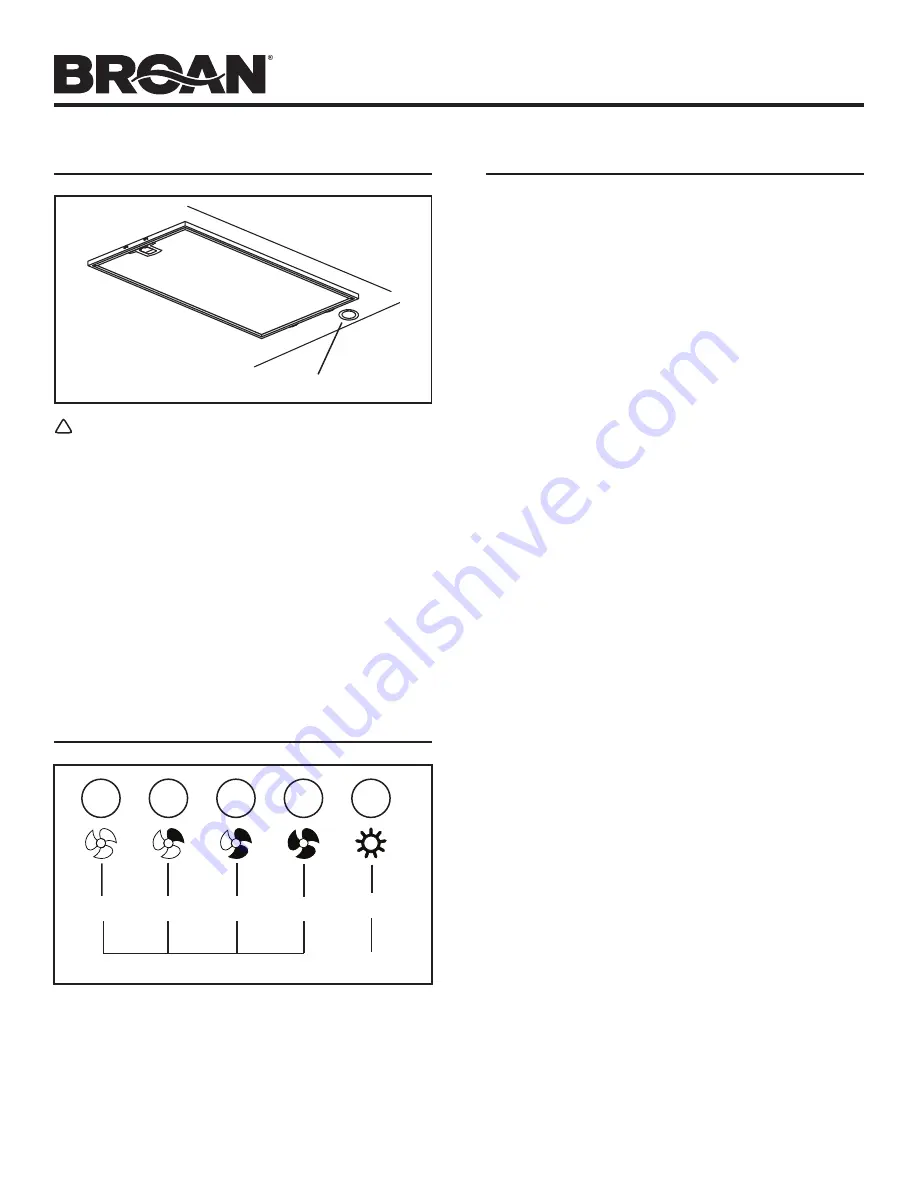
The hood is operated using the push buttons on the front panel.
Push the light button to turn the lights on and off.
Push  the  fan  controls  to  select  low,  medium,  or  high  blower 
speed.
Push the OFF button to turn the blower off.

VQ0010

!

VQ0010

!

OFF

LOW

MED.

HIGH

LIGHT

FAN CONTROLS 

ON/OFF

LIGHT BULBS

VQ0009

!

WARNING

Bulbs may be hot. Always allow bulbs to cool down before 
removing them.

This range hood requires two halogen bulbs (Type JC, 12V, 20W 
Max, G-4 Base).
To change bulbs:
1.  Remove  light  bulb  cover  by  gently  pushing  it  upward  and

turning it counterclockwise.

2.  Replace bulb. 
3.  Re-install light bulb cover by gently pushing it upward and 

turning it clockwise.

LIGHT BULB COVER

MAINTENANCE

Grease Filters

Grease  filters  should  be  cleaned  monthly.  Remove  grease 
filters  by  pulling  down  on  the  metal  latch  tab.  This  will 
disengage the filter from the hood. Tilt the filter downward and 
remove.
To  clean  all-metal  filters:  Use  a  warm  detergent  solution  or 
put them in the dishwasher using a non-phosphate detergent. 
Discoloration  of  the  filter  may  occur  if  using  phosphate 
detergent or as a result of local water conditions - but this will 
not affect filter performance. This discoloration is not covered 
by the warranty.

Non-Duct Recirculation Filters

Change  the  non-duct  recirculation  filters  every  6  months. 

Rotate the filters to remove them from the blower and replace.

Hood Cleaning

How to  maintain  the  bright  look  of  stainless  steel  and  help 
prevent corrosion.

Dos:

-  Once a month, wash surfaces with clean cloth or rag soaked

with warm water and mild soap or liquid dish detergent.

-  Always clean in the direction of original polish lines.
-  Always  rinse  well  with  clear  water  (2  or  3  times)  after 

cleaning. Wipe dry completely.

-  You  may  also  use  a  specialized  household  stainless  steel 

cleaner.

Don’ts:

-  Do  not  use  any  steel  or  stainless  steel  wool  or  any  other 

scrapers to remove stubborn dirt.

-  Do not use any harsh or abrasive cleansers.
-  Do not allow dirt to accumulate.
-  Do  not  let  plaster  dust  or  any  other  construction  residues 

reach the hood. During construction or renovation, cover the 
hood to make sure no dust sticks to stainless steel surface.

Avoid: when choosing a detergent

-  Any cleaners that contain 

bleach

 will attack stainless steel. 

-  Any  products  containing  : 

chloride

fluoride

iodide

,

bromide

 will deteriorate surfaces rapidly.

-  Any 

combustible  products

  used  for  cleaning  such  as 

acetone

alcohol

ether

benzol

, etc., are highly explosive 

and should never be used close to a range.

Summary of Contents for B5830SS

Page 1: ...not be allowed to accumulate on fan or filters d Use proper pan size Always use cookware appropriate for the size of the surface element WARNING TO REDUCE THE RISK OF INJURY TO PERSON S IN THE EVENT OF A RANGE TOP GREASE FIRE OBSERVE THE FOLLOWING 1 SMOTHER FLAMES with a close fitting lid cookie sheet or metaltray thenturnofftheburner BECAREFULTOPREVENT BURNS IF THE FLAMES DO NOT GO OUT IMMEDIATEL...

Page 2: ...ver 36 are at the installer and users discretion providing that the ceiling height permits 6 ROUND DUCT ROOF CAP ROUND ELBOW 30 TO 36 ABOVE COOKING SURFACE WALL CAP HOOD DECORATIVE FLUE 11 3 4 WALL CAP 30 TO 36 ABOVE COOKING SURFACE HOOD DECORATIVE FLUE ROOF CAP 6 ROUND DUCT ROUND ELBOW 12 5 8 TO CENTER OF BRACKET HOLES HOOD MOUNTING BRACKET PREPARE THE HOOD Unpack hood and check contents You shou...

Page 3: ... framing that is flush with interior surface of wall studs Make sure a the framing is centered over installation location b the height of the framing will allow the mounting bracket to be secured to the framing within the dimensions shown 2 After wall surface is finished carefully center and level the hood mounting bracket and secure it to wall framing with 3 8 x 1 1 2 mounting screws Tighten the ...

Page 4: ...8 x 3 8 Pan Head mounting screws 4 Remove the grease filters by pulling down the metal latch tab and tilting filters downward to remove 5 Carefully rotate hood upright INSIDE BACK OF HOOD MOTOR BLOWER ASSEMBLY HOLES LOCATION SIDE VIEW Ø5 16 TYP 6 To make sure there will be adequate clearance between top of hood and lower flue mounting bracket for ductwork Elbow must be located below lower flue mou...

Page 5: ...ACKET 6 ROUND DUCT ELBOW 10 Measure and install 6 round steel ductwork to roof cap or wall cap and 90o elbow over duct collar on hood Use duct tape to make all joints secure and air tight 11 Plug hood power cord into the outlet INSTALL THE HOOD Vertically Ducted Hoods Only 1 DO NOT REMOVE the protective plastic film covering the decorative flue and the hood at this time 2 Lay the back side of the ...

Page 6: ...ASSEMBLY HOLES LOCATION SIDE VIEW Ø5 16 TYP 12 With the hood hanging in place drill through both holes located in the inside lower back of hood using a 5 16 drill bit Insert the included drywall anchors into the drilled holes one for each hole Install 2 washers and 2 8 x 1 1 2 mounting screws through the hood back and into the drywall anchors Verify that the hood is centered and leveled Tighten al...

Page 7: ... and tilting filters downward to remove 7 Attach non duct collar to non duct plenum using 4 ST4 x 8 round head screws 8 Measure distance A This will be the length of the extended flex duct LOWER FLUE MOUNTING BRACKET LOWER FLUE 16 With the hood hanging in place drill through both holes located in the inside lower back of hood using a 5 16 drill bit Insert the included drywall anchors into the dril...

Page 8: ...ns but this will not affect filter performance This discoloration is not covered by the warranty Non Duct Recirculation Filters Change the non duct recirculation filters every 6 months Rotate the filters to remove them from the blower and replace Hood Cleaning How to maintain the bright look of stainless steel and help prevent corrosion Dos Once a month wash surfaces with clean cloth or rag soaked...

Page 9: ...tal or consequential damages so the above limitation or exclusion may not apply to you This warranty gives you specific legal rights and you may also have other rights which vary from state to state This warranty supersedes all prior warranties To qualify for warranty service you must a notify Broan NuTone at the address or telephone number below b give the model number and part identification and...

Page 10: ... Utilisez toujours une batterie de cuisine adaptée à la dimension de la surface chauffante AVERTISSEMENT OBSERVEZ LES CONSIGNES SUIVANTES AFIN DE RÉDUIRE LES RISQUES DE BLESSURES CORPORELLES EN CAS D INCENDIE CAUSÉ PAR DE LA GRAISSE SUR LE PLAN DE CUISSON 1 ÉTOUFFEZ LES FLAMMES à l aide d un couvercle étanche d une tôle à biscuits ou d un plateau en métal puis éteignez le brûleur FAITES ATTENTION ...

Page 11: ...T ROND DE 15 2 CM 6 PO CAPUCHON DE TOIT COUDE ROND 30 PO À 36 PO AU DESSUS DU PLAN DE CUISSON CAPUCHON MURAL HOTTE CONDUIT DÉCORATIF XXXXX PRÉPARATION DE LA HOTTE Déballez la hotte et vérifiez le contenu de la boîte Celle ci doit contenir les éléments suivants 1 Hotte 1 Conduit décoratif de cheminée 1 Clapet raccord de conduit 1 Bride de montage de conduit décoratif inférieur 1 Bride de montage de...

Page 12: ...charpente afin de pouvoir y fixer solidement la bride de montage selon les mesures indiquées 2 Une fois la surface du mur finie centrez la bride de montage bien de niveau et fixez la à la charpente à l aide de trois 3 vis n 8 x 1 po Serrez complètement les vis REMARQUE Pour les plafonds de 2 44 m 8 pi La distance de la hotte au dessus de la surface de cuisson est Au minimum 76 cm 30 po au maximum ...

Page 13: ...ez les filtres à graisse en tirant vers le bas sur la languette métallique de retenue et en basculant les filtres vers le bas 5 Avec précaution tournez la hotte à la verticale INTÉRIEUR DE L ARRIÈRE DE LA HOTTE ENSEMBLE MOTEUR VENTILATEUR POSITION DES TROUS VUE LATÉRALE Ø 7 9 MM 5 16 PO TYP 6 Assurez vous qu il y a suffisamment d espace entre le haut de hotte et la bride de montage inférieure pour...

Page 14: ... CONDUIT ROND ET COUDE DE 15 2 CM 6 PO 10 Mesurez et installez un conduit rond de 15 2 cm 6 po jusqu au capuchon de toit ou capuchon mural et un coude de 90 sur le raccord de conduit de la hotte Utilisez du ruban pour conduit afin de fixer solidement tous les joints et les étancher 11 Branchez le cordon électrique de la hotte dans la prise INSTALLATION DE LA HOTTE hotte à conduits verticaux seulem...

Page 15: ...ÉRALE Ø 7 9 MM 5 16 PO TYP 12 La hotte étant suspendue en place percez à travers les deux trous situés à l intérieur de l arrière du boîtier de la hotte à l aide d une mèche de 7 9 mm 5 16 po Insérez les chevilles d ancrage dans les trous percés une dans chaque trou Installez 2 rondelles et 2 vis n 8 x 1 po à travers l arrière de la hotte et dans les chevilles d ancrage Vérifiez que la hotte est c...

Page 16: ...ette métallique de retenue et en basculant les filtres vers le bas 7 Fixez le collier d installation sans conduits au caisson non canalisé à l aide de 4 vis ST4 x 8 à tête ronde 8 Mesurez la distance A Elle correspondra à la longueur du conduit flexible allongé 9 Fixez le conduit BRIDE DE MONTAGE DE CONDUIT DÉCORATIF INFÉRIEUR CONDUIT DÉCORATIF INFÉRIEUR 16 La hotte étant suspendue en place percez...

Page 17: ...du filtre Cette décoloration n est pas couverte par la garantie Filtres de recirculation pour installation sans conduits Remplacez les filtres de recirculation tous les six mois Tournez les pour les dégager du ventilateur et les remplacer Nettoyage de la hotte Comment maintenir le lustre de l acier inoxydable et éviter la corrosion À faire Une fois par mois nettoyez toutes les surfaces avec un chi...

Page 18: ...ment tout produit ou pièce qui s avèrera défectueux et ayant été utilisé normalement et d une manière non abusive CETTE GARANTIE NE S APPLIQUE PAS AUX TUBES FLUORESCENTS ET AUX DÉMARREURS NI AUX AMPOULES HALOGÈNES OU INCANDESCENTES FUSIBLES FILTRES CONDUITS CAPUCHONS DE TOIT CAPUCHONS MURAUX ET AUTRES ACCESSOIRES POUR CONDUITS Cette garantie ne couvre pas a l entretien et le service normal ou b to...

Page 19: ...mente los ventiladores No permita la acumulación de grasa en el ventilador ni en el filtro d Use una cacerola del tamaño adecuado Siempre use utensilios de cocina que sean apropiados para el tamaño del elemento de la superficie ADVERTENCIA PARA REDUCIR EL RIESGO DE LESIONES PERSONALES EN EL CASO DE QUE LA GRASA DE LA ESTUFA SE INCENDIE OBSERVE LAS SIGUIENTES PRECAUCIONES 1 APAGUE LAS LLAMAS con un...

Page 20: ... pulg 15 2 cm TAPÓN DE TECHO CODO REDONDO DE 30 A 36 PULG 76 A 91 4 CM POR ENCIMA DE LA SUPERFICIE DE COCINADO TAPÓN DE PARED CAMPANA TUBO DE HUMOS DECORATIVO 11 3 4 PULG 29 8 CM TAPA DE PARED DE 30 A 36 PULG 76 A 91 4 CM POR ENCIMA DE LA SUPERFICIE DE COCINADO CAMPANA TUBO DE HUMOS DECORATIVO TAPA DE TECHO CONDUCTO REDONDO DE 6 PULG 15 2 CM CODO REDONDO 12 5 8 PULG 32 CM AL CENTRO DE LOS ORIFICIO...

Page 21: ... dentro de las dimensiones mostradas 2 Después de terminar con la superficie de la pared centre con cuidado y nivele el soporte de montaje de la campana y asegúrelo al bastidor de la pared con tres 3 tornillos de montaje de 8 x 1 1 2 pulg Apriete totalmente los tornillos NOTA En los cielos rasos de 8 pies 2 4 m La distancia de la campana arriba de la estufa es Mínima de 30 pulg 76 cm máxima de 32 ...

Page 22: ...za troncocónica 4 Retire los filtros de grasa estirando hacia abajo la cejilla metálica e inclinando los filtros hacia abajo para quitarlos 5 Gire con cuidado la campana hacia arriba PARTE INTERIOR TRASERA DE LA CAMPANA CONJUNTO DEL MOTOR VENTILADOR UBICACIÓN DE LOS ORIFICIOS VISTA LATERAL Ø 5 16 PULG 0 8 CM TÍPICO 6 Asegúrese de que habrá una separación adecuada entre la parte superior de la camp...

Page 23: ...UMOS SUPERIOR CODO DEL CONDUCTO REDONDO DE 6 PULG 15 2 CM 10 Mida e instale los conductos redondos de acero de 6 pulg 15 2 cm a la tapa para techo o a la tapa para pared y el codo de 90 sobre el collarín del tubo en la campana Use cinta para conductos para fijar y sellar todas las uniones 11 Conecte el cable eléctrico de la campana en el tomacorriente INSTALE LA CAMPANA sólo para campanas con cond...

Page 24: ...mpana colgada en su lugar perfore los dos orificios situados en la parte interior trasera de la campana con una broca de 5 16 pulg 7 9 mm Inserte los taquetes para placa de yeso incluidos en los orificios perforados uno para cada orificio Instale dos 2 arandelas y dos 2 tornillos de montaje de 8 x 1 1 2 pulg a través de la parte trasera de la campana y en los taquetes para placa de yeso Verifique ...

Page 25: ...para sistemas sin conductos al pleno para sistemas sin conductos usando cuatro 4 tornillos de cabeza redonda ST4 x 8 8 Mida la distancia A Será la longitud del conducto flexible extendido 9 Fije el conducto flexible de SOPORTE DE MONTAJE DEL TUBO DE HUMOS INFERIOR TUBO DE HUMOS INFERIOR 16 Con la campana colgada en su lugar perfore los dos orificios situados en la parte interior trasera de la camp...

Page 26: ... el rendimiento del filtro Esta decoloración no está cubierta por la garantía Filtro de recirculación para sistemas sin conductos Cambie los filtros de recirculación cada 6 meses Gire los filtros para quitarlos del ventilador y reemplácelos Limpieza de la campana Cómo mantener el aspecto brillante del acero inoxidable y ayudar a prevenir la corrosión Qué hacer Una vez al mes lave las superficies c...

Page 27: ...alquier producto o pieza que se encuentre defectuosa bajo condiciones normales de servicio y uso LA PRESENTE GARANTÍA NO CUBRE LOS TUBOS FLUORESCENTES NI SUS ARRANCADORES BOMBILLAS DE HALÓGENO E INCANDESCENTES FUSIBLES FILTROS CONDUCTOS TAPONES DE TECHO O PAREDES Y DEMÁS ACCESORIOS PARA CONDUCTOS Esta garantía no cubre a mantenimiento y servicio normales o b cualquier producto o piezas que hayan s...

Page 28: ...99526964C ...

Reviews: