8-3
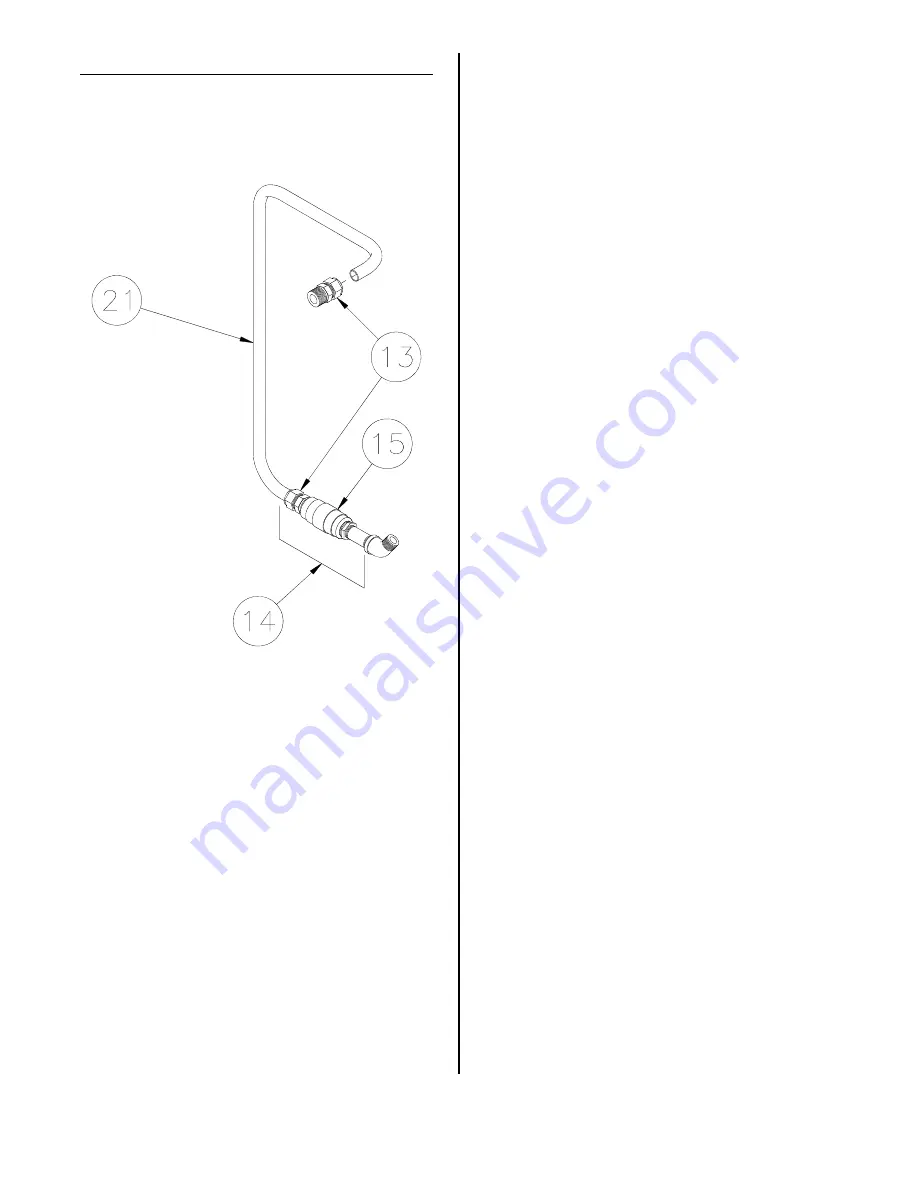
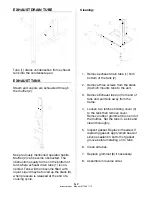
CHECK VALVE
Prevents cooking oil from draining into the
filter pan from cooking well.
Replacement:
1. Disconnect main electric power sup-
ply.
2. Drain cooking oil from the cooking well
and into a container made for handling
hot oil then close the drain valve.
3. Remove left hand side panel.
4. Loosen fittings (13), remove return
tube (21), remove pipe assembly (14)
from pump.
5. Remove any fittings from the valve
(15).
6. Install in reverse order using #15820
Primer & #15359 Sealant on pipe
threads.
Installation hint:
1. When installing a fitting or pipe nipple
into the valve, be sure to place wrench
on the same side of valve into which
fitting or nipple is being installed.
DO
NOT
tighten across the valve! Distor-
tion of valve seat could occur.
2. When installing compression fittings
on tubing, tighten nut finger tight then
turn 1-1/4 turns more.
broaster.com Manual #17280 1/15 Rev 6/15
Summary of Contents for 2400 Series
Page 2: ......
Page 8: ......
Page 12: ......
Page 14: ...2 2 2400E 208 or 240VAC C NO NC broaster com Manual 17280 1 15 ...
Page 15: ...2 3 2400GH NO NC C broaster com Manual 17280 1 15 ...
Page 16: ......
Page 35: ...5 COVER YOKE AND LIFT 5 1 FAMILIARIZATION broaster com Manual 17280 1 15 ...
Page 44: ......
Page 70: ......
Page 71: ...broaster com Manual 17280 1 15 SERVICE NOTES ...
Page 72: ...broaster com Manual 17280 1 15 SERVICE NOTES ...
Page 73: ...broaster com Manual 17280 1 15 SERVICE NOTES ...
Page 74: ...broaster com Manual 17280 1 15 SERVICE NOTES ...
Page 75: ......
Page 76: ...Broaster Company 2855 Cranston Road Beloit WI 53511 3991 608 365 0193 broaster com ...


