Brocade FastIron X Series Chassis Hardware Installation Guide
127
53-1001723-02
Replacing an interface module
6
NOTE
Before installing one of these modules into the FSX chassis, have the following on hand:
•
A new interface module, which you can order from Brocade.
•
An ESD wrist strap with a plug for connection to the ESD connector on the chassis.
DANGER
For safety reasons, the ESD wrist strap should contain a series 1 meg ohm resistor.
•
A #2 Phillips-head or flathead screwdriver.
To install a new interface module in the chassis, perform the following tasks.
1. Follow the preparation procedure in the section
“Before removing an interface module”
2. Put on the ESD wrist strap and ground yourself by inserting the plug into the ESD connector
located in the lower right corner of the chassis front.
3. Remove the module from its packaging.
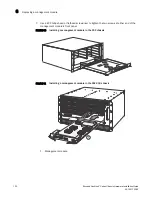
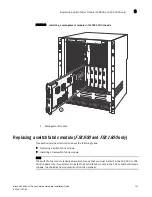
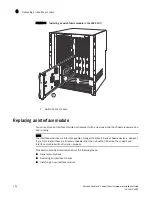
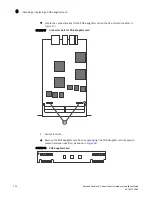
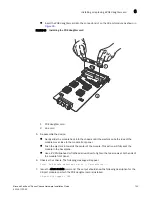
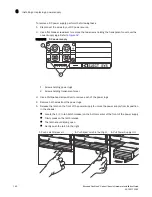
4. Insert the module into the chassis slot as shown in
, and slide the card along the card
guide until the ejectors on either side of the module move close to the module front panel.
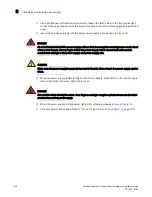
5. Push the ejectors in toward the center of the module. This action will fully seat the module in
the backplane.
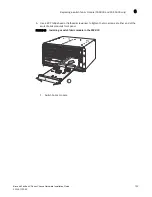
6. Use a #2 Phillips-head or flathead screwdriver to tighten the two screws at either end of the
module front panel.
7. If you have installed a LAN or WAN Phy interface module, configure it as instructed in the
section


