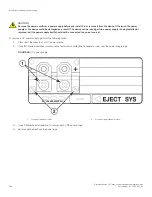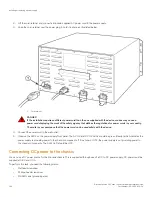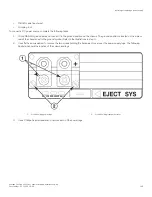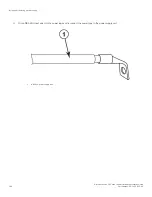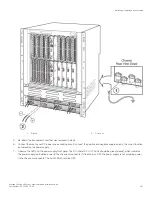
To remove an original AC power supply, perform the following tasks.
1. Disconnect the power supply’s power cord from the wall outlet.
2. Disconnect the power cord from the chassis rear panel.
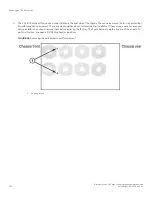
3. Release the latch on the front of the power supply to unlock the power supply from its position in the chassis:
•
–
Locate the 1/2 in tab (latch release) on the bottom center of the front of the power supply.
–
Firmly press on the latch release.
–
The latch should spring open.
–
Gently push the latch to the right.
4. Gently pull on the power supply latch until the power supply is removed from the chassis.
5. Install a new power supply in the slot. For information about performing this task, refer to the “Installing a new power supply”
section.
Removing a DC power supply
You can order a new DC power supply from Brocade Communication Systems, Inc.
The power supplies are hot swappable, which means they can be removed and replaced while the chassis is powered on and running.
Installing or replacing a power supply
Brocade FastIron SX Series Chassis Hardware Installation Guide
Part Number: 53-1003613-04
137
Summary of Contents for FastIron SX
Page 10: ...Brocade FastIron SX Series Chassis Hardware Installation Guide 10 Part Number 53 1003613 04 ...
Page 12: ...Brocade FastIron SX Series Chassis Hardware Installation Guide 12 Part Number 53 1003613 04 ...
Page 46: ...Brocade FastIron SX Series Chassis Hardware Installation Guide 46 Part Number 53 1003613 04 ...
Page 80: ...Brocade FastIron SX Series Chassis Hardware Installation Guide 80 Part Number 53 1003613 04 ...
Page 118: ...Brocade FastIron SX Series Chassis Hardware Installation Guide 118 Part Number 53 1003613 04 ...
Page 158: ...Brocade FastIron SX Series Chassis Hardware Installation Guide 158 Part Number 53 1003613 04 ...
Page 164: ...Brocade FastIron SX Series Chassis Hardware Installation Guide 164 Part Number 53 1003613 04 ...
Page 172: ...Brocade FastIron SX Series Chassis Hardware Installation Guide 172 Part Number 53 1003613 04 ...

