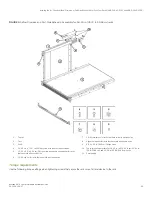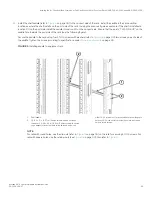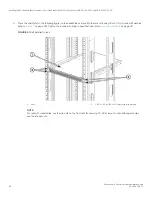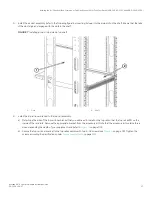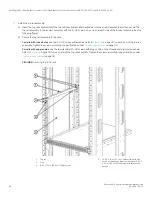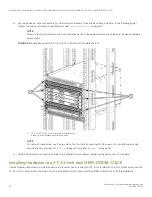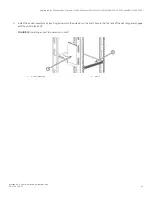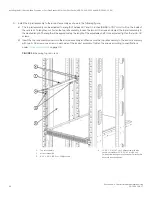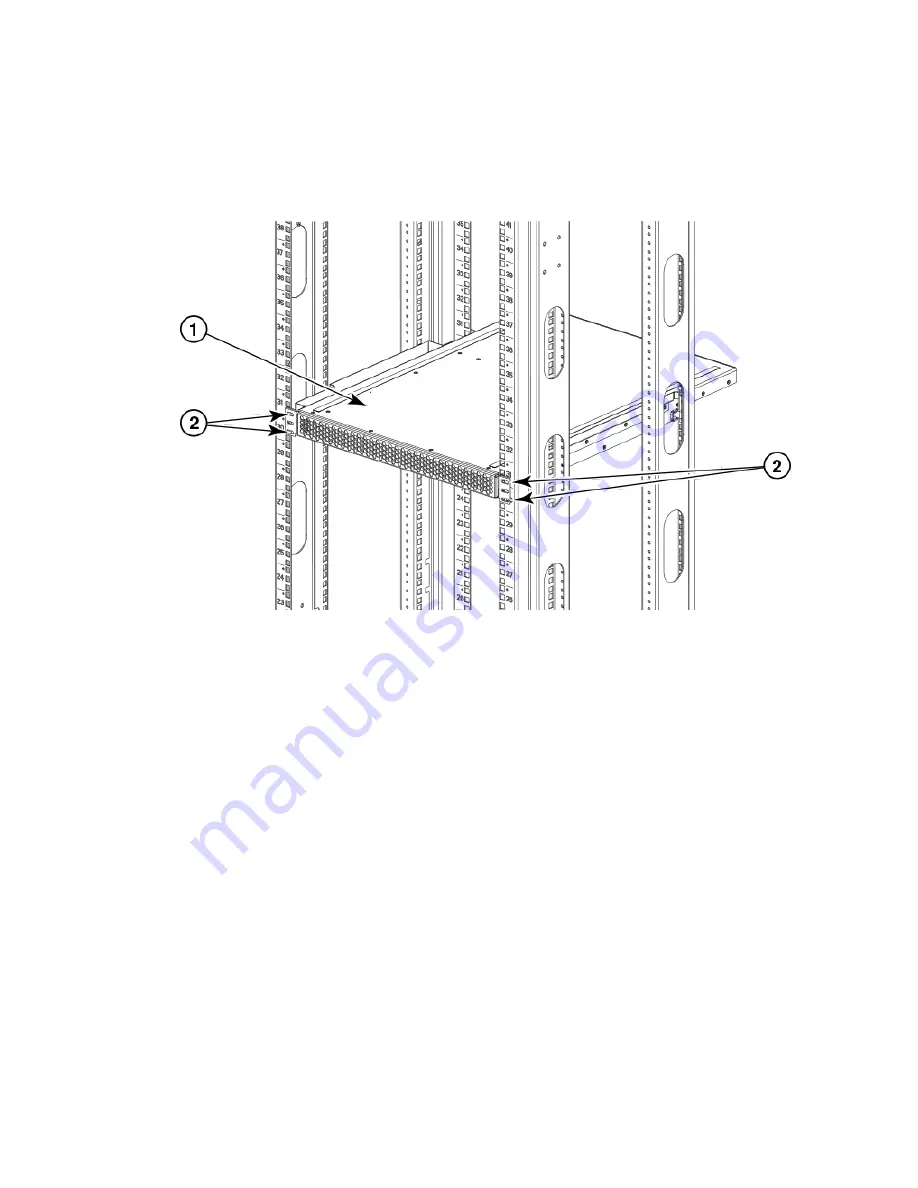
4. Place the shelf (refer to the following figure) on the saddle then secure it to the rack rails using four 10-32 screws with washers
(refer to
on page 33). Tighten the screws according to specifications under
on page 33.
FIGURE 6
Shelf installed in rack
1.
Shelf
2.
10-32 x .63 in.(1.60 cm) Phillips screw with washers
NOTE
For rails with round holes, use the clip nuts on the front rails for securing 10-32 screws. For rails with square holes,
use the retainer nuts.
Installing the 8U Chassis Airflow Diversion or Port Side Exhaust Kit for Four-Post Racks (XBR-DCX4S-0121 and XBR-DCX4S-0130)
Brocade X6-4 Director Hardware Installation Guide
36
53-1004106-07
Summary of Contents for X6-4
Page 12: ...Brocade X6 4 Director Hardware Installation Guide 12 53 1004106 07...
Page 20: ...Brocade X6 4 Director Hardware Installation Guide 20 53 1004106 07...
Page 28: ...Brocade X6 4 Director Hardware Installation Guide 28 53 1004106 07...
Page 64: ...Brocade X6 4 Director Hardware Installation Guide 64 53 1004106 07...
Page 86: ...Brocade X6 4 Director Hardware Installation Guide 86 53 1004106 07...
Page 102: ...Brocade X6 4 Director Hardware Installation Guide 102 53 1004106 07...
Page 130: ...Brocade X6 4 Director Hardware Installation Guide 130 53 1004106 07...
Page 140: ...Brocade X6 4 Director Hardware Installation Guide 140 53 1004106 07...
Page 166: ...Brocade X6 4 Director Hardware Installation Guide 166 53 1004106 07...
Page 196: ...Brocade X6 4 Director Hardware Installation Guide 196 53 1004106 07...
Page 200: ...Brocade X6 4 Director Hardware Installation Guide 200 53 1004106 07...
Page 204: ...Brocade X6 4 Director Hardware Installation Guide 204 53 1004106 07...
Page 210: ...Brocade X6 4 Director Hardware Installation Guide 210 53 1004106 07...
Page 224: ...Brocade X6 4 Director Hardware Installation Guide 224 53 1004106 07...
Page 238: ...Brocade X6 4 Director Hardware Installation Guide 238 53 1004106 07...

