Polycold Cryochiller
Installation
Installation and Operation Manual
Evacuate the Refrigerant Line and Cryosurface
Brooks Automation
214072 Revision B
4-35
6.
Close the evacuation valve while the
vacuum pump is still pumping.
Turn off the vacuum pump.
Carefully remove the hose from the
evacuation valve.
Recheck the tightness of the brass top
nut on the evacuation valve to prevent
leaking.
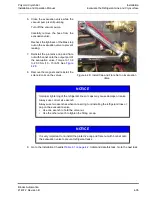
7.
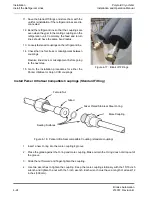
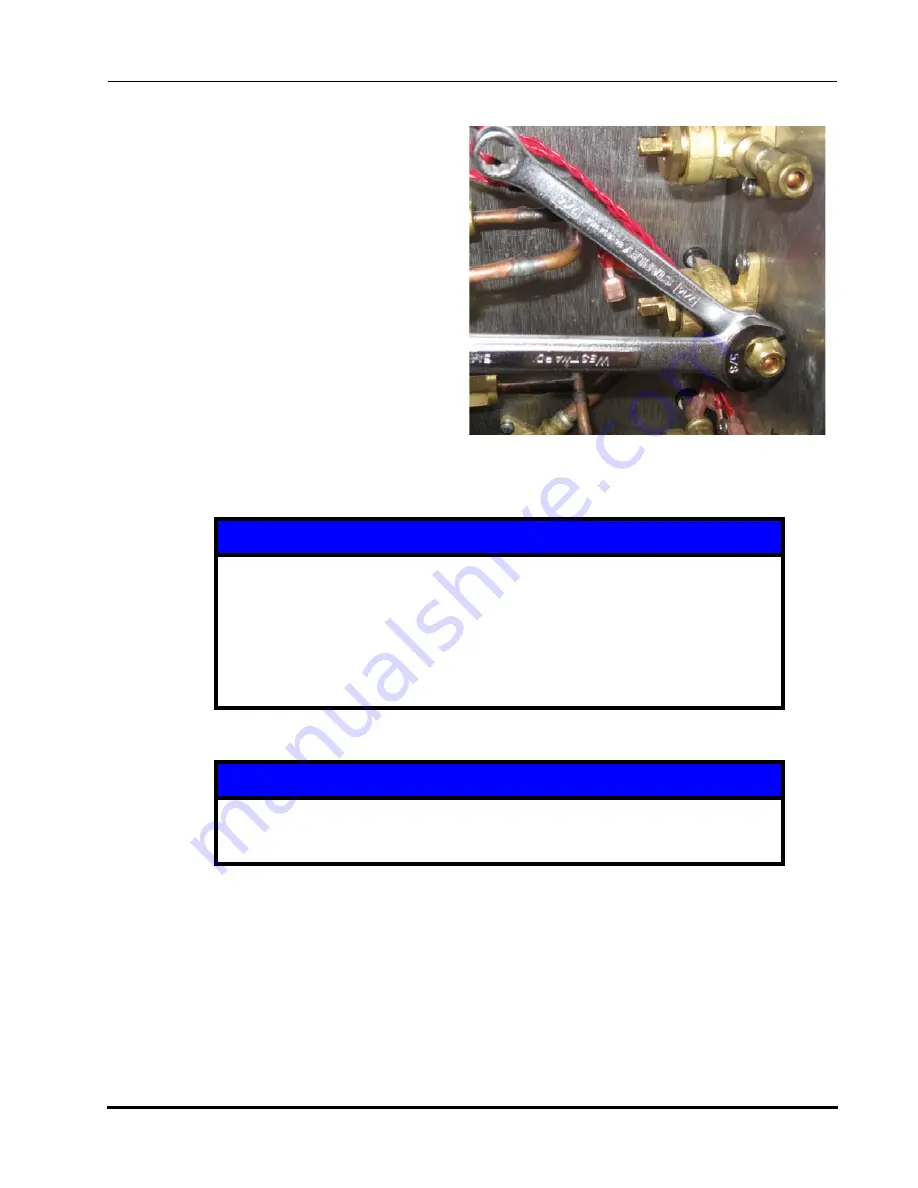
Reinstall the protective cap and flare
nut with bonnet onto the output port of
the evacuation valve. Torque to 13.6
to 20.3 Nm (10 - 15 lb-ft). See
.
8.
Remove the magnets and reinstall the
solenoid coils on the valves.
9.
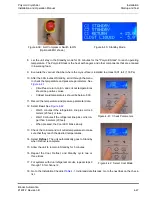
Go to the Installation Checklist
.
Initial and date this task. Go to the next task.
NOTICE
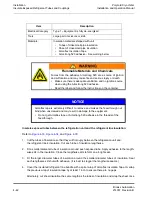
Improper tightening of the refrigerant lines or caps may cause damage or leaks.
Always use correct size wrench
Always use two wrenches when connecting to or installing the refrigerant lines or
cap on the evacuation valve.
•
Use one wrench to hold the valve nut.
•
Use the other wrench to tighten the fitting or cap.
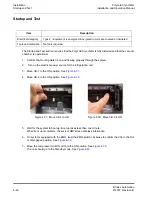
NOTICE
It is very important to re-install the protective cap and flare nut with bonnet onto
the evacuation valve to prevent refrigerant leaks.
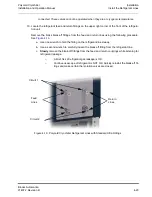
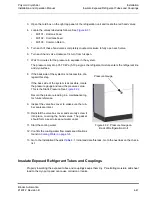
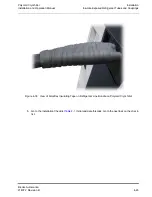
Figure 4-28: Install Cap and Flare Nut on Evacuation
Valve


