• To erase a section of your scan simply select erase in the menu at the right
of the scanned image window and roll the mouse over the sections you’d like
to remove .
• To check whether a large image is scanned properly, roll the mouse wheel up/
down to zoom in/out the area where the mouse cursor is located .
• Pressing the Smart Scan button on the mouse restarts the scanner . Be careful
not to press the Smart Scan button unless you wish to scan the document again .
• Selecting OK: Confirms your selection and initiates the OCR function .
• Selecting Cancel: De-selects your selection . The entire scanned image will be
displayed in the preview window, and the OCR function is disabled .
tip:
If your final edited image is not what you wanted, you can double-click the edit
icon or the preview window to edit again with the editing functions.
SettINgS
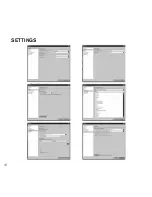
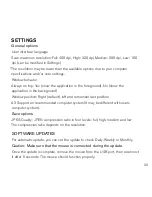
Modify the resolution, image size, UI language, OCR language, scan size, etc .
Maximum Resolution to Full: 400 dpi, High: 320 dpi, Medium: 200 dpi, Low: 100 dpi .
*The resolution may be lower than the available options due to your computer
specifications and/or user settings .
13
Summary of Contents for Scanner Mouse
Page 1: ...Scanner Mouse It s a mouse and a scanner ...
Page 20: ...Settings 19 ...
Page 27: ...Notes 26 ...
Page 28: ...Notes 27 ...
Page 29: ...Notes 28 ...


