background image

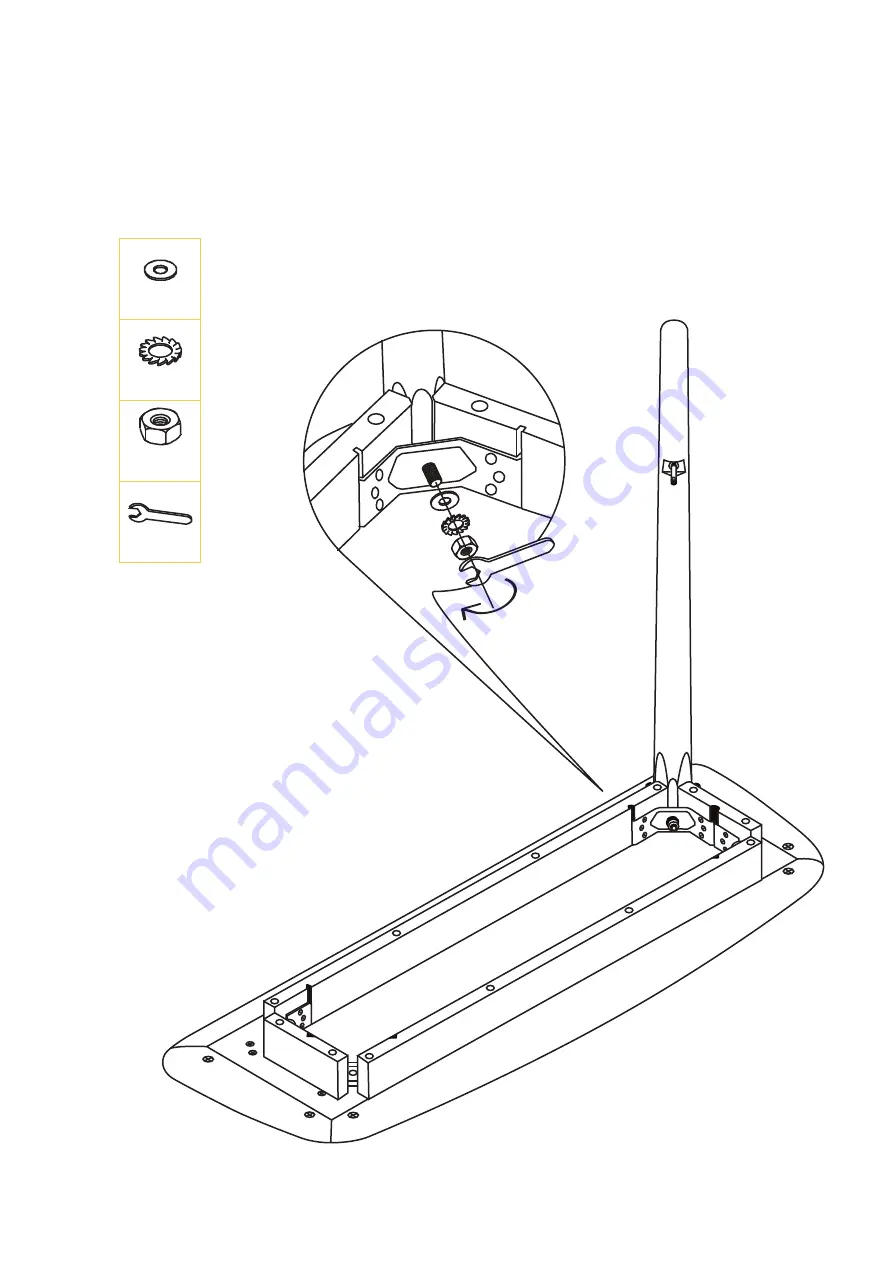
Step 3

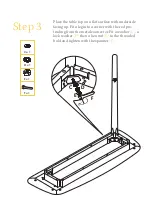
Place the table top on a flat surface with underside 

facing up. Fit a leg into a corner with the rod pro-

truding from the metal connector. Fit a washer 

(C)

, a 

lock washer 

(D) 

then a hex nut 

(E) 

to the threaded 

bold and tighten with the spanner 

(F)

.


C x 1

D x 1

E x 1

F x 1

C

D

E

F

Summary of Contents for Kaneko Console Table

Page 1: ...ASSEMBLY GUIDE Kaneko Console Table v1 0...

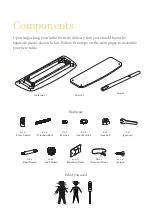
Page 2: ...Follow the steps on the next pages to assemble your new table A x 4 Cross Dowel B x 4 Threaded Rod C x 4 Washer D x 4 Lock Washer E x 4 Hex Nut F x 1 Spanner G x 4 Steel Dowel aa x 2 Mounting Plate b...

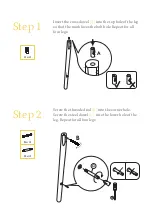
Page 3: ...top hole of the leg so that the mark faces the bolt hole Repeat for all four legs Step 2 Screw the threaded rod B into the corner hole Screw the steel dowel G into the lower hole of the leg Repeat fo...

Page 4: ...urface with underside facing up Fit a leg into a corner with the rod pro truding from the metal connector Fit a washer C a lock washer D then a hex nut E to the threaded bold and tighten with the span...

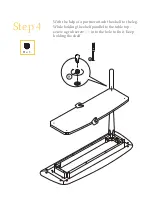
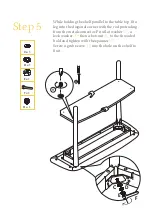
Page 5: ...Step 4 With the help of a partner attach the shelf to the leg While holding the shelf parallel to the table top screw a grub screw H into the hole to fix it Keep holding the shelf H x 1 H...

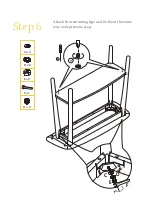
Page 6: ...the diagonal corner with the rod protruding from the metal connector Fit a flat washer C a lock washer D then a hex nut E to the threaded bold and tighten with the spanner F Screw a grub screw H into...

Page 7: ...Step 6 Attach the remaining legs and fix them the same way as in previous step H C D E F H x 2 C x 2 D x 2 E x 2 F x 1...

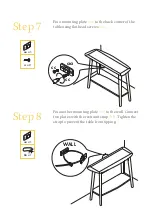
Page 8: ...ack corner of the table using flat head screws cc aa x 1 cc x 2 Step 8 Fix another mounting plate aa to the wall Connect two plates with the restraint strap bb Tighten the strap to prevent the table f...

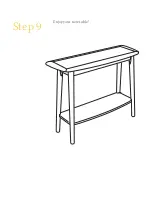
Page 9: ...Step 9 Enjoy your new table...

Reviews: