background image

Step 3

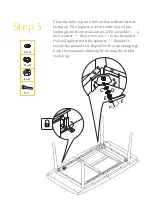
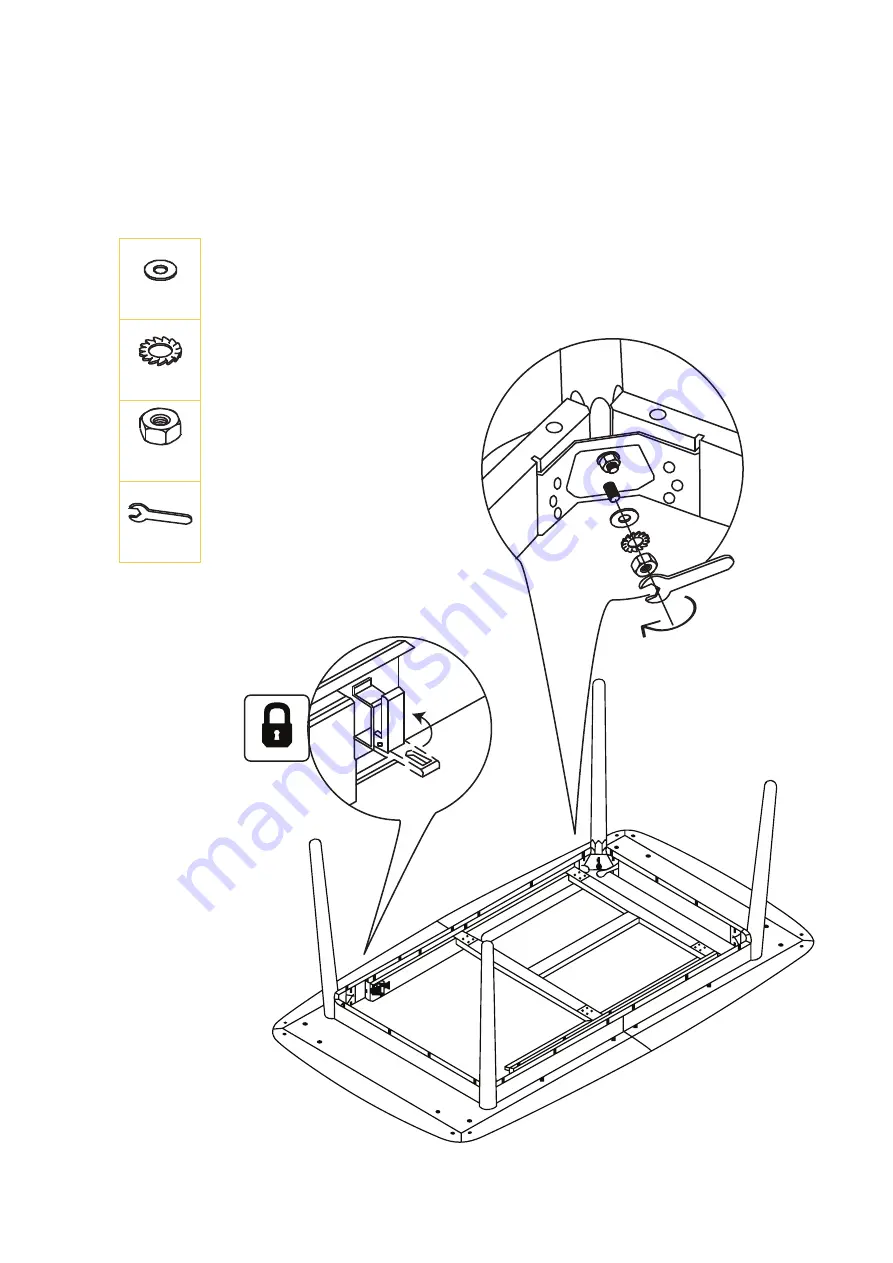
Place the table top on a flat surface with underside 

facing up. Fit a leg into a corner with the rod pro-

truding from the metal connector. Fit a washer 

(C)

, a 

lock washer 

(D) 

then a hex nut 

(E) 

to the threaded 

rod and tighten with the spanner 

(F)

. Repeat to 

secure the second rod. Repeat for the remaining legs.

Lock the extension slides up by turning the rubber 

switch up.

C x 8

D x 8

E x 8

F x 1

C

D

E

F

Summary of Contents for Kaneko Extendable Dining Table

Page 1: ...ASSEMBLY GUIDE Kaneko Extendable Dining Table v1 0...

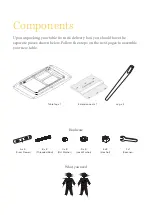
Page 2: ...uld have the separate pieces shown below Follow the steps on the next pages to assemble your new table A x 4 Cross Dowel B x 8 Threaded Rod C x 8 Flat Washer D x 8 Lock Washer E x 8 Hex Nut F x 1 Span...

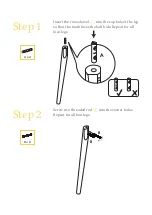
Page 3: ...ert the cross dowel A into the top hole of the leg so that the mark faces the bolt hole Repeat for all four legs Step 2 Screw two threaded rod B into the corner holes Repeat for all four legs A x 4 B...

Page 4: ...the rod pro truding from the metal connector Fit a washer C a lock washer D then a hex nut E to the threaded rod and tighten with the spanner F Repeat to secure the second rod Repeat for the remaining...

Page 5: ...Step 4 Gently flip the table the right way up Step 5 To extend the table take the extension leaf out of the storage bag...

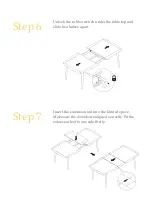
Page 6: ...ock the rubber switch under the table top and slide two halves apart Step 7 Insert the extension leaf into the formed space Make sure the dowels are aligned correctly Fit the extension leaf to one sid...

Page 7: ...panel to make all dowels fit into corresponding holes Lock the rubber switch again Step 9 To switch back to the compact table again unlock the switch underneath the table top and slide the two halves...

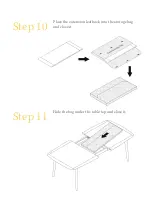
Page 8: ...Step 10 Place the extension leaf back into the storage bag and close it Step 11 Hide the bag under the table top and close it...

Page 9: ...Step 12 Enjoy your new extendable table...

Reviews: