

SEWING THE STITCHES
U
tility
S
titc
h
es
Sewing
S-51
S
2
c
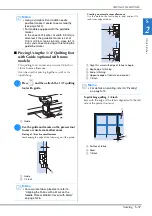
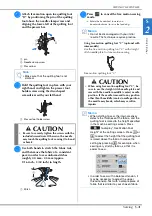
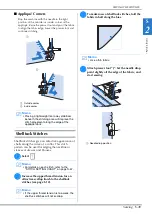
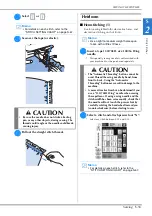
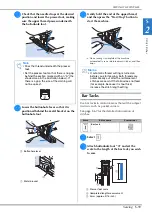
Select a stitch for top stitching.
d
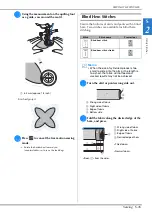
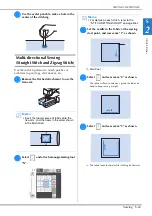
Place the fabric right side up in the
machine, and center the presser foot over
the seam when sewing.
a
Right side of fabric
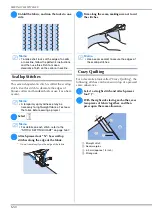
Smocking Stitches
Use smocking stitches for decorative sewing on
clothes, etc.
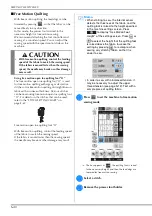
a
Select a straight stitch and attach presser
foot “J”.
b
Set the stitch length to 4.0 mm (approx.
3/16 inch) and loosen the upper thread
tension to approximately 2.0 (see “Setting
the Stitch Length” on page S-10 and
“Setting the Thread Tension” on page S-12).
c
Pull the bobbin and upper threads out by
50 mm (approx. 2 inches).
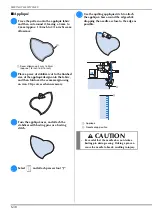
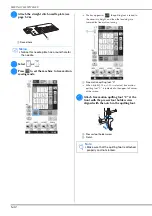
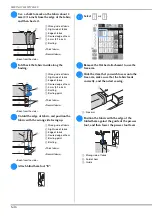
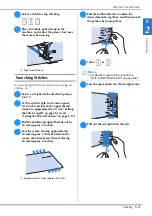
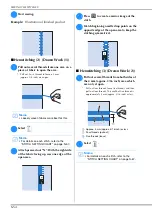
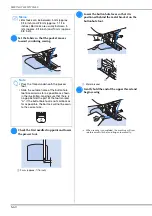
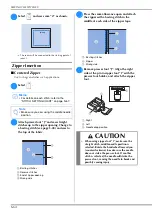
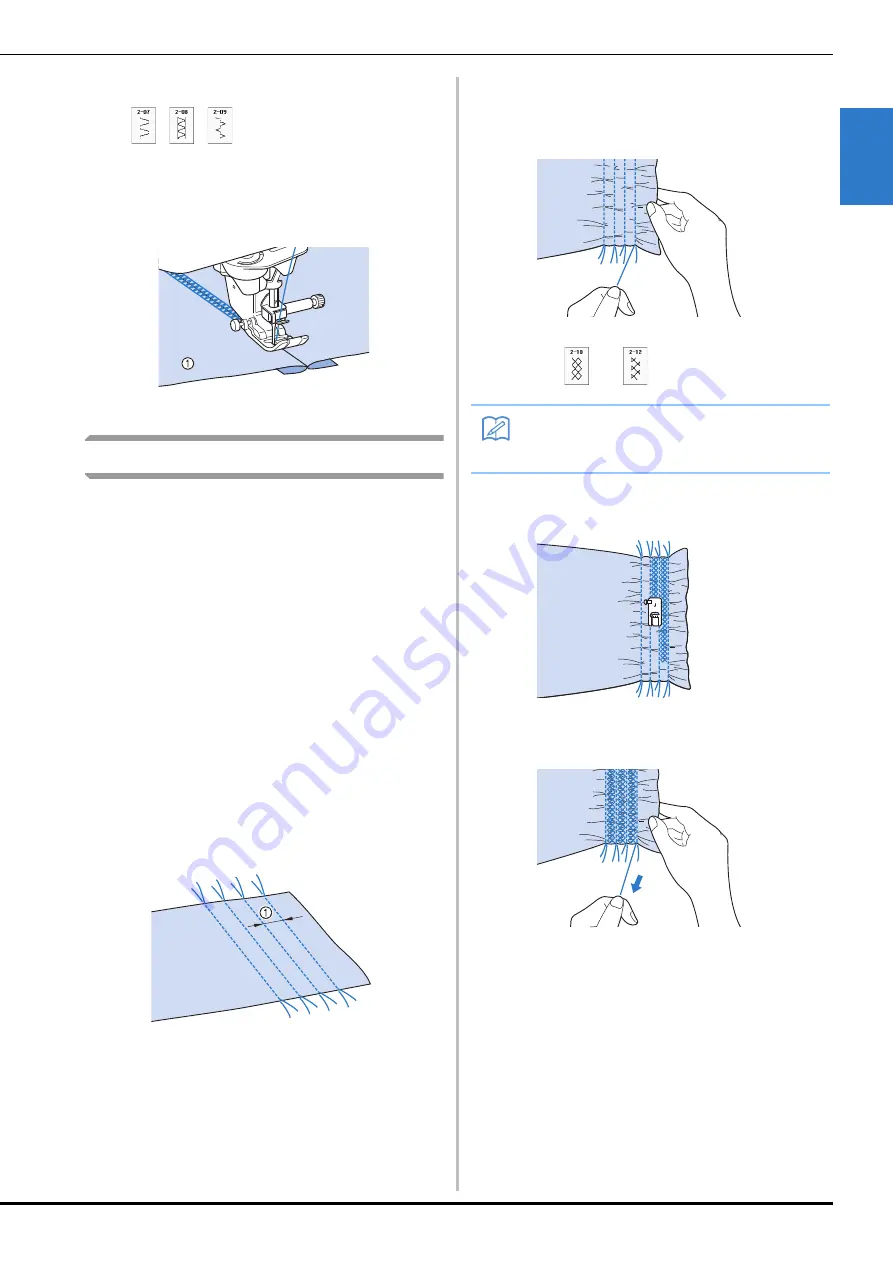
d
Sew the seams, leaving approximately
10 mm (approx. 3/8 inch) between the
seams, then trim excess thread, leaving
50 mm (approx. 2 inches).
a
Approximately 10 mm (approx. 3/8 inch)
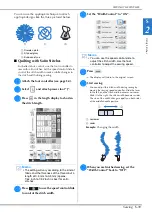
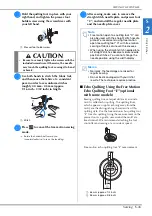
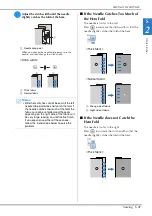
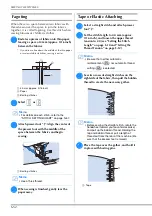
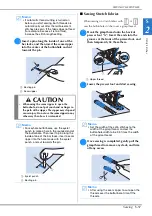
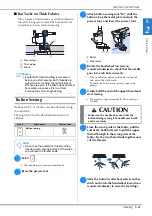
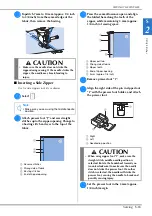
e
Pull the bobbin threads to obtain the
desired amount of gather, and then smooth
the gathers by ironing them.
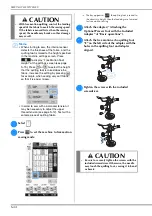
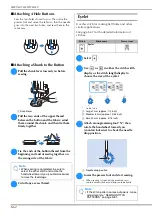
f
Select
or .
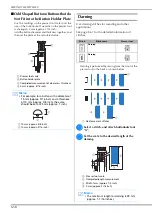
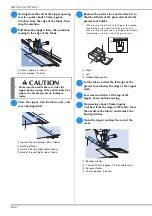
g
Sew the spaces between the straight seams.
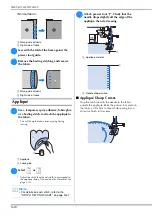
h
Pull out the straight stitch threads.
Memo
• For details on each stitch, refer to the
“STITCH SETTING CHART” on page S-67.
Summary of Contents for 882-C40
Page 107: ...USEFUL FUNCTIONS Sewing Basics Sewing S 19 S 1 ...
Page 163: ...STITCH SETTING CHART Utility Stitches Sewing S 75 S 2 ...
Page 200: ...USING STORED CUSTOM STITCHES S 112 ...
Page 218: ...ATTACHING THE EMBROIDERY FRAME E 18 b Pull the embroidery frame toward you ...
Page 255: ...EMBROIDERY APPLICATIONS Embroidery Embroidering E 55 E 1 ...
Page 286: ...USING THE MEMORY FUNCTION E 86 ...
Page 329: ......
Page 330: ......
Page 331: ......


