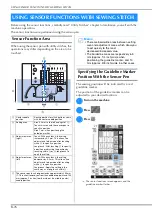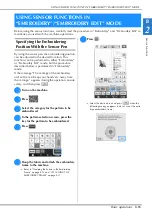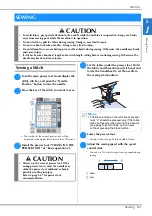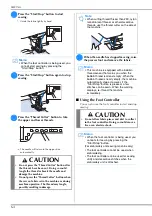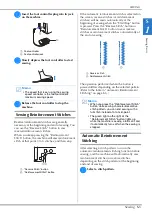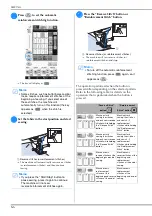
USING SENSOR FUNCTIONS IN “EMBROIDERY”/“EMBROIDERY EDIT” MODE
Se
ns
or
Fu
nc
tion
s
Basic operations
B-85
B
2
f
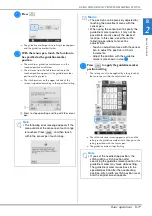
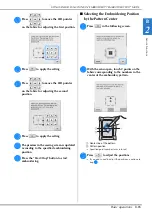
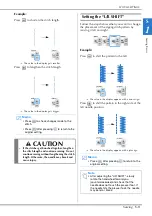
Press
to move the LED pointer
on the fabric for adjusting the first position.
g
Press
to apply the setting.
h
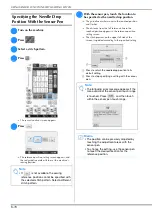
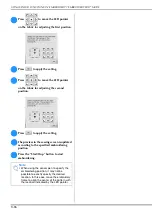
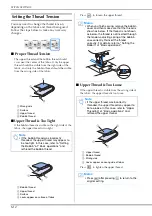
Press
to move the LED pointer
on the fabric for adjusting the second
position.
i
Press
to apply the setting.
j
The preview in the sewing screen is updated
according to the specified embroidering
position.
k
Press the “Start/Stop” button to start
embroidering.
■
Selecting the Embroidering Position
by the Pattern Center
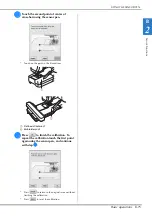
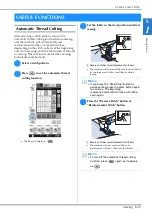
a
Press
in the following screen.
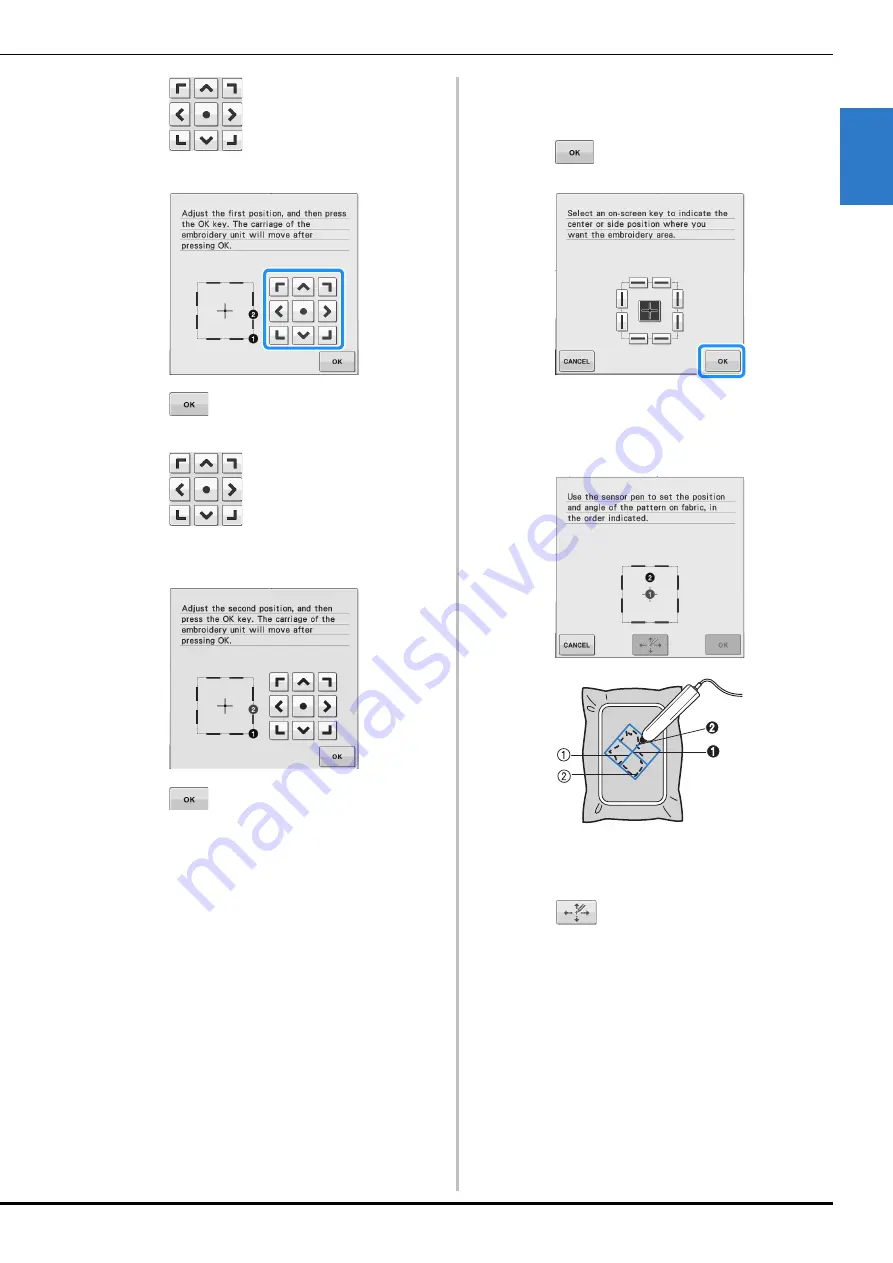
b
With the sensor pen, touch 2 points on the
fabric corresponding to the numbers in the
center of the embroidery pattern.
a
Center line of the pattern
b
Pattern position
→
Specified point number turns into red.
c
Press
to adjust the positions.
→
If you don’t need to adjust the positions, continue to
step
g
.
Summary of Contents for 882-C40
Page 107: ...USEFUL FUNCTIONS Sewing Basics Sewing S 19 S 1 ...
Page 163: ...STITCH SETTING CHART Utility Stitches Sewing S 75 S 2 ...
Page 200: ...USING STORED CUSTOM STITCHES S 112 ...
Page 218: ...ATTACHING THE EMBROIDERY FRAME E 18 b Pull the embroidery frame toward you ...
Page 255: ...EMBROIDERY APPLICATIONS Embroidery Embroidering E 55 E 1 ...
Page 286: ...USING THE MEMORY FUNCTION E 86 ...
Page 329: ......
Page 330: ......
Page 331: ......

