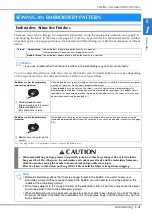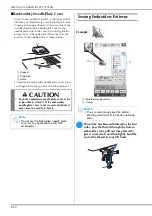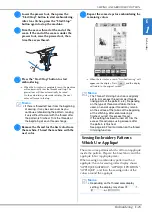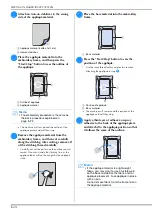
CONFIRMING THE PATTERN POSITION
E-20
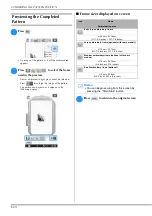
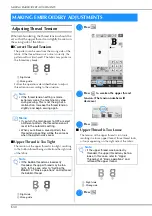
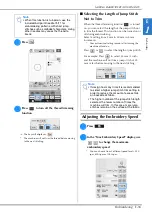
Previewing the Completed
Pattern
a
Press .
→
An image of the pattern as it will be embroidered
appears.
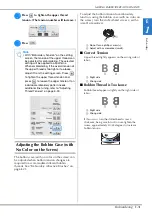
b
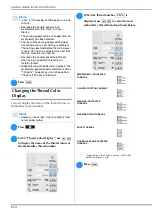
Press
to select the frame
used in the preview.
*
Frames displayed in light gray cannot be selected.
*
Press
to enlarge the image of the pattern.
*
The pattern can be sewn as it appears in the
following display.
■
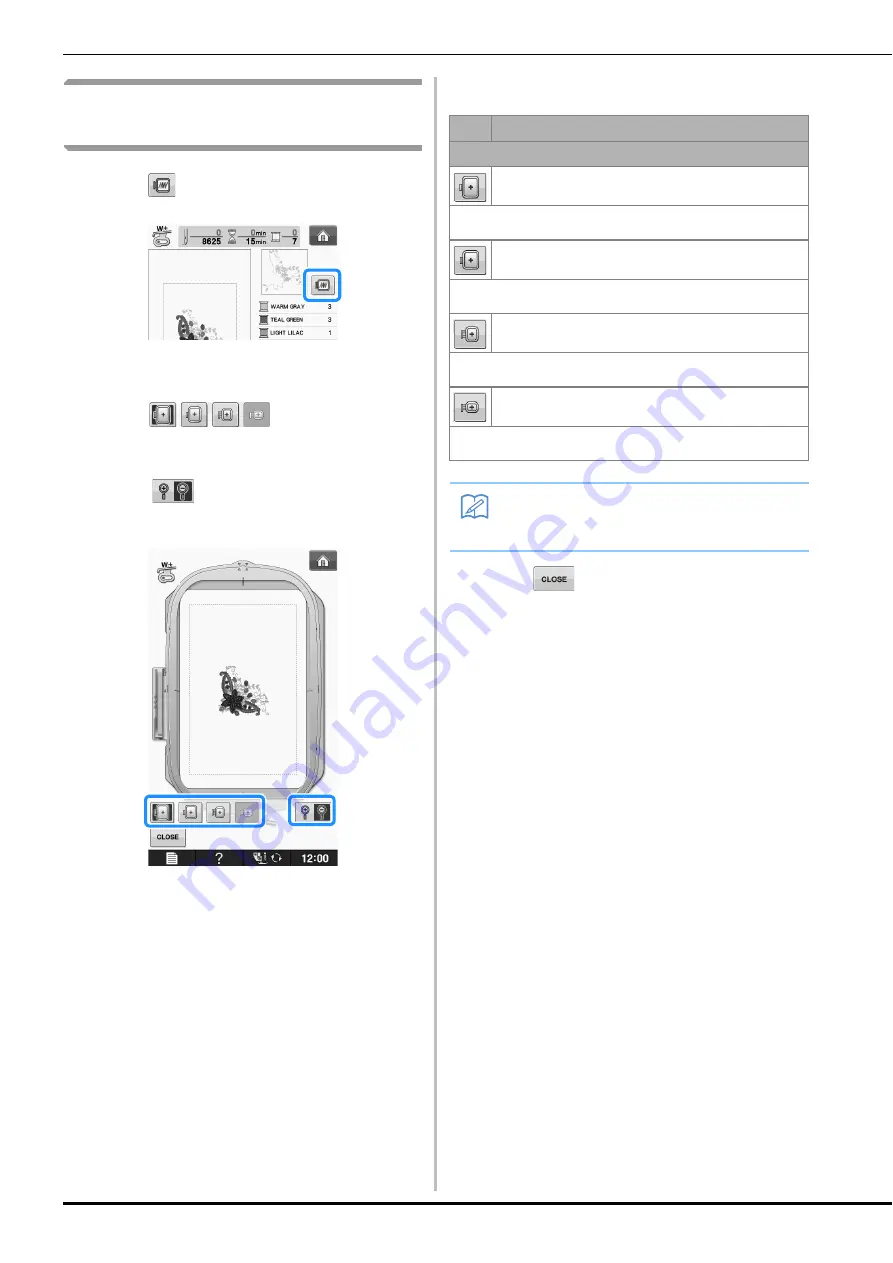
Frame sizes displayed on screen
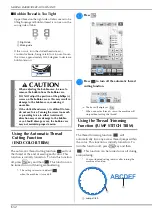
c
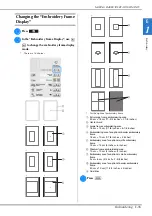
Press
to return to the original screen.
Icon
Name
Embroidering area
Extra large embroidery frame
H 30 cm × W 18 cm
(H 11-3/4 inches × W 7-1/8 inches)
Large embroidery frame (optional with some models)
H 18 cm × W 13 cm
(H 7-1/8 inches × W 5-1/8 inches)
Medium embroidery frame (optional with some
models)
H 10 cm × W 10 cm
(H 4 inches × W 4 inches)
Small embroidery frame (optional)
H 2 cm × W 6 cm
(H 3/4 inch × W 2-3/8 inches)
Memo
• You can begin sewing from this screen by
pressing the “Start/Stop” button.
Summary of Contents for 882-C50
Page 89: ...USEFUL FUNCTIONS Sewing Basics Sewing S 19 S 1 ...
Page 145: ...STITCH SETTING CHART Utility Stitches Sewing S 75 S 2 ...
Page 182: ...USING STORED CUSTOM STITCHES S 112 ...
Page 200: ...ATTACHING THE EMBROIDERY FRAME E 18 b Pull the embroidery frame toward you ...
Page 237: ...EMBROIDERY APPLICATIONS Embroidery Embroidering E 55 E 1 ...
Page 268: ...USING THE MEMORY FUNCTION E 86 ...
Page 311: ......


