PREPARING FOR BOBBIN WORK
H
o
w
to C
re
ate
Bobb
in W
o
rk
Appendix
A-7
A
1
m
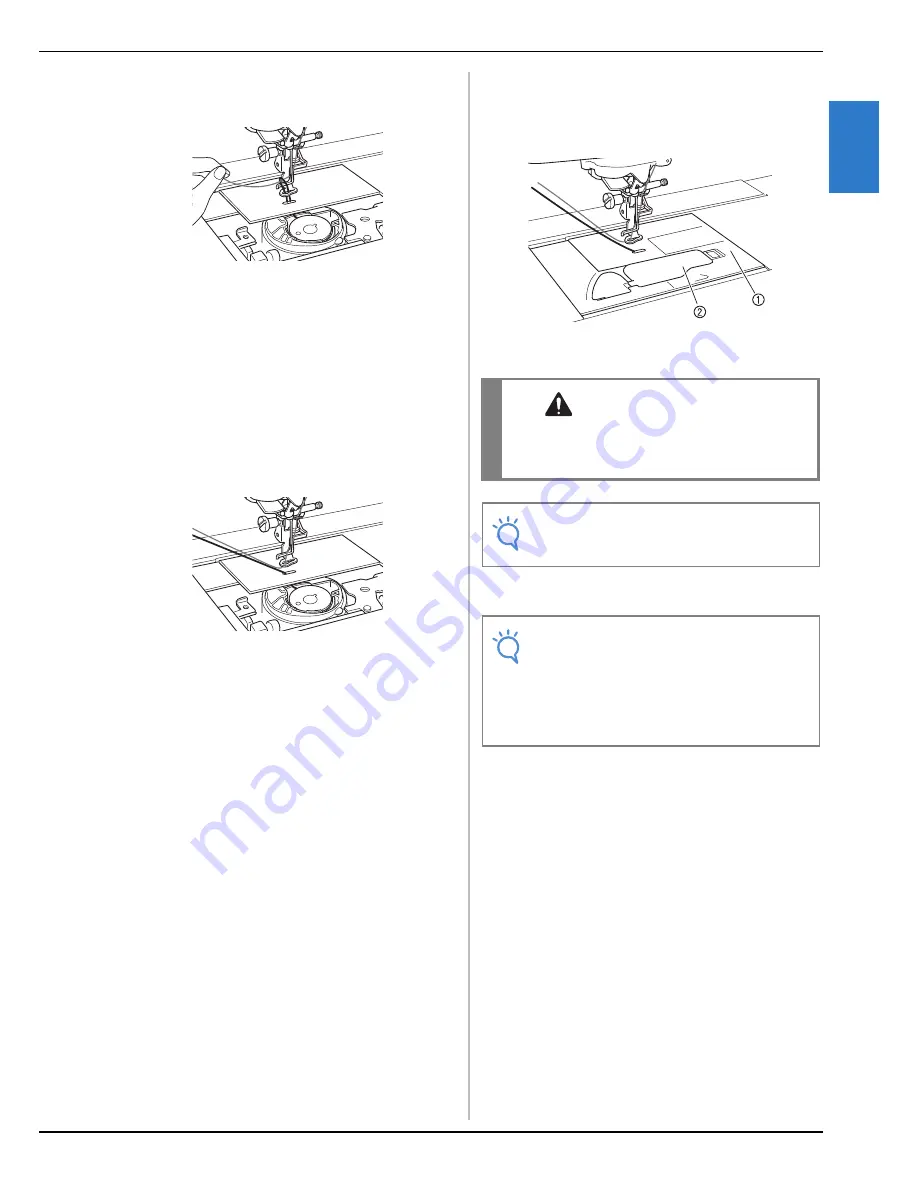
Gently pull the upper thread to bring the
bobbin thread up through the needle plate.
→
A loop of the bobbin thread comes out through the
hole in the needle plate.
n
Insert tweezers through bobbin thread loop
and pull bobbin thread above the needle
plate.
o
Align the upper thread and bobbin thread,
and then pull out about 10 cm (approx.
4 inches) of the threads and pass them
under the presser foot toward the rear of
the machine.
p
Install the needle plate cover and bobbin
cover with tabs.
For details on installing the needle plate cover, refer to
“Cleaning the Race” on page A-15.
a
Bobbin cover
b
Bobbin cover with tabs
q
Install the embroidery unit.
→
This completes the upper and lower threading.
CAUTION
• When creating bobbin work, use the bobbin
cover with tabs, otherwise the thread may
become tangled or the needle may break.
Note
• When installing the needle plate cover, do
not allow it to pinch the thread.
Note
• When installing the embroidery unit, do not
allow it to pinch the thread.
• When the bobbin thread is replaced with a
new one, be sure to repeat the procedure
from
a
, otherwise the lower threading will
not be done correctly.
Summary of Contents for 882-D80
Page 16: ...NAMES OF MACHINE PARTS AND THEIR FUNCTIONS B 14 ...
Page 64: ...USING SENSOR FUNCTIONS IN EMBROIDERY EMBROIDERY EDIT MODE B 62 ...
Page 82: ...ATTACHING THE EMBROIDERY FRAME E 18 b Pull the embroidery frame toward you ...
Page 119: ...EMBROIDERY APPLICATIONS Embroidery Embroidering E 55 E 1 ...
Page 150: ...USING THE MEMORY FUNCTION E 86 ...


