CONFIRMING THE PATTERN POSITION
208
CONFIRMING THE PATTERN POSITION
The pattern is normally positioned in the center of the embroidery frame. If the pattern needs to be
repositioned for better placement on the garment, you can check the layout before starting embroidery.
Aligning the Embroidering
Position Using the Built-In
Camera
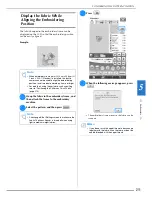
The camera built into this machine can be used to
easily align the embroidering position. This is
useful for patterns which need to be embroidered
in a particular position as shown below.
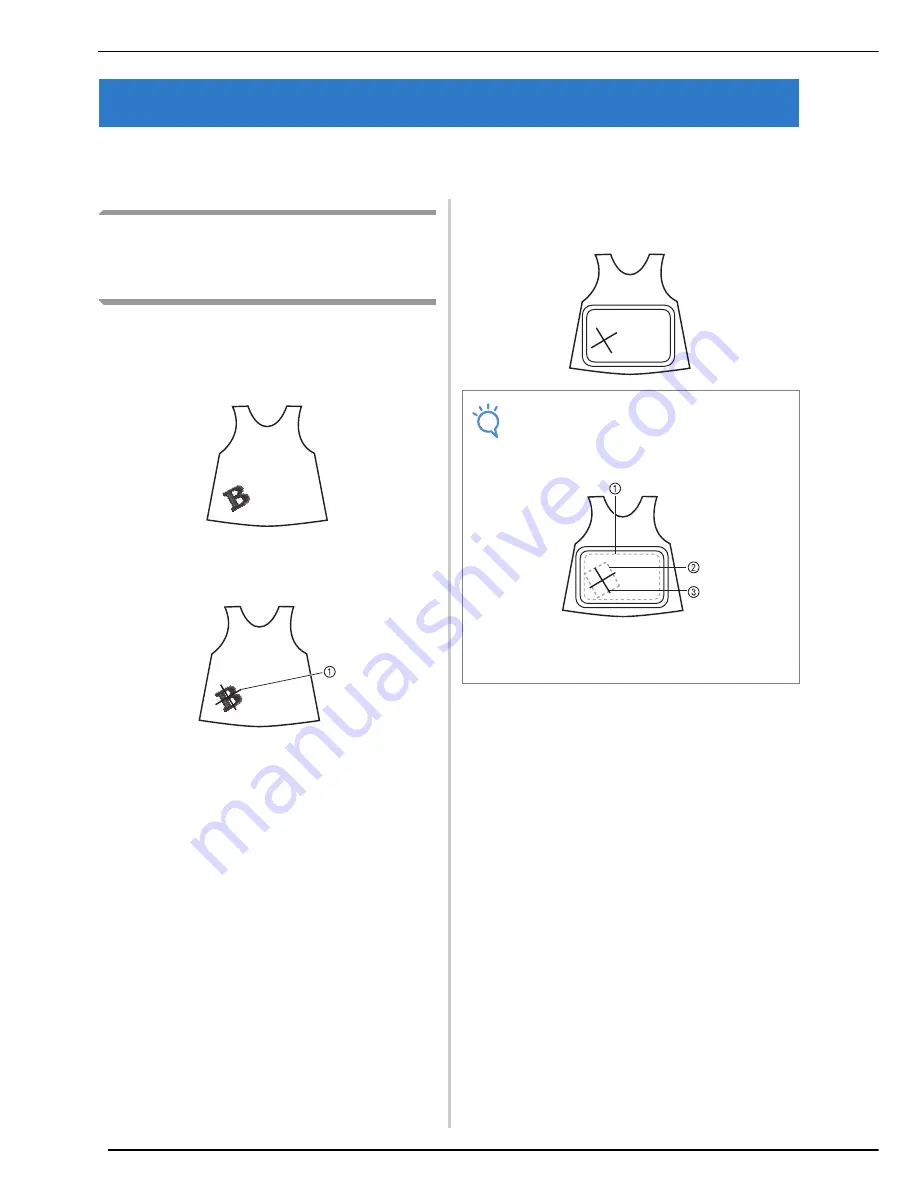
a
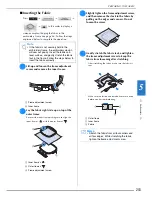
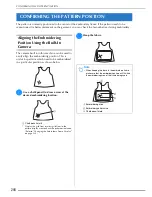
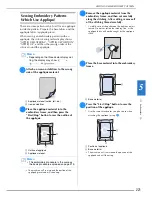
Use a chalk pencil to draw a cross at the
desired embroidering location.
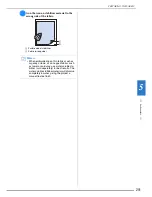
a
Chalk pencil mark
*
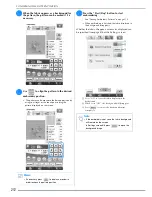
Display the grid lines or cross grid lines in the
pattern display area to check the pattern orientation.
(Refer to “Changing the Embroidery Frame Display”
on page 238.)
b
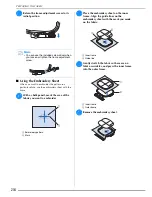
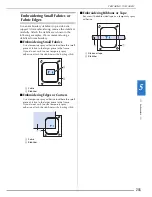
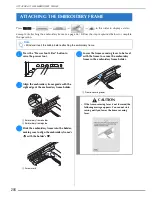
Hoop the fabric.
Note
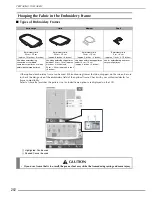
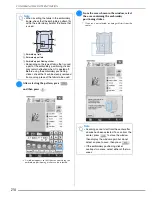
• When hooping the fabric in the embroidery frame,
make sure that the embroidery pattern will fit within
the embroidering area of the frame being used.
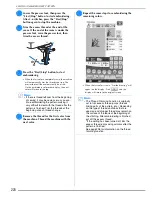
a
Embroidering area
b
Embroidery pattern size
c
Chalk pencil mark
Summary of Contents for 882-W04
Page 7: ...IMPORTANT SAFETY INSTRUCTIONS 5 ...
Page 72: ...CHANGING THE NEEDLE 70 ...
Page 90: ...USEFUL FUNCTIONS 88 ...
Page 186: ...USING THE MEMORY FUNCTION 184 ...
Page 326: ...TROUBLESHOOTING 324 ...
Page 338: ...USING STORED CUSTOM STITCHES 336 ...
Page 373: ......
Page 374: ......
Page 375: ......
Page 376: ...English 882 W04 W05 XF0228 0011 Printed in Taiwan ...

