


H
o
w
to
Cr
ea
te
Bob
b
in
Wor
k
7
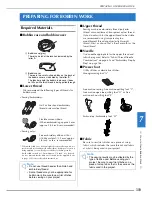
PREPARING FOR BOBBIN WORK
313
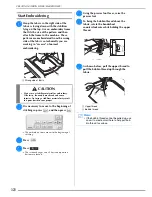
m
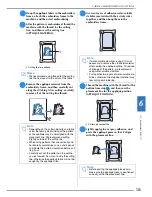
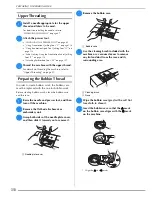
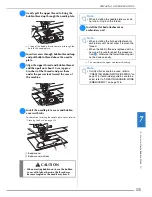
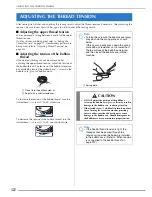
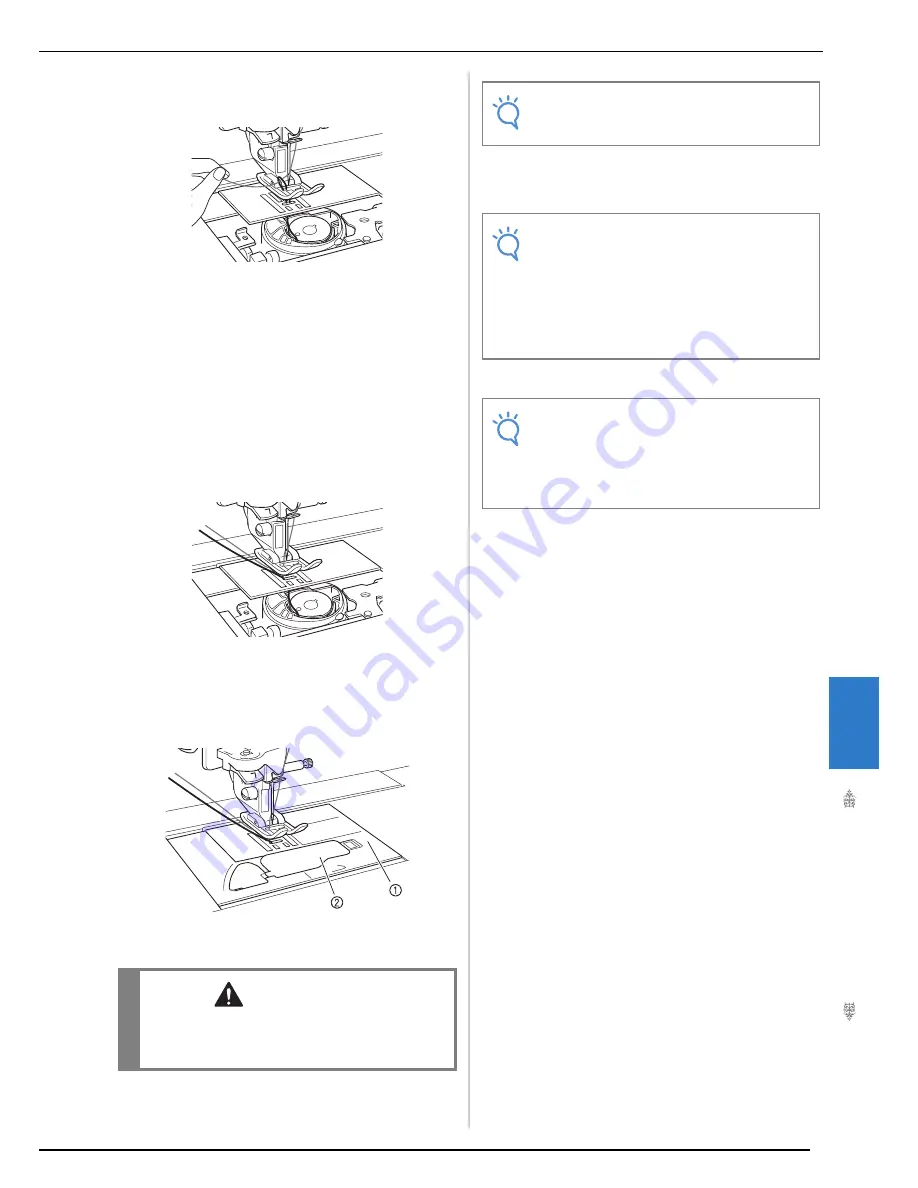
Gently pull the upper thread to bring the
bobbin thread up through the needle plate.
→
A loop of the bobbin thread comes out through the
hole in the needle plate.
n
Insert tweezers through bobbin thread loop
and pull bobbin thread above the needle
plate.
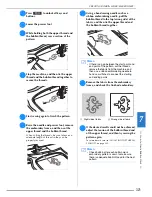
o
Align the upper thread and bobbin thread,
and then pull out about 10 cm (approx.
4 inches) of the threads and pass them
under the presser foot toward the rear of
the machine.
p
Install the needle plate cover and bobbin
cover with tabs.
For details on installing the needle plate cover, refer to
“Cleaning the Race” on page 338.
a
Bobbin cover
b
Bobbin cover with tabs
q
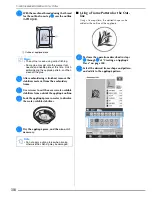
Install the flat bed attachment or
embroidery unit.
→
This completes the upper and lower threading.
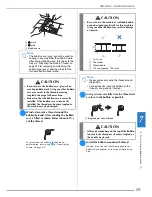
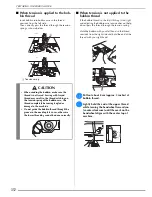
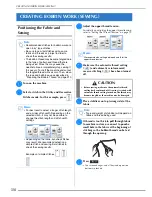
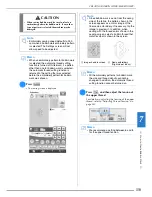
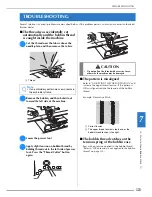
CAUTION
• When creating bobbin work, use the bobbin
cover with tabs, otherwise the thread may
become tangled or the needle may break.
Note
• When installing the needle plate cover, do
not allow it to pinch the thread.
Note
• When installing the flat bed attachment or
embroidery unit, do not allow it to pinch the
thread.
• When the bobbin thread is replaced with a
new one, be sure to repeat the procedure
from
a
, otherwise the lower threading will
not be done correctly.
Note
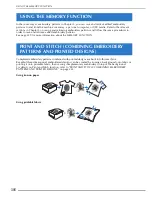
• If utility stitches are to be used, refer to
“CREATING BOBBIN WORK (SEWING)” on
page 314. If embroidery patterns are to be
used, refer to “CREATING BOBBIN WORK
(EMBROIDERY)” on page 318.
Summary of Contents for 882-W04
Page 7: ...IMPORTANT SAFETY INSTRUCTIONS 5 ...
Page 72: ...CHANGING THE NEEDLE 70 ...
Page 90: ...USEFUL FUNCTIONS 88 ...
Page 186: ...USING THE MEMORY FUNCTION 184 ...
Page 326: ...TROUBLESHOOTING 324 ...
Page 338: ...USING STORED CUSTOM STITCHES 336 ...
Page 373: ......
Page 374: ......
Page 375: ......
Page 376: ...English 882 W04 W05 XF0228 0011 Printed in Taiwan ...


