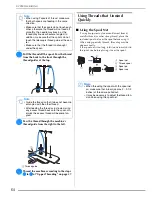
UPPER THREADING
G
etting
Re
ad
y
61
1
a
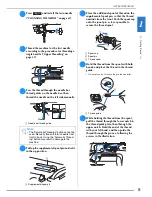
Press
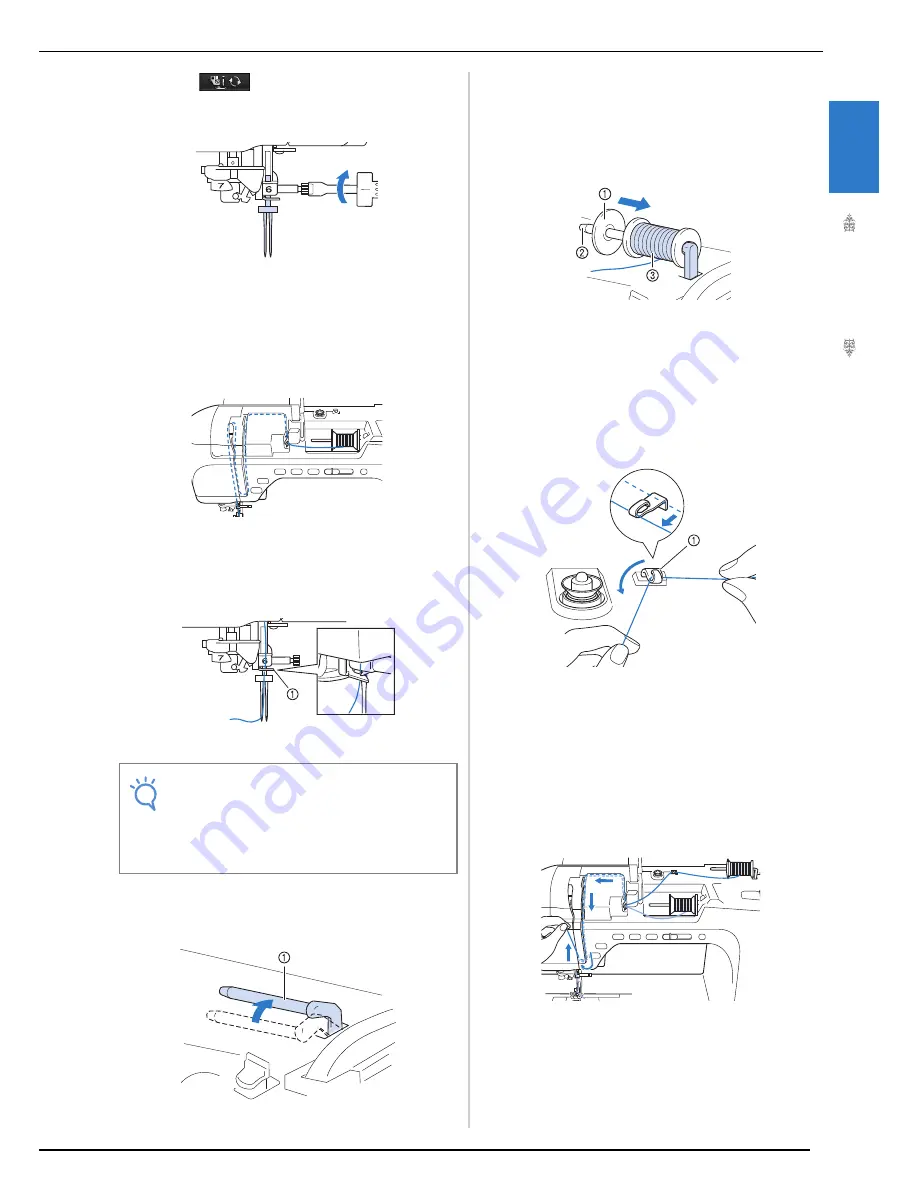
and install the twin needle
(“CHANGING THE NEEDLE” on page 67).
b
Thread the machine for the first needle
according to the procedure for threading a
single needle (“Upper Threading” on
page 57).
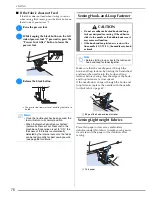
c
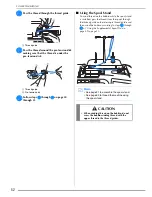
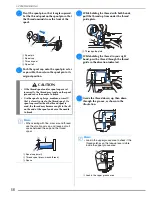
Pass the thread through the needle bar
thread guides on the needle bar, then
thread the needle on the left side manually.
a
Needle bar thread guide
d
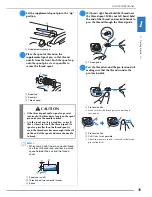
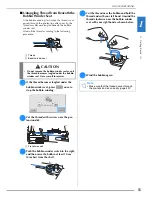
Pull up the supplemental spool pin and set it
in the up position.
a
Supplemental spool pin
e
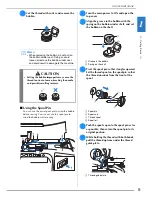
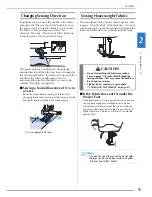
Place the additional spool of thread on the
supplemental spool pin, so that the thread
unwinds from the front. Push the spool cap
onto the spool pin as far as possible to
secure the thread spool.
a
Spool cap
b
Spool pin
c
Thread spool
f
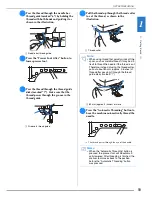
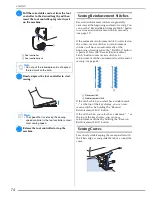
Hold the thread from the spool with both
hands, and place the thread in the thread
guide.
*
Do not place the thread in the pre-tension disks.
a
Thread guide
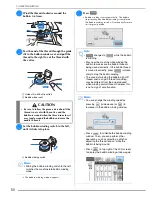
g
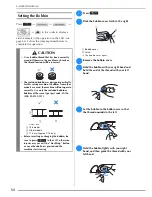
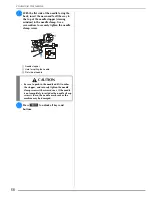
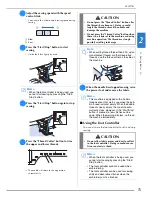
While holding the thread from the spool,
pull the thread through the lower notch in
the thread guide plate, then through the
upper notch. Hold the end of the thread
with your left hand, and then guide the
thread through the groove, following the
arrows in the illustration.
Note
• The “Automatic Threading” button cannot be
used. Manually thread the twin needle from
front to back. Using the “Automatic Thread-
ing” button may result in damage to the
machine.
Summary of Contents for 882-W04
Page 7: ...IMPORTANT SAFETY INSTRUCTIONS 5 ...
Page 72: ...CHANGING THE NEEDLE 70 ...
Page 90: ...USEFUL FUNCTIONS 88 ...
Page 186: ...USING THE MEMORY FUNCTION 184 ...
Page 326: ...TROUBLESHOOTING 324 ...
Page 338: ...USING STORED CUSTOM STITCHES 336 ...
Page 373: ......
Page 374: ......
Page 375: ......
Page 376: ...English 882 W04 W05 XF0228 0011 Printed in Taiwan ...

