SEWING THE STITCHES
U
tili
ty
S
tit
ch
es
153
3
e
Topstitch 7 to 10 mm (approx. 1/4 to 3/8
inch) from the seamed edge of the fabric,
then remove the basting.
■
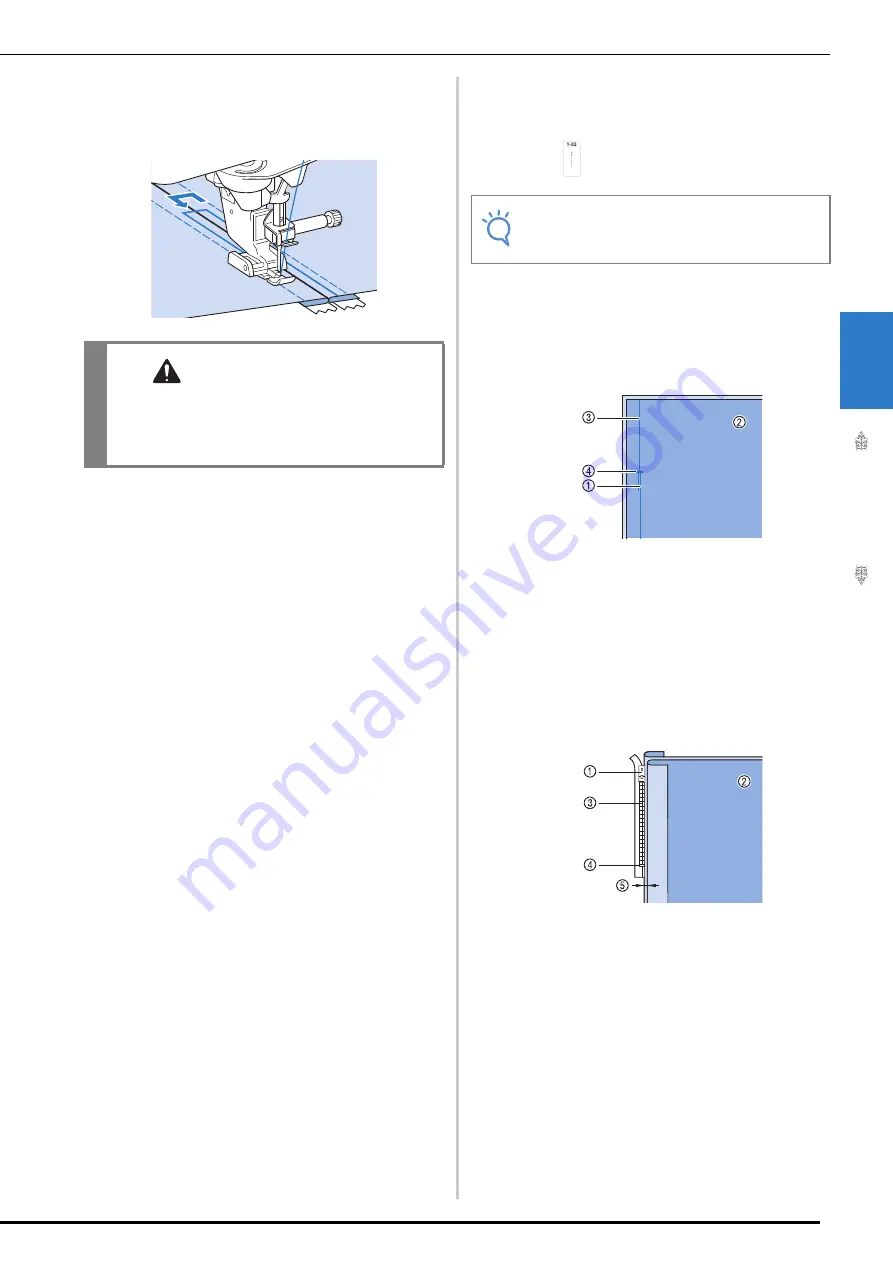
Inserting a Side Zipper
Use for side zippers in skirts or dresses.
a
Select .
b
Attach presser foot “J” and sew straight
stitches up to the zipper opening. Change to
a basting stitch and sew to the top of the
fabric.
a
Reverse stitches
b
Wrong side of fabric
c
Basting stitches
d
End of zipper opening
c
Press the seam allowance open and align
the folded hem along the teeth of the
zipper, while maintaining 3 mm (approx. 1/
8 inch) of sewing space.
a
Zipper pull tab
b
Wrong side of fabric
c
Zipper teeth
d
End of zipper opening
e
3 mm (approx. 1/8 inch)
d
Remove presser foot “J”.
CAUTION
• Make sure the needle does not strike the
zipper during sewing. If the needle strikes the
zipper, the needle may break, leading to
injury.
Note
• Make sure you sew using the middle needle
position.
Summary of Contents for 882-W30
Page 2: ......
Page 12: ...CONTENTS 10 ...
Page 13: ...Chapter 1 Getting Ready ...
Page 53: ...Chapter 2 Sewing Basics ...
Page 102: ...PROJECTOR FUNCTIONS UTILITY STITCHES AND CHARACTER DECORATIVE STITCHES 100 ...
Page 103: ...Chapter 3 Utility Stitches ...
Page 158: ...SEWING THE STITCHES 156 ...
Page 159: ...Chapter 4 Character Decorative Stitches ...
Page 179: ...COMBINING STITCH PATTERNS Character Decorative Stitches 177 4 Press Press Press ...
Page 186: ...USING THE MEMORY FUNCTION 184 ...
Page 187: ...Chapter 5 MY CUSTOM STITCH ...
Page 198: ...USING STORED CUSTOM STITCHES 196 d Select the stitch pattern you want to retrieve and press ...
Page 199: ...Chapter 6 Appendix ...
Page 232: ......
Page 233: ......
Page 234: ......
Page 235: ......


