CHANGING THE NEEDLE
30
n
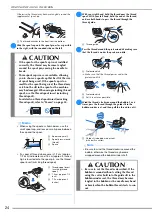
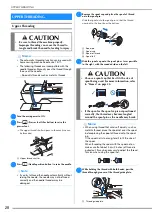
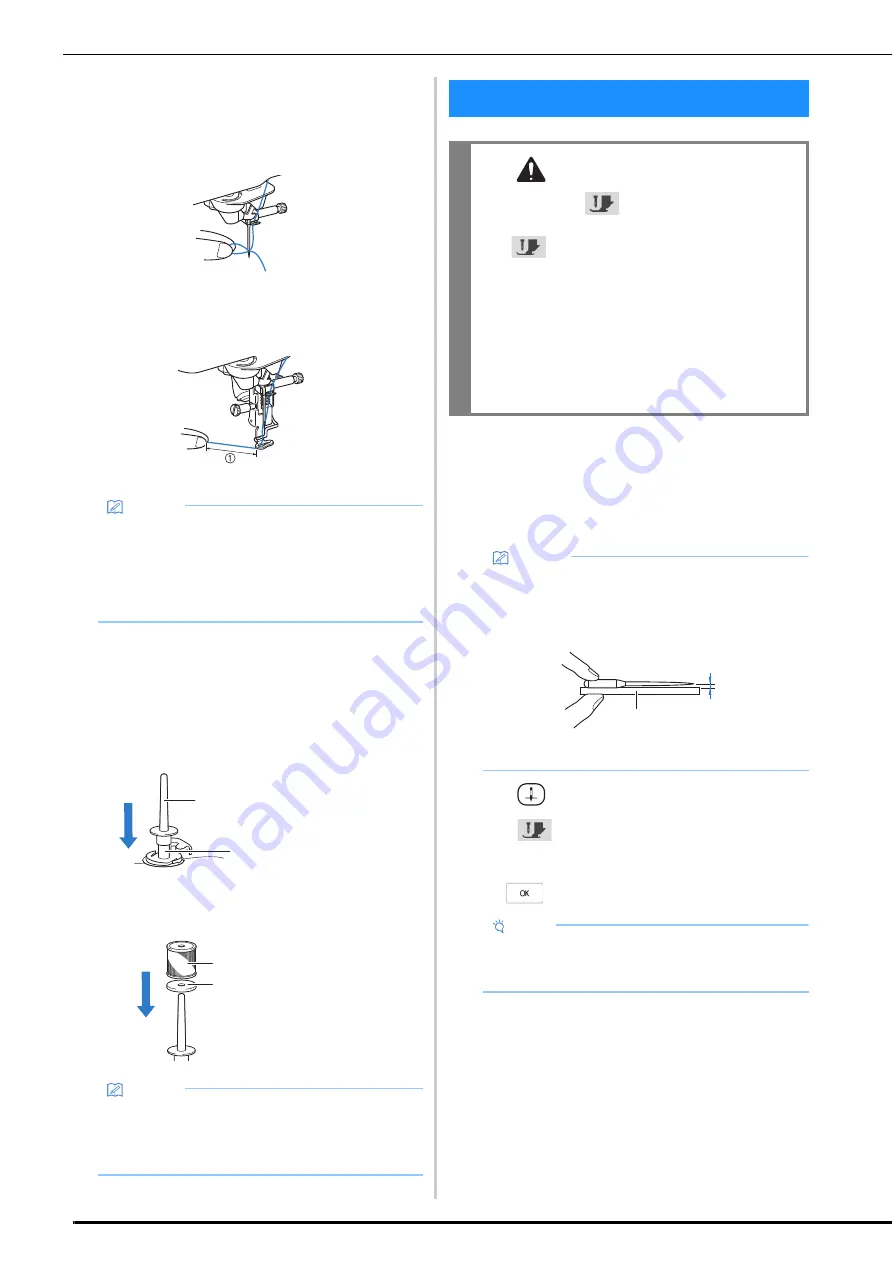
Carefully pull the end of the thread that was passed
through the eye of the needle.
*
If a loop was formed in the thread passed through
the eye of the needle, carefully pull on the loop of
thread through to the back of the needle.
o
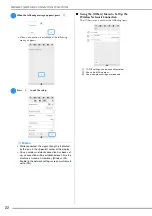
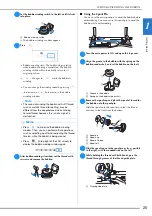
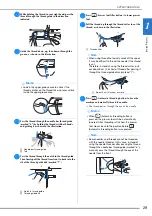
Raise the presser foot lever and pull out about 10 cm (4
inches) of the thread, and then pass it under the presser
foot toward the rear of the machine.
1
About 10 cm (4 inches)
■
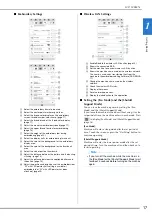
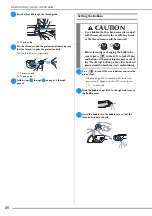
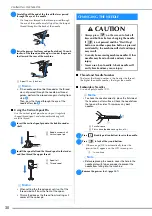
Using the Vertical Spool Pin
Use the vertical spool pin when using an irregularly
shaped thread spool, and when embroidering with
metallic thread.
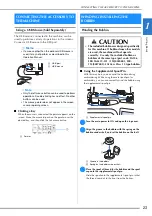
a
Insert the vertical spool pin onto the bobbin winder
shaft.
b
Install the spool felt and the thread spool in that order,
and then thread the upper thread.
■
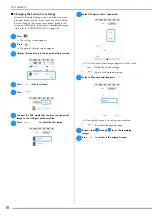
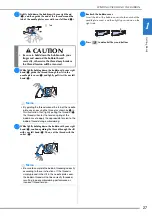
Thread and Needle Number
The lower the thread number is, the heavier the thread;
the higher the needle number, the larger the needle.
■
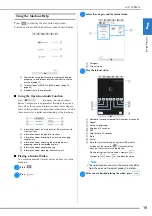
Embroidery Needles
Use a ball point needle 75/11.
a
Press
(Needle position button) to raise the needle.
b
Press
to lock all keys and buttons.
*
If the message [OK to automatically lower the
presser foot?] appears on the LCD screen, press
to continue.
c
Remove the presser foot. (page 107)
Memo
• If the needle could not be threaded or the thread
was not passed through the needle bar thread
guides, perform the procedure again starting from
step
c
.
Then, pass the thread through the eye of the
needle after step
i
.
1
Bobbin winder shaft
2
Vertical spool pin
1
Spool felt
2
Thread spool
Memo
• When setting the thread spool, set it so that the
thread winds off from the front of the spool.
• This method keeps the thread from twisting as it
comes off the spool pin.
b
a
b
a
CHANGING THE NEEDLE
CAUTION
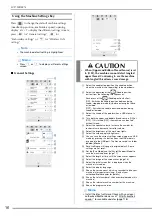
• Always press
on the screen to lock all
keys and buttons before changing the needle.
If
is not pressed and the “Start/Stop”
button or another operation button is pressed
accidentally, the machine will start and injury
may result.
• Use only home sewing machine needles. Other
needles may bend or break and may cause
injury.
• Never use a bent needle. A bent needle will
easily break and may cause injury.
Memo
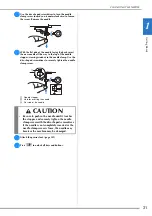
• To check the needle correctly, place the flat side of
the needle on a flat surface. Check the needle from
the top and the sides. Throw away any bent
needles.
1
Parallel space
2
Flat surface (bobbin cover, glass, etc.)
Note
• Before replacing the needle, cover the hole in the
needle plate with fabric or paper to prevent the
needle from falling into the machine.
a
b
Summary of Contents for 882-W80
Page 2: ......
Page 10: ...CONTENTS 8 ...
Page 34: ...CHANGING THE NEEDLE 32 ...
Page 35: ...Chapter 2 Basic Embroidery ...
Page 70: ...ADJUSTMENTS DURING THE EMBROIDERY PROCESS 68 ...
Page 71: ...Chapter 3 Advanced Embroidery ...
Page 86: ...EMBROIDERY APPLICATIONS 84 ...
Page 87: ...Chapter 4 My Design Center ...
Page 106: ...STIPPLING 104 ...
Page 107: ...Chapter 5 Appendix ...
Page 123: ......

