BEFORE EMBROIDERING
34
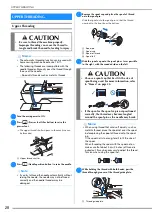
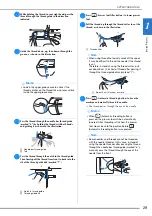
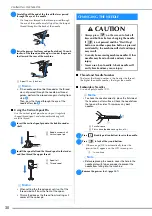
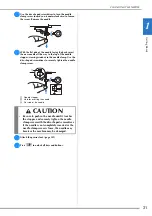
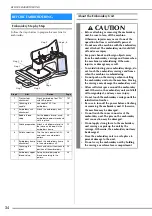
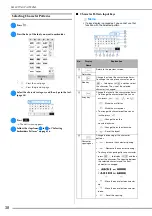
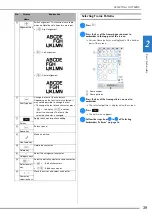
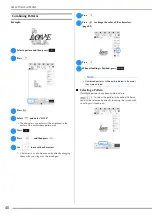
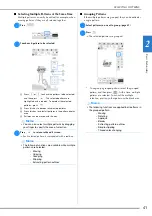
Embroidery Step by Step
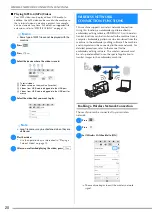
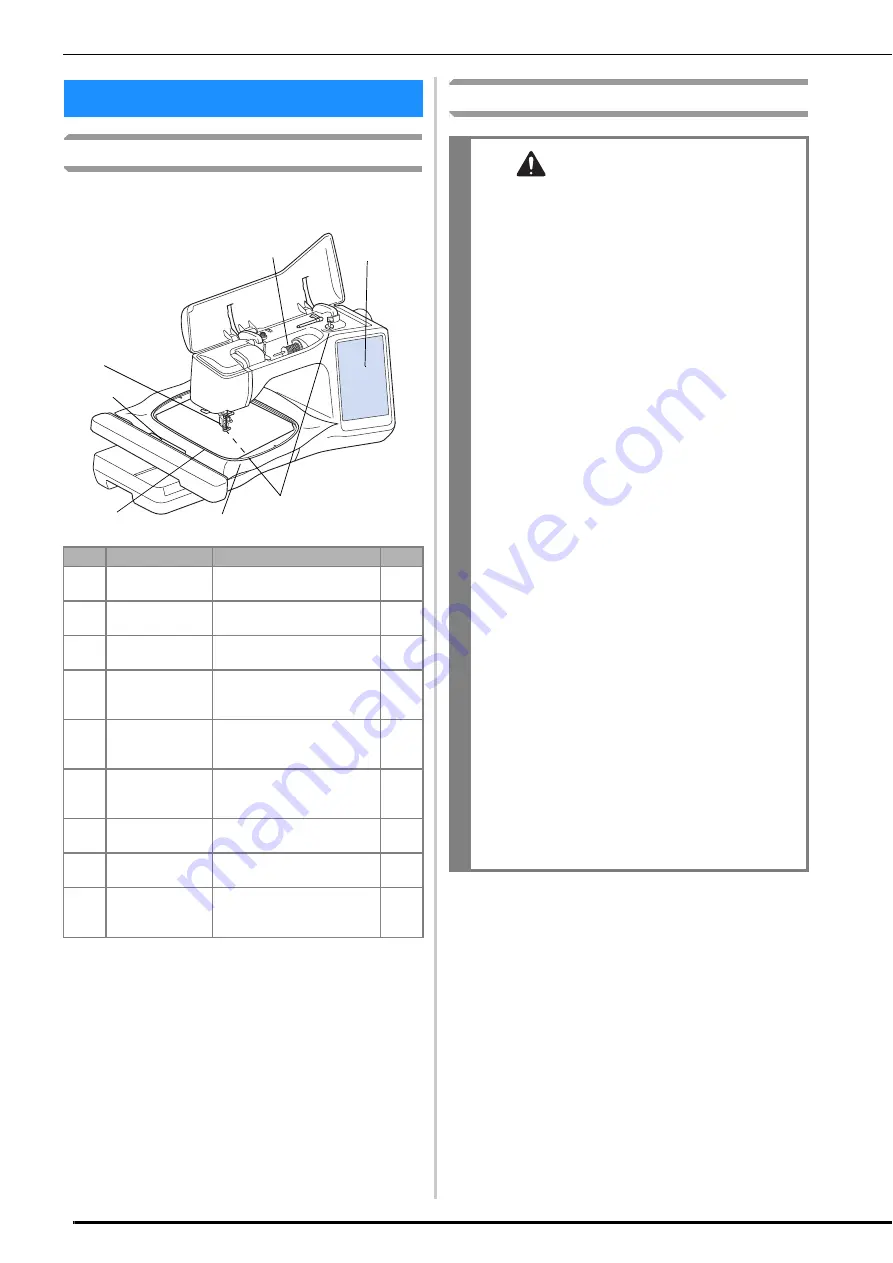
Follow the steps below to prepare the machine for
embroidery.
About the Embroidery Unit
BEFORE EMBROIDERING
Step #
Aim
Action
Page
1
Presser foot
attachment
Attach embroidery foot “W+”
with LED pointer.
107
2
Checking the
needle
Use needle 75/11 for
embroidery.
30
3
Embroidery unit
attachment
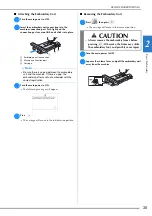
Attach the embroidery unit.
34
4
Bobbin thread
setup
For the bobbin thread, wind
embroidery bobbin thread and
set it in place.
23
5
Fabric preparation Attach a stabilizer material to
the fabric, and hoop it in the
embroidery frame.
55
6
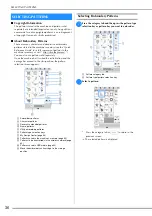
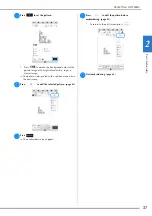
Pattern selection
Turn the main power to ON,
and select an embroidery
pattern.
36
7
Embroidery frame
attachment
Attach the embroidery frame
to the embroidery unit.
58
8
Checking the
layout
Check and adjust the size and
position of the embroidery.
59
9
Embroidery upper
thread setup
Set up embroidery upper
thread according to the
pattern.
28
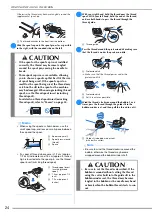
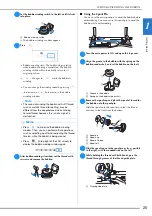
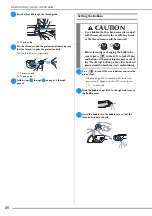
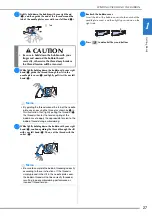
Step 3
Step 1, 2
Step 7
Step 5
Step 4
Step 6, 8
Step 9
CAUTION
• Before attaching or removing the embroidery
unit, be sure to turn off the machine.
Otherwise, injuries may occur if one of the
operation buttons is accidentally pressed.
• Do not move the machine with the embroidery
unit attached. The embroidery unit could fall
off and cause injury.
• Keep your hands and foreign objects away
from the embroidery carriage and frame when
the machine is embroidering. Otherwise,
injuries or damage may result.
• To avoid distorting your embroidery design, do
not touch the embroidery carriage and frame
when the machine is embroidering.
• Do not push on the carriage when installing
the embroidery unit onto the machine. Moving
the carriage may damage the embroidery unit.
• Allow sufficient space around the embroidery
unit. Otherwise, the embroidery unit could fall
off foreign object, and may cause injury.
• Do not touch the embroidery carriage until the
initialization finishes.
• Be sure to turn off the power before attaching
or removing the embroidery unit. Otherwise,
the machine may be damaged.
• Do not touch the inner connector of the
embroidery unit. The pins on the embroidery
unit connection may be damaged.
• Do not apply strong force to the embroidery
unit carriage or pick up the unit by the
carriage. Otherwise, the embroidery unit may
be damaged.
• Store the embroidery unit in a safe place to
prevent damage to the unit.
• Do not carry the embroidery unit by holding
the carriage or release lever compartment.
Summary of Contents for 882-W80
Page 2: ......
Page 10: ...CONTENTS 8 ...
Page 34: ...CHANGING THE NEEDLE 32 ...
Page 35: ...Chapter 2 Basic Embroidery ...
Page 70: ...ADJUSTMENTS DURING THE EMBROIDERY PROCESS 68 ...
Page 71: ...Chapter 3 Advanced Embroidery ...
Page 86: ...EMBROIDERY APPLICATIONS 84 ...
Page 87: ...Chapter 4 My Design Center ...
Page 106: ...STIPPLING 104 ...
Page 107: ...Chapter 5 Appendix ...
Page 123: ......

