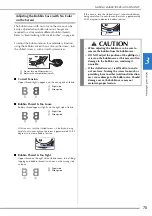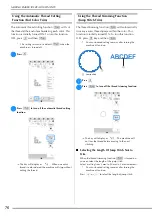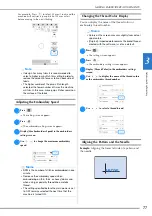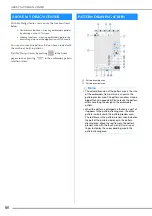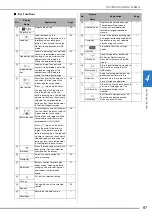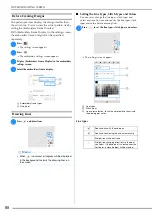
MAKING EMBROIDERY ADJUSTMENTS
79
Ad
va
nc
ed
Em
br
oi
d
er
y
3
e
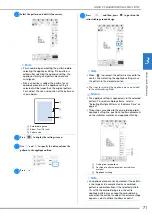
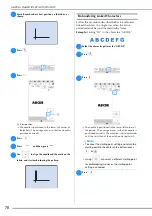
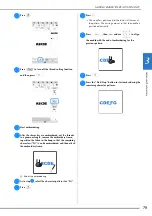
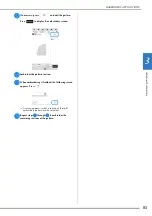
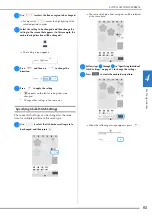
Press .
f
Press
to turn off the thread cutting function
and then press
.
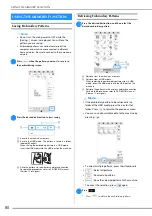
g
Start embroidering.
h
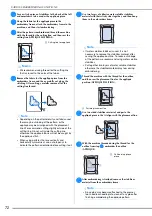
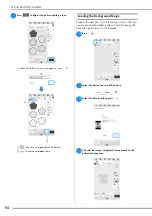
After the characters are embroidered, cut the threads
to a generous length, remove the embroidery frame,
reposition the fabric in the hoop so that the remaining
characters (“FG”) can be embroidered, and then attach
the embroidery frame.
1
End of the embroidering
i
As in step
a
, select the character patterns for “FG”.
j
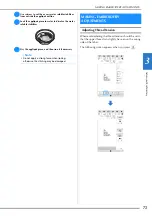
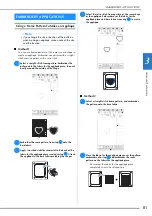
Press .
k
Press .
The needle is positioned in the lower-left corner of
the pattern. The carriage moves so that the needle is
positioned correctly.
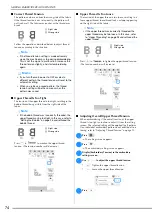
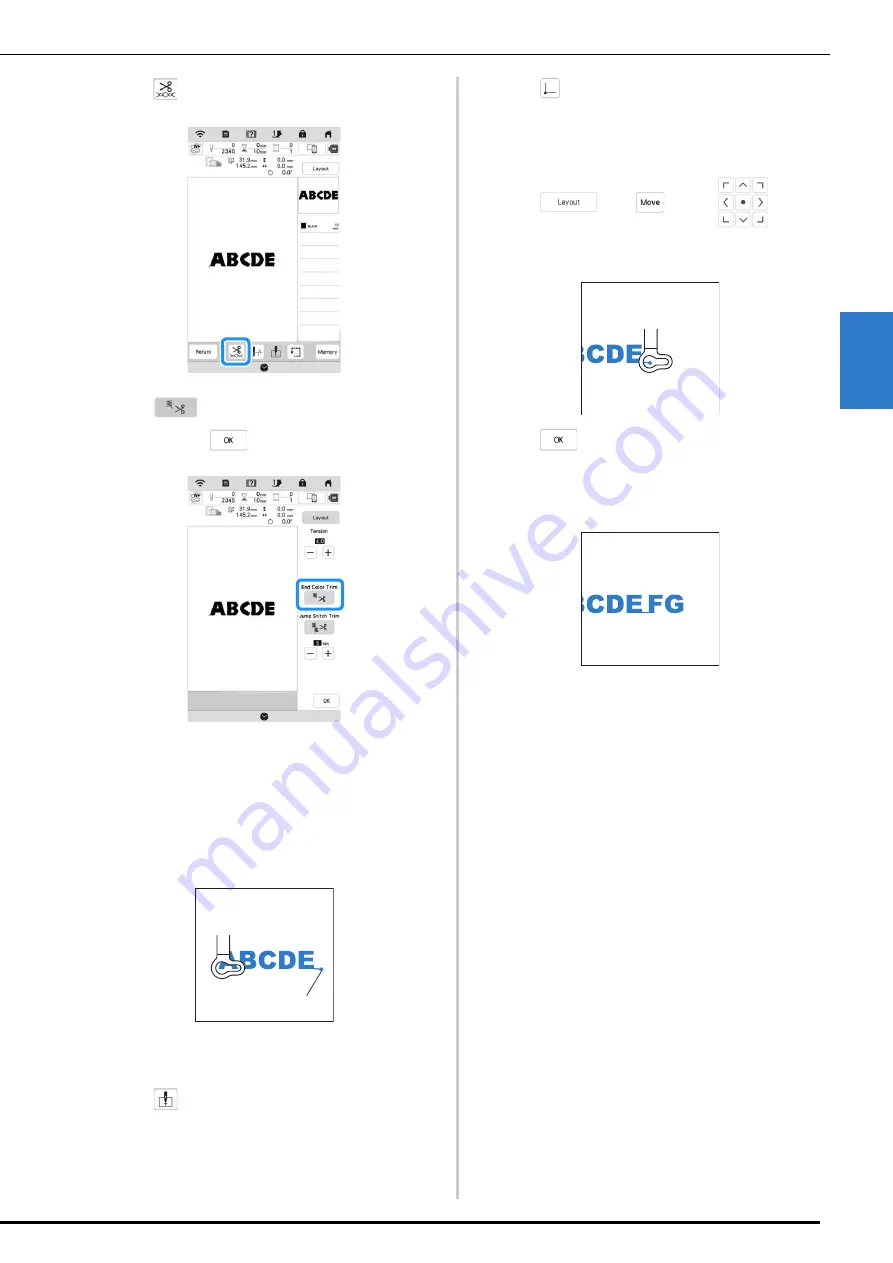
l
Press
, then
and use
to align
the needle with the end of embroidering for the
previous pattern.
m
Press
.
n
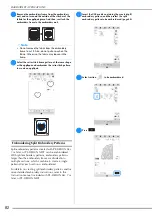
Press the “Start/Stop” button to start embroidering the
remaining character patterns.
a
Summary of Contents for 882-W80
Page 2: ......
Page 10: ...CONTENTS 8 ...
Page 34: ...CHANGING THE NEEDLE 32 ...
Page 35: ...Chapter 2 Basic Embroidery ...
Page 70: ...ADJUSTMENTS DURING THE EMBROIDERY PROCESS 68 ...
Page 71: ...Chapter 3 Advanced Embroidery ...
Page 86: ...EMBROIDERY APPLICATIONS 84 ...
Page 87: ...Chapter 4 My Design Center ...
Page 106: ...STIPPLING 104 ...
Page 107: ...Chapter 5 Appendix ...
Page 123: ......

