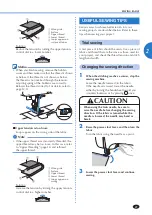
KNOWING YOUR SEWING MACHINE
12
3
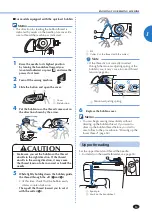
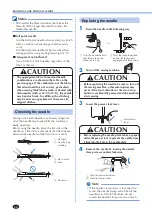
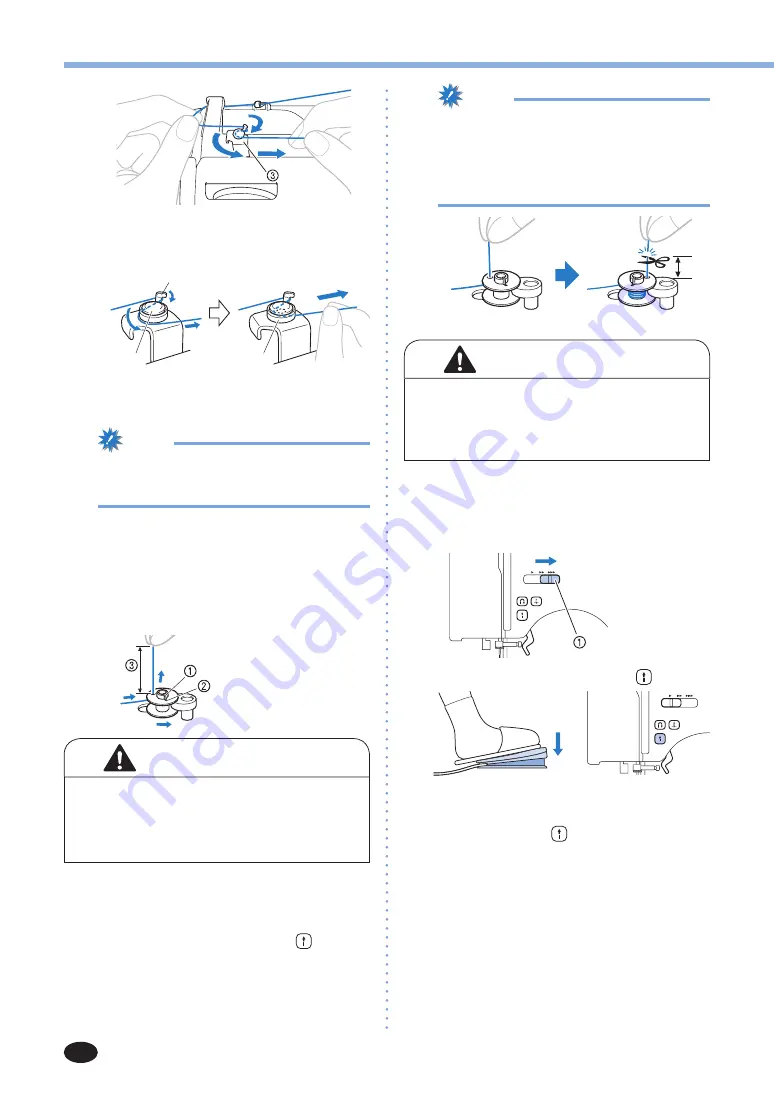
Bobbin-winding thread guide
Make sure that the thread passes under the
pre-tension disk.
4
5
6
4
Hook
5
Pre-tension disk
6
Pull it in as far as possible.
Note
• Make sure that the thread is pulled as far as
possible into the pre-tension disk, otherwise
the bobbin may not be wound cleanly.
4
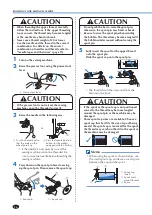
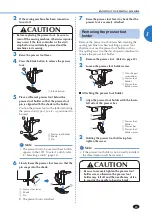
Put the bobbin onto the bobbin winder shaft and
slide the bobbin winder shaft to the right. Turn
the bobbin clockwise, by hand, until the spring
on the shaft slides into the notch in the bobbin.
• Make sure to pull out 7 to 10 cm (2-3/4 to
3-15/16 inches) of thread.
1
Spring on the shaft
2
Notch
3
7 – 10 cm
(3 – 4 inches)
CAUTION
• Pull the thread taut and hold the end of the
thread straight up. If the thread is too short,
not pulled taut or held at an angle, injuries
may occur when the thread is wound around
the bobbin.
5
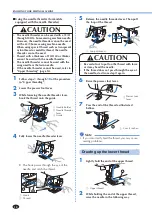
Turn on the sewing machine.
6
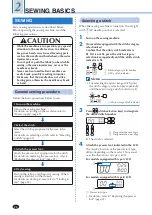
While holding the end of the thread, gently
press the foot controller or press (start/
stop button) (for models equipped with
the start/stop button) to wind the thread
around the bobbin a few times. Then stop the
machine and trim the excess thread.
Note
• When using the foot controller to operate
the sewing machine, connect the foot
controller before turning on the machine.
• When the foot controller is plugged in, the
start/stop button is disabled (only for models
equipped with the start/stop button).
1
1
1 cm (3/8 inch)
CAUTION
• Make sure you follow the instructions carefully.
If you do not cut the thread completely, and
the bobbin is wound, when the thread runs
low it may tangle around the bobbin and cause
the needle to break.
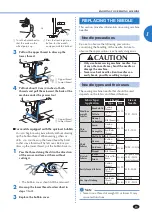
7
(For models equipped with the sewing speed
controller)
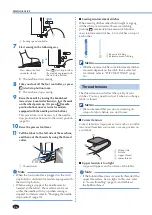
Slide the sewing speed controller to the right
(to set the speed to fast).
1
Sewing speed
controller
8
Press the foot controller or press to start.
or
9
When the bobbin seems full and begins
spinning slowly, take your foot off the foot
controller or press .
10
Cut the thread, slide the bobbin winder shaft
to the left and remove the bobbin.
11
(For models equipped with the sewing speed
controller)
Slide the sewing speed controller back to its
original position.
Summary of Contents for 885-E33
Page 2: ......


