108
APPENDIX
————————————————————————————————————————————————————————————————————————————————————————————————————————————
c
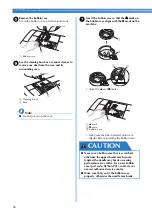
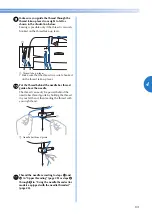
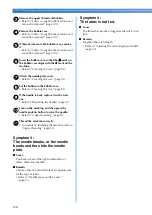
Remove the upper thread and bobbin.
• Refer to “Fabric is caught in the machine and
cannot be removed” (page 103).
d
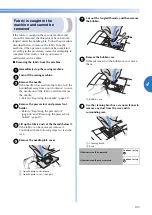
Remove the bobbin case.
• Refer to “Fabric is caught in the machine and
cannot be removed” (page 103).
e
If threads remain in the bobbin case, remove
it.
• Refer to “Fabric is caught in the machine and
cannot be removed” (page 103).
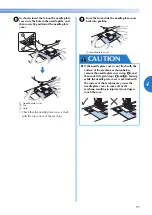
f
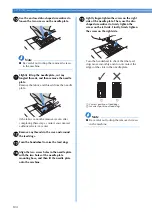
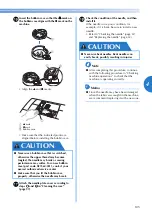
Insert the bobbin case so that the
S
mark on
the bobbin case aligns with the
z
mark on the
machine.
• Refer to “Cleaning the race” (page 95).
g
Attach the needle plate cover.
• Refer to “Cleaning the race” (page 95).
h
Set the bobbin in the bobbin case.
• Refer to “Cleaning the race” (page 95).
i
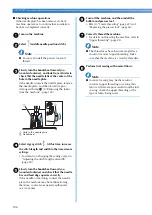
If the needle is bent, replace it with a new
one.
• Refer to “Replacing the needle” (page 32).
j
Turn on the machine, and then press the
needle position button to raise the needle.
• Refer to “Upper threading” (page 25).
k
Thread the machine correctly.
• For details on threading the machine, refer to
“Upper threading” (page 25).
Symptom 3 :
The needle breaks, or the needle
bends and thus hits the needle
plate.
■
Cause
You have not used the right combination of
fabric, thread and needle.
■
Remedy
Choose a thread and needle that are appropriate
for the type of fabric.
• Refer to “Needle types and their uses”
(page 31).
Symptom 4 :
The fabric is not fed.
■
Cause
The thread has become clogged as the stitch is too
fine.
■
Remedy
Lengthen the stitch length.
• Refer to “Adjusting the stitch length and width”
(page 40).

