32
GETTING READY
— — — — — — — — — — — — — — — — — — — — — — — — — — — — — — — — — — — — — — — — — — — —
j
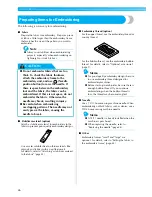
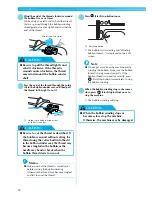
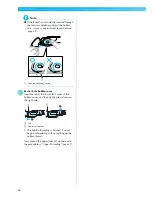
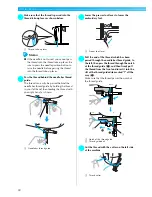
Wind the end of the thread clockwise around
the bobbin five or six times.
While using your left hand to hold the thread
that was passed through the bobbin-winding
thread guide, use your right hand to wind the
end of the thread.
CAUTION
k
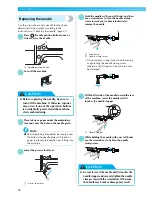
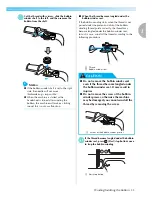
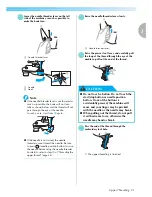
Pass the end of the thread through the guide
slit in the bobbin winder seat, and then pull
the thread to the right to cut it.
a
Guide slit in bobbin winder seat
(with built-in cutter)
CAUTION
Memo
z
Make sure that the thread is correctly set
before starting the bobbin winding.
Otherwise the thread may become tangled
and fail to wind the thread.
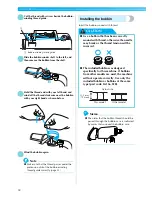
l
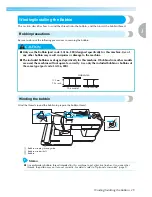
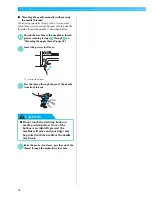
Press
(Start/stop button) once.
a
Start/stop button
X
The bobbin starts winding and "Winding
bobbin thread..." is displayed on the LCD
screen.
Note
z
Do not get away from the machine while
winding the bobbin. Make sure the bobbin
thread is being wound correctly. If the
bobbin thread is wound incorrectly, press
(Start/stop button) immediately to stop
the bobbin winding.
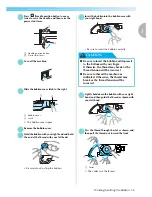
m
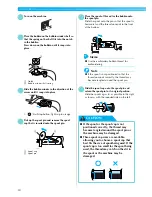
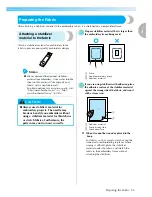
When the bobbin winding stops or becomes
slow, press
(Start/stop button) once to
stop the machine.
X
The bobbin winding will stop.
CAUTION
●
Be sure to pull the thread tightly and
wind it clockwise. If the thread is
wound counterclockwise, the thread
may wind around the bobbin winder
shaft.
●
Be sure to cut the thread as described. If
the bobbin is wound without cutting the
thread using the cutter built into the slit
in the bobbin winder seat, the thread may
become tangled in the bobbin or the
needle may bend or break when the
bobbin thread starts to run out.
Wind five or six times.
a
●
When the bobbin winding stops or
becomes slow, stop the machine.
Otherwise, the machine may be damaged.
a

