Sewing
B-36
e
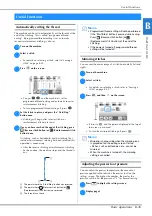
If necessary, specify the setting for automatic reverse/
reinforcement stitching and adjust the stitch length,
etc.
• For details on adjusting the stitch width and length,
refer to “Setting the stitch width” on page B-40 and
“Setting the stitch length” on page B-40.
f
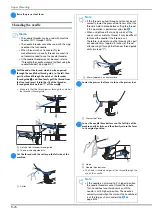
Install the presser foot.
• For details on changing the presser foot, refer to
“Replacing the presser foot” on page B-33.
g
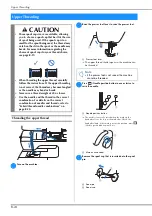
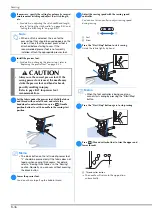
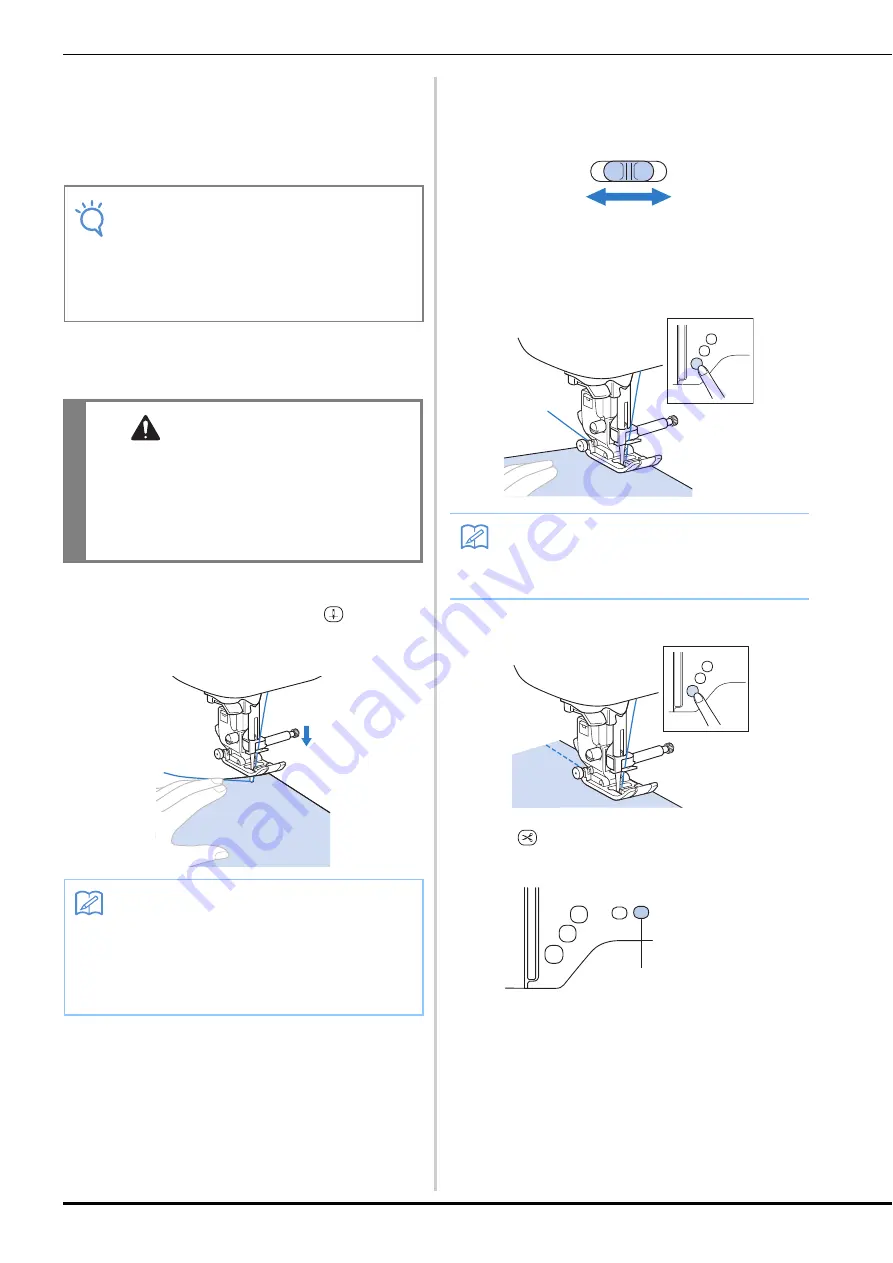
Set the fabric under the presser foot. Hold the fabric
and thread with your left hand, and rotate the
handwheel counterclockwise or press
(Needle
position button) to set the needle in the sewing start
position.
h
Lower the presser foot.
You do not have to pull up the bobbin thread.
i
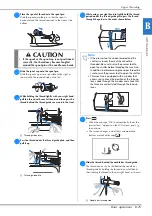
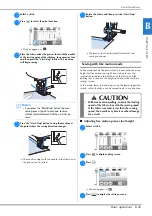
Adjust the sewing speed with the sewing speed
controller.
You can use this controller to adjust sewing speed
during sewing.
1
Fast
2
Slow
j
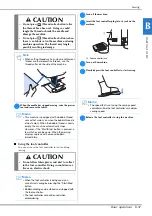
Press the “Start/Stop” button to start sewing.
Guide the fabric lightly by hand.
k
Press the “Start/Stop” button again to stop sewing.
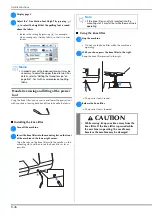
l
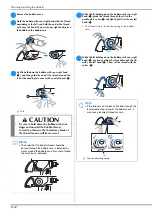
Press
(Thread cutter button) to trim the upper and
lower threads.
1
Thread cutter button
The needle will return to the up position
automatically.
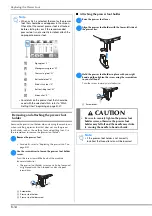
Note
• When a stitch is selected, the icon for the
presser foot that should be used appears on the
screen. Check that the correct presser foot is
attached before starting to sew. If the
recommended presser foot is not currently
installed, attach the appropriate presser foot.
CAUTION
• Always use the correct presser foot. If the
wrong presser foot is used, the needle may
strike the presser foot and bend or break,
possibly resulting in injury.
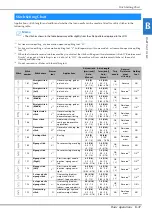
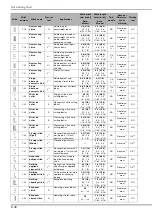
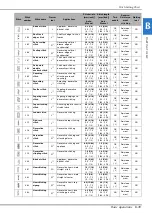
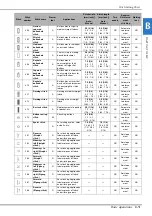
Refer to page B-47 for presser foot
recommendations.
Memo
• The black button on the left side of presser foot
“J” should be pressed only if the fabric does not
feed or when sewing thick seams. For details,
refer to “Sewing thick fabrics” in the “Sewing”
section. Normally, you can sew without pressing
the black button.
Memo
• When the foot controller is being used, you
cannot start sewing by pressing the “Start/Stop”
button.
b
a
1
Summary of Contents for 888-G10
Page 2: ......
Page 76: ...Embroidering B 66 ...
Page 122: ...Decorative Stitching S 46 ...
Page 208: ......
Page 209: ......
Page 210: ......
Page 211: ......

