Utility Stitches
70
■
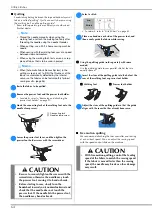
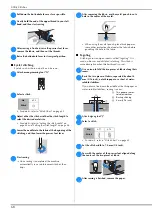
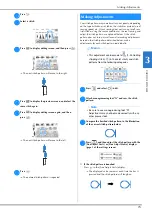
Joining
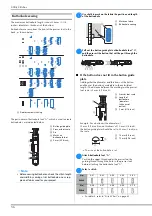
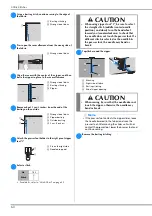
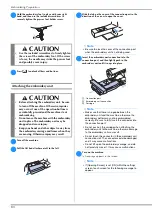
Decorative bridging stitches can be sewn over the seam
allowance of joined fabrics. This is used when making a
crazy quilt.
a
Attach zigzag foot “J”.
b
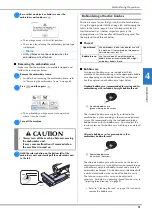
Sew together the right sides of the two pieces of fabric,
and then open up the seam allowances.
c
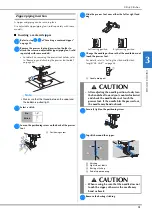
Select a stitch.
• For details, refer to “Stitch Chart” on page 45.
d
Turn the fabric over so that the right side faces up, and
then sew over the seam with the center of the presser
foot aligned with the seam.
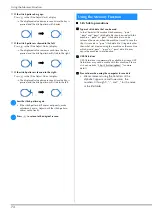
■
Multi-directional sewing (straight stitch and
zigzag stitch)
Use these stitch patterns to attach patches or emblems to
pant legs, shirt sleeves, etc.
• For details, refer to “Stitch Chart” on page 45.
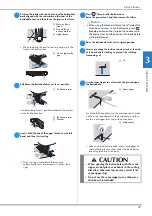
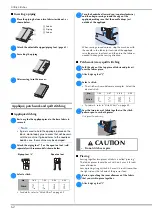
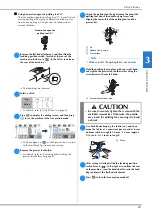
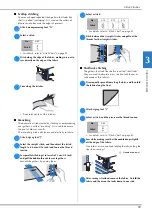
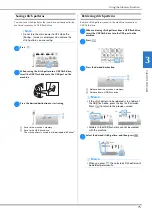
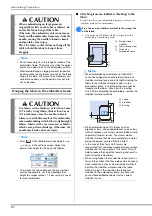
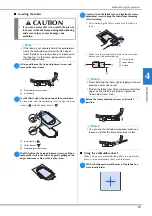
Insert the tubular piece of fabric onto the free-arm, and
then sew in the order shown in the illustration.
a
Remove the flat bed attachment.
b
Attach monogramming foot “N”.
c
Select stitch
.
d
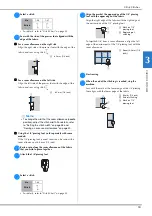
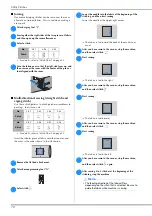
Lower the needle into the fabric at the beginning of the
stitching, and then start sewing.
Lower the needle at the upper-right corner.
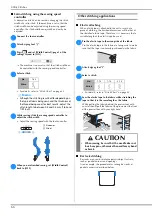
The fabric is fed toward the back of the machine, as
usual.
e
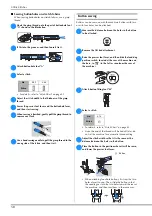
After you have sewn to the corner, stop the machine,
and then select stitch
.
f
Start sewing.
The fabric is fed to the right.
g
After you have sewn to the corner, stop the machine,
and then select stitch
.
h
Start sewing.
The fabric is fed forward.
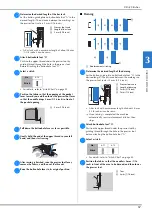
i
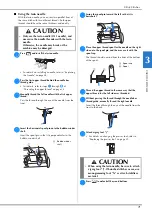
After you have sewn to the corner, stop the machine,
and then select stitch
.
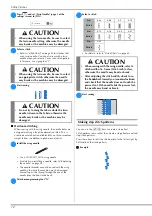
j
Start sewing.
The fabric is fed to the left.
k
After you have sewn to the corner, stop the machine,
and then select stitch
again.
l
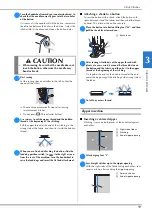
After sewing 3 to 5 stitches at the beginning of the
stitching, stop the machine.
No.
2-07
2-08
2-09
Stitch
No.
5-01
5-02
5-03
5-04
Stitch
No.
5-05
5-06
5-07
5-08
Stitch
1
3
4
2
Memo
• The feeding direction of the fabric differs
depending on the stitch that is selected. Be sure to
guide the fabric while machine is sewing.
Summary of Contents for 888-G30
Page 2: ......
Page 80: ...MY CUSTOM STITCH 78 ...
Page 121: ......
Page 122: ......
Page 123: ......

