


Editing Character Patterns
Embroidering
E-11
EM
BRO
ID
ER
Y
E
c
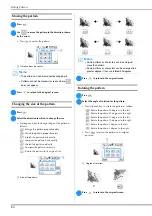
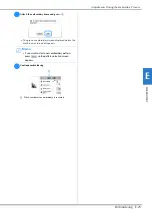
Press
to return to the font editing screen.
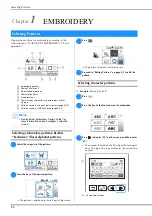
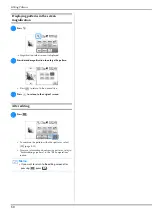
Editing single characters
Press
so that a single character can be selected for editing.
The character size and font can be changed.
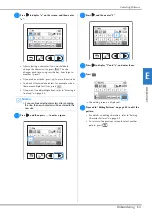
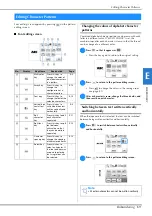
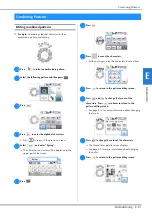
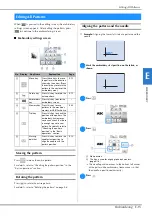
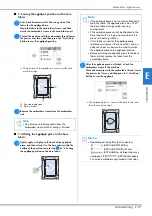
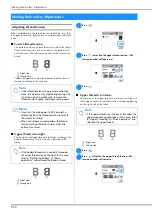
■
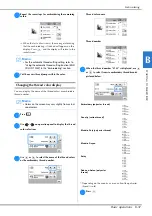
Changing the size
a
Press .
b
Select the character to be resized.
• To select the character, press
or
.
The selected character is surrounded with a red box.
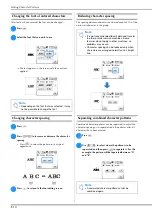
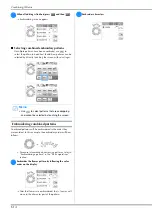
c
Select the direction in which to change the size.
• For details on the various keys, refer to the procedure
in “Changing the size of the pattern” on page E-6.
d
Press
to return to the font editing screen.
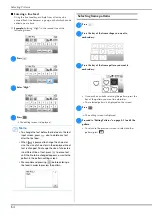
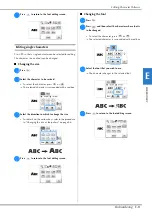
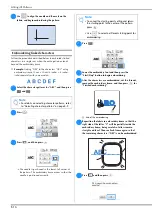
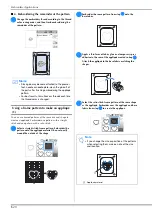
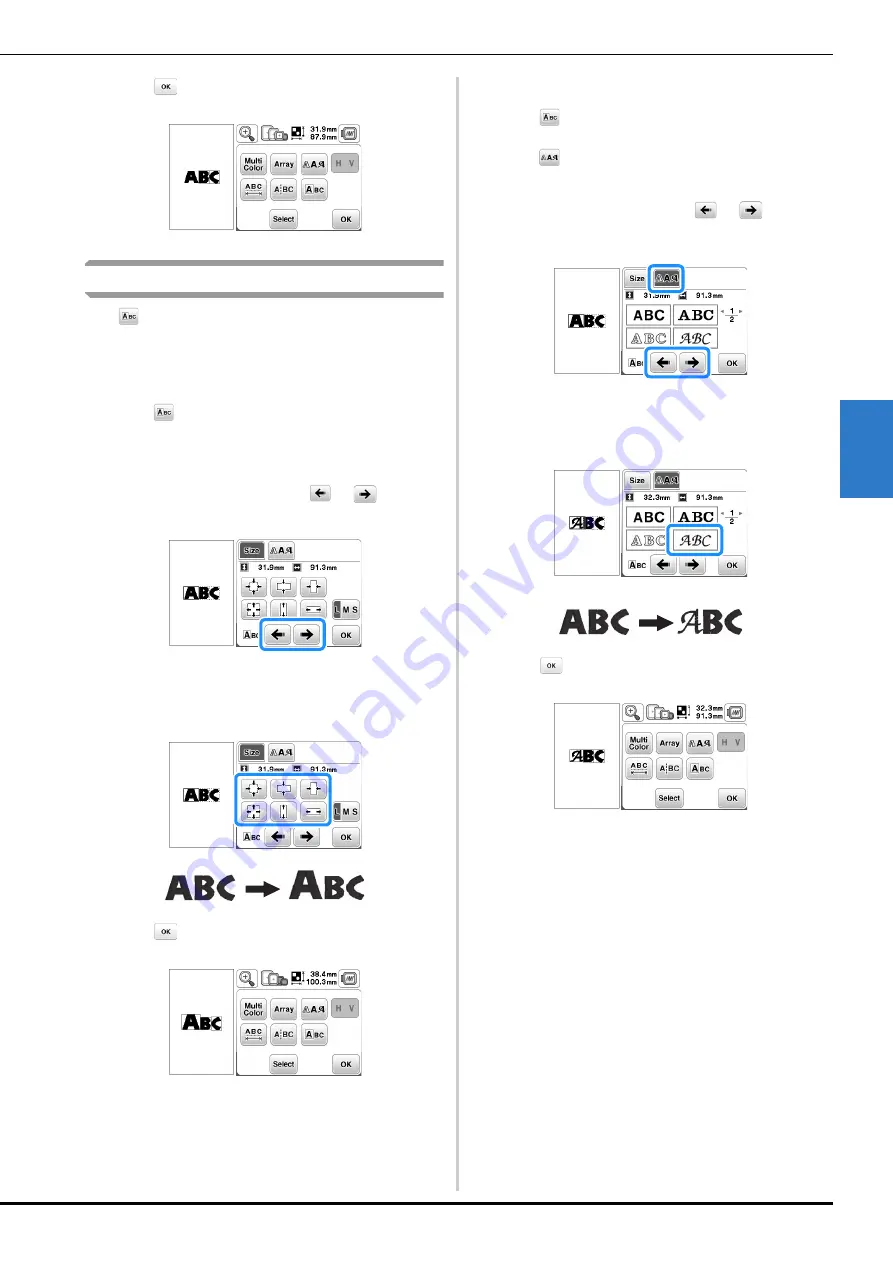
■
Changing the font
a
Press .
b
Press
, and then select the character whose font is
to be changed.
• To select the character, press
or
.
The selected character is surrounded with a red box.
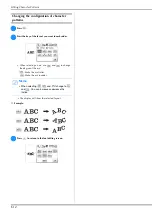
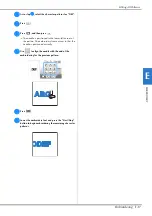
c
Select the font that you wish to use.
The character changes to the selected font.
d
Press
to return to the font editing screen.


