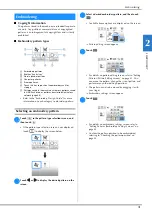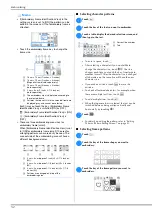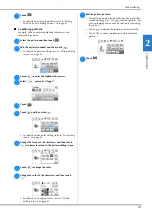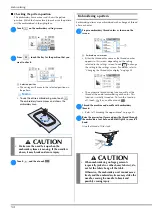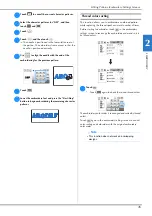
Embroidering Preparation
30
■
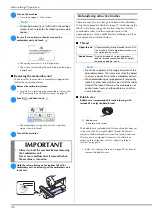
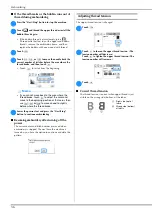
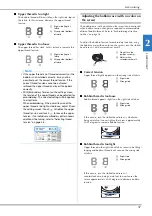
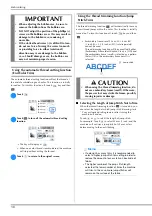
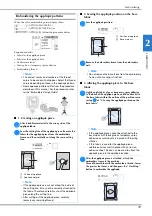
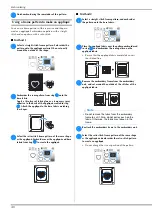
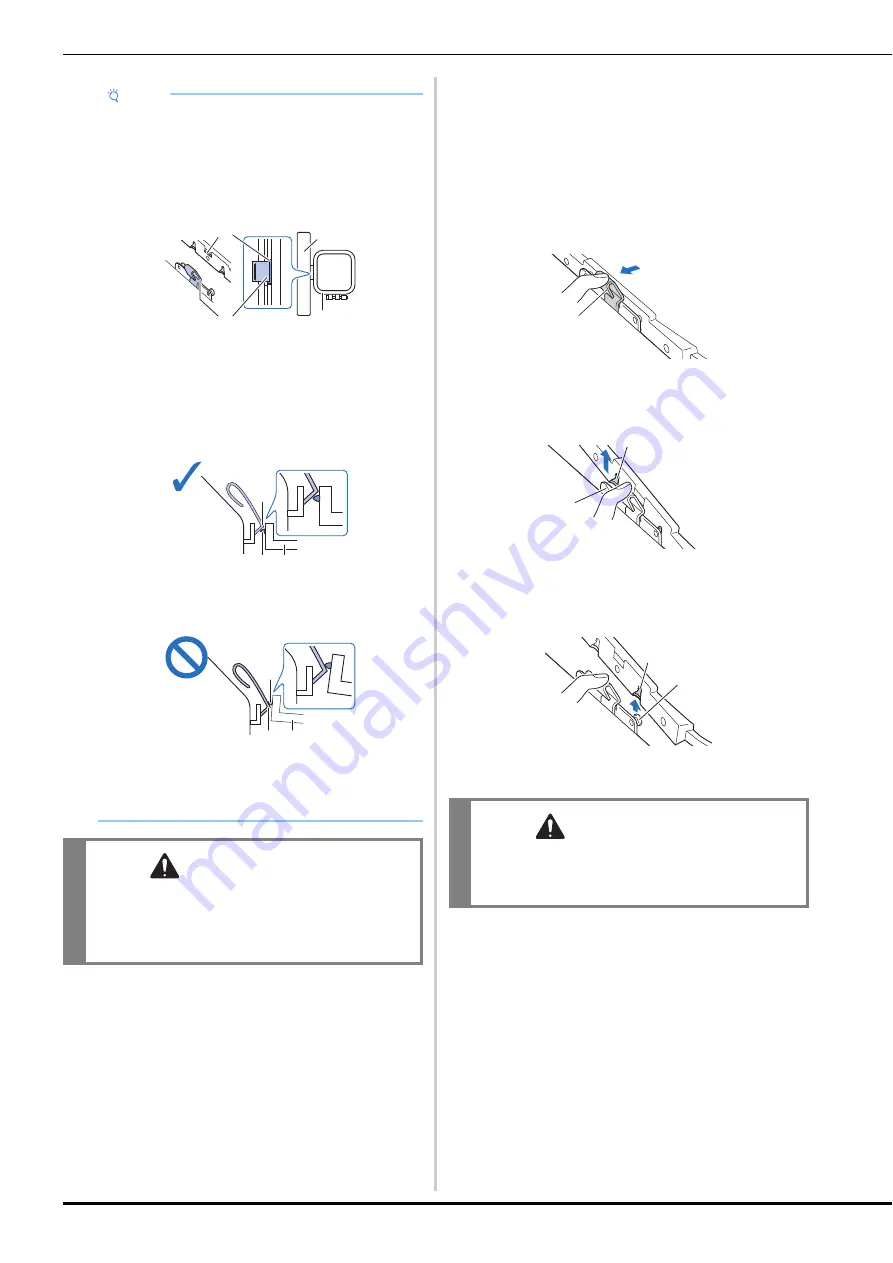
Removing the embroidery frame
a
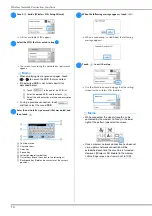
Raise the presser foot lever to raise the presser foot.
b
While pushing the lever of the embroidery frame
holder to the left, slightly lift the back and then the
front of the embroidery frame up to clear the pins and
then remove.
Hold the lever lightly to the left.
1
Lever
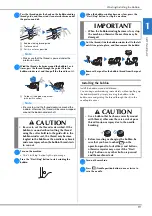
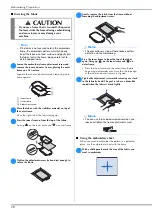
Remove the back mounting bracket from the pin.
1
Back mounting bracket
2
Back pin
Remove the front mounting bracket from the pin.
1
Front mounting bracket
2
Front pin
Note
• Be sure to completely insert both pins. If only one
of the pins is inserted, the pattern may not turn out
correctly.
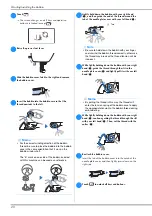
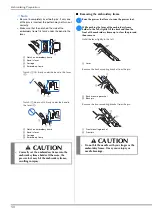
• Make sure that the notch on the side of the
embroidery frame fits firmly under the bend in the
lever.
1
Notch on embroidery frame
2
Bend in lever
3
Carriage
4
Embroidery frame
Notch (
1
) fits firmly under the bend in the lever
(
2
).
Notch (
1
) does not fit firmly under the bend in
the lever (
2
).
1
Notch on embroidery frame
2
Bend in lever
3
Carriage
4
Embroidery frame
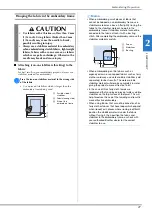
CAUTION
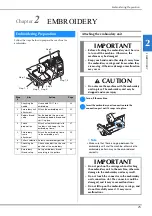
• Correctly set the embroidery frame into the
embroidery frame holder. Otherwise, the
presser foot may hit the embroidery frame,
resulting in injury.
a
b
c
d
a
b
c
d
a
b
c
d
CAUTION
• Do not hit the needle with your finger or the
embroidery frame. It may cause injury or
needle breakage.
a
a
b
a
b

