42
b
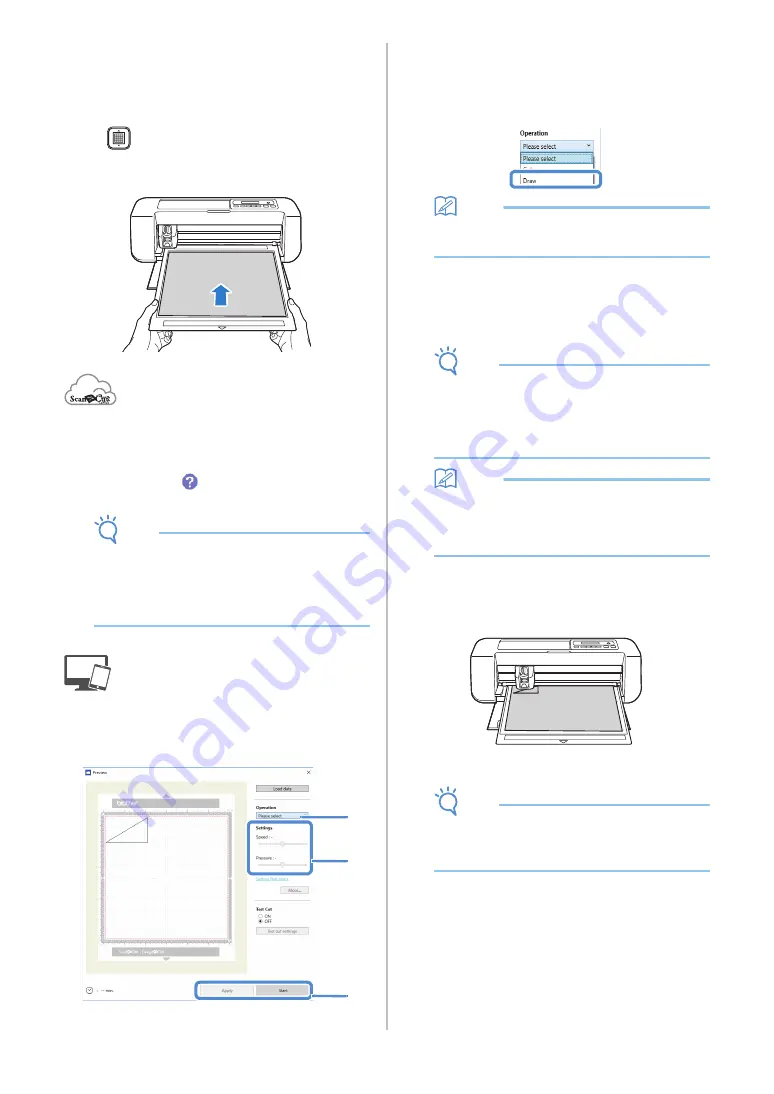
Load the mat with the material for drawing
(cutting) attached.
• For details on attaching material to the mat, see
“Mat and Material Combinations” on page 24.
• Lightly insert the mat into the feed slot, and press
in the operation panel.
• For details on inserting the mat, see “Loading the
c
In ScanNCutCanvas, create the pattern to be
drawn, and then send it to the machine.
• For details on editing, transferring or downloading
patterns, click
in ScanNCutCanvas, and then
refer to the Help.
Note
•
Make sure that the pattern to be drawn fits the
size of the material and fits within the drawing
area. If the pattern does not fit within the
drawing area, adjust the location of the pattern
and/or the pattern size in ScanNCutCanvas.
d
Open the pattern in DesignNCut Manager.
• For details on opening pattern data, see “Sending
Patterns to the Machine” on page 36.
The pattern appears in the drawing/cutting
settings window of DesignNCut Manager.
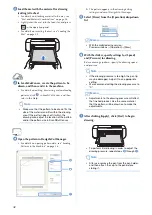
e
Select [Draw] from the [Operation] drop-down
list.
Memo
• With the mobile device version:
Preview windows
→
[Operation]
→
[Draw]
f
With the sliders, specify settings for [Speed]
and [Pressure] for drawing.
Before drawing a pattern, specify the drawing speed
and pressure.
Note
• If the drawing pressure is too high, the pen tip
may be damaged. Adjust it to an appropriate
setting.
• We recommend setting the drawing pressure to
“0”.
Memo
• Adjustments to the drawing pressure will affect
the finished product. Use the same material
that the pattern will be drawn on to make the
adjustments.
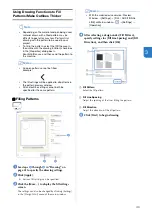
g
After clicking [Apply], click [Start] to begin
drawing.
• To perform trial drawing in order to adjust the
drawing pressure, repeat steps
through
Note
• After use, remove the pen from the pen holder,
and then attach the cap to the pen before
storing it.
e
f
g


