Scan Using Your Computer
67
5
Show Save
As Window
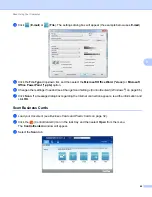
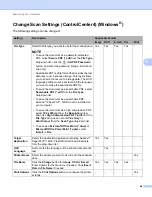
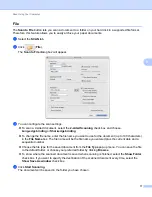
If you want to specify the destination of the scanned
image every time you scan, select the
Show Save As Window
check box.
-
-
-
Yes
-
Destination
File Path
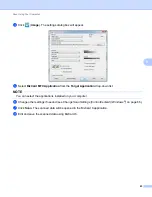
Click the
Change
button, and then the folder icon to
change the folder you would like to save your scanned
document to.
Yes
Yes
Yes
-
-
Scan
Location
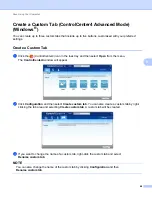
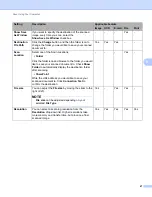
Select one of the Scan Locations:
• Folder
Click the folder icon and browse to the folder you would
like to save your scanned document to. Check
Show
Folder
to automatically display the destination folder
after scanning.
• SharePoint
Write the URL address you would like to save your
scanned document to. Click
Connection Test
to
confirm the destination.
-
-
-
Yes
-
File size
You can adjust the
File size
by moving the slider to the
right or left.
NOTE
File size
can be adjusted depending on your
selected
File Type
.
Yes
-
Yes
Yes
-
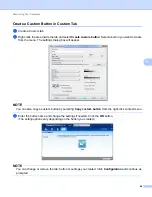
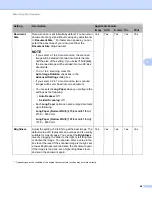
Resolution
You can select a scanning resolution from the
Resolution
drop-down list. Higher resolutions take
more memory and transfer time, but produce a finer
scanned image.
Yes
Yes
Yes
Yes
Yes
Setting
Description
Applicable Feature
Image OCR
E-mail File


