4-6
BE-1204B-BC • BE-1206B-BC
Chapter 4 Selecting and Transferring Embroidery Data
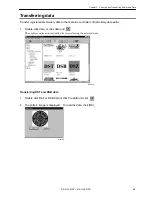
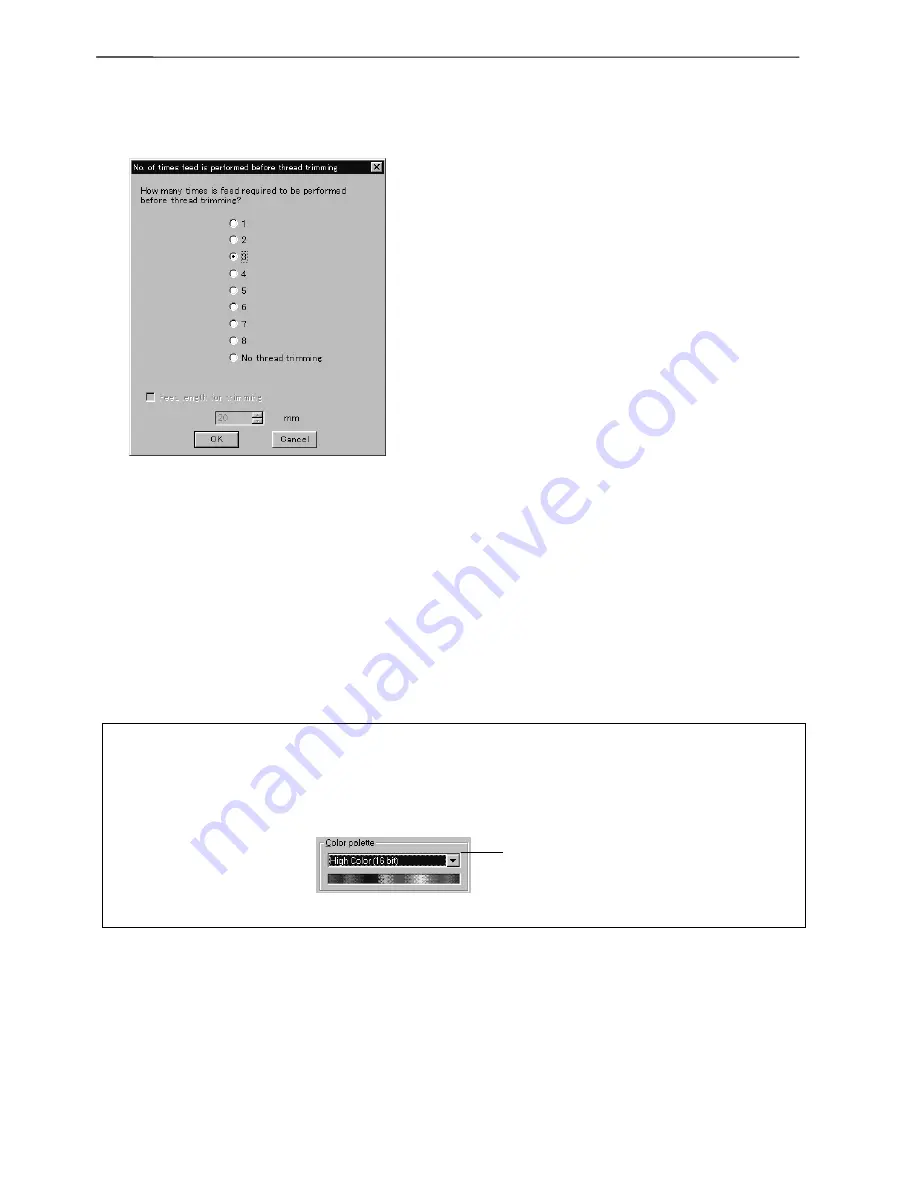
3. Set the number of feeds for trim. Select the number of feeds or specify the feed length for
trimming and click [OK].
The data is transferred and the explorer ends automatically.
W0971Q
Transferring data on a network
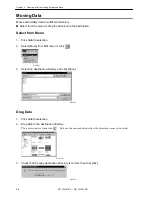
1. Before starting the software, click [START] - [PROGRAM] - [EXPLORER].
2. Select [Map Network Drive] from Tool menu.
3. Select the desired drive and enter the path, and click [OK].
4. Exit from the explorer.
If no image appears:
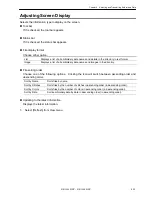
If no image of embroidery data appears, select "Display Detail" on "Screen" of the control panel to
adjust display color.
Choose one of the following options, then restart PC.
• 256 colors
• High color (16 bits)
• Full-color (24 bits)
W0972Q
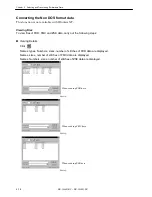
Select the display color
using "Color Pallet".
Summary of Contents for BE-1204B
Page 2: ......
Page 9: ...BE 1204B BC BE 1206B BC 7 W1400Q W1208Q 5 4 6 7 5 8 9 11 4 8 8 4 4 1 2 10 3 ...
Page 19: ...Chapter 1 An Introduction of Embroidery Machine ...
Page 21: ...BE 1204B BC BE 1204C BC BE 1206B BC 1 3 Chapter 1 An Introduction of Embroidery Machine ...
Page 28: ...1 10 BE 1204B BC BE 1206B BC Chapter 1 An Introduction of Embroidery Machine ...
Page 29: ...Chapter 2 Preparation of Embroidery Machine ...
Page 56: ...2 28 BE 1204B BC BE 1206B BC Chapter 2 Preparation of Embroidery Machine ...
Page 66: ...3 10 BE 1204B BC BE 1206B BC Chapter 3 Embroidering Procedures ...
Page 126: ...5 34 BE 1204B BC BE 1206B BC Chapter 5 Editing Embroidery Data ...
Page 188: ...6 62 BE 1204B BC BE 1204C BC BE 1206B BC Chapter 6 Embroidering ...
Page 189: ...Chapter 7 Operation of Machine ...
Page 221: ...Chapter 9 Maintenance ...
Page 231: ...Chapter 10 Adjustment ...
Page 240: ...10 10 BE 1204B BC BE 1206B BC Chapter 10 Adjustment ...
Page 241: ...Chapter 11 Error code list ...
Page 248: ...11 8 BE 1204B BC BE 1206B BC Chapter 11 Error code list ...
Page 257: ...Chapter 13 Connection and Installation of Optional Equipment ...
Page 260: ...13 4 BE 1204B BC BE 1206B BC Chapter 13 Connection and Installation of Optional Equipment ...
Page 261: ......


