SEWING
40
SEWING
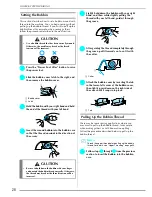
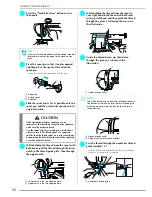
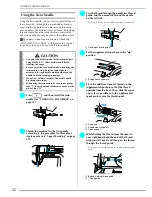
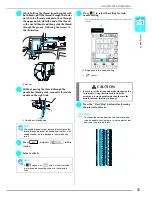
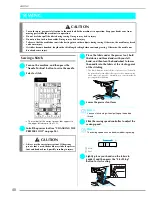
Sewing a Stitch
a
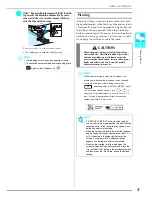
Turn on the machine, and then press the
“Needle Position” button to raise the needle.
b
Select a stitch.
→
The symbol for the correct presser foot appears in
the upper-left corner of the LCD.
c
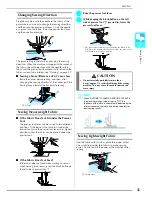
Install the presser foot (see “CHANGING THE
PRESSER FOOT” on page 34).
d
Place the fabric under the presser foot, hold
the fabric and thread ends with your left
hand, and then turn the handwheel to lower
the needle into the fabric at the starting point
of the stitching.
* The black button on the left side of presser foot “J” should
be pressed only if the fabric does not feed or when sewing
thick seams (see page 43). Normally, you can sew without
pressing the black button.
e
Lower the presser foot lever.
f
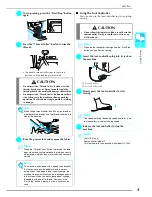
Slide the sewing speed controller to adjust the
sewing speed.
a
Slow
b
Fast
g
Lightly place your hands on the fabric to
guide it, and then press the “Start/Stop”
button to start sewing.
CAUTION
• To avoid injury, pay special attention to the needle while the machine is in operation. Keep your hands away from
moving parts while the machine is in operation.
• Do not stretch or pull the fabric during sewing. Doing so may lead to injury.
• Do not use bent or broken needles. Doing so may lead to injury.
• Take care that the needle does not strike basting pins or other objects during sewing. Otherwise, the needle may break
and cause injury.
• If stitches become bunched, lengthen the stitch length setting before continuing sewing. Otherwise, the needle may
break and cause injury.
CAUTION
• Always use the correct presser foot. If the wrong
presser foot is used, the needle may strike the presser
foot and bend or break, possibly resulting in injury.
Memo
You can start sewing without pulling up the bobbin
thread.
Memo
The sewing speed can also be adjusted during sewing.
a
b
Summary of Contents for Computerized Sewing and Quilting Machine
Page 9: ...8 ...
Page 51: ...USEFUL FUNCTIONS 50 ...
Page 101: ...SEWING THE STITCHES 100 ...
Page 119: ...COMBINING STITCH PATTERNS 118 Examples of Pattern Combinations ...
Page 137: ...USING STORED CUSTOM STITCHES 136 ...
Page 162: ...English 882 U60 XE0783 001 Printed in Taiwan Operation Manual 882 U60 ...


