SEWING THE STITCHES
68
■
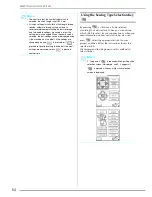
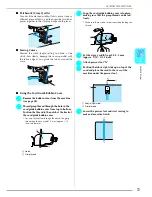
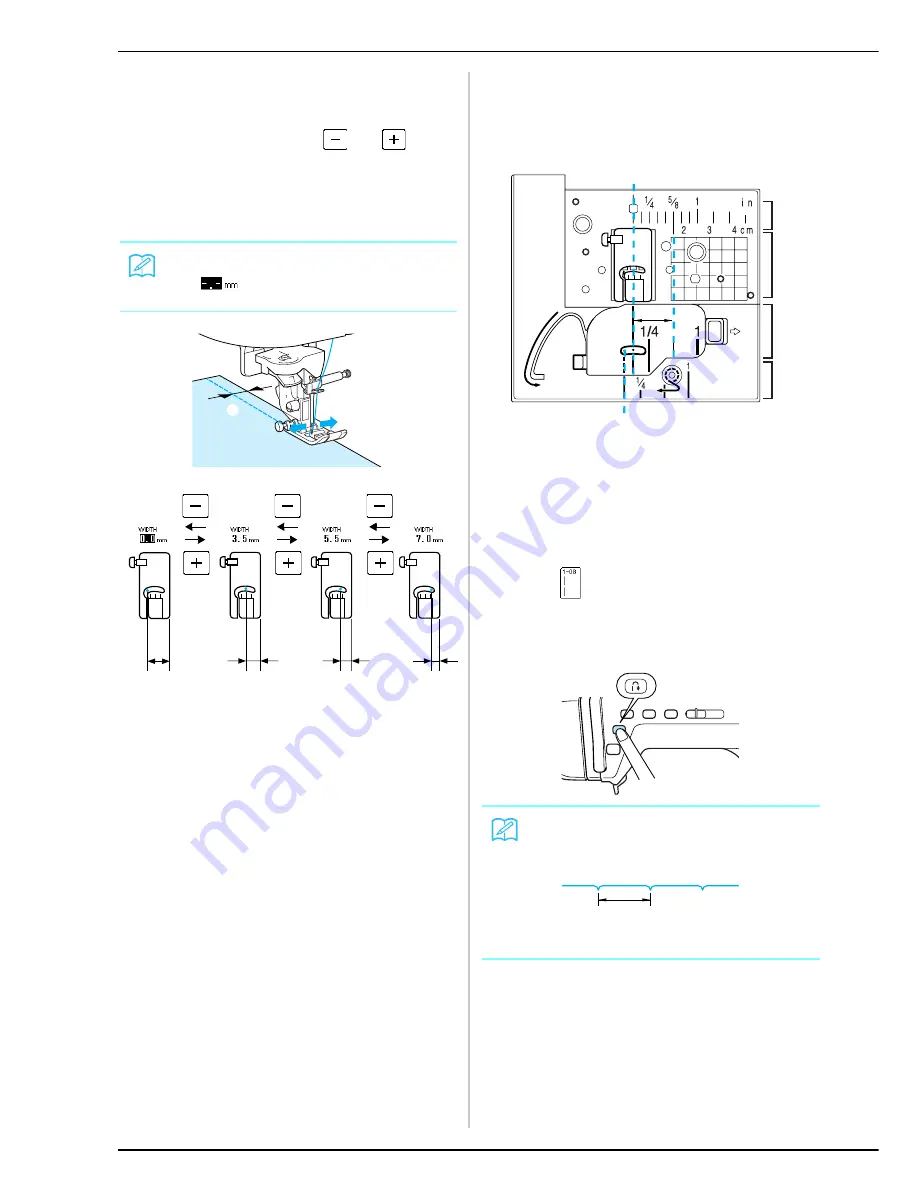
Changing the Needle Position (Left or
Middle Needle Position Stitches Only)
When you select left or middle (center) needle
position stitches, you can use
and
in the
stitch width display to change the position of the
needle. Match the distance from the right edge of
the presser foot to the needle with the stitch width,
then align the edge of the presser foot with the edge
of the fabric during sewing for an attractive finish.
a
Stitch width
■
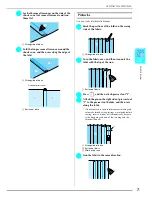
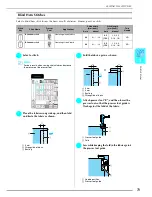
Needle Plate and Needle Plate Cover Marks
For a standard 16 mm (approx. 5/8 inch) seam
allowance, set the width to 3.5 mm on the screen.
While sewing, align the edge of the fabric with the
5/8 inch (approx. 16mm) mark on the needle plate.
a
5/8 inch (approx. 16 mm)
b
For stitches with a middle (center) needle position
c
For stitches with a left needle position
d
Middle (center) needle position <inch>
e
Middle (center) needle position <cm>
f
Middle (center) needle position <inch>
g
Left needle position <inch>
■
Basting
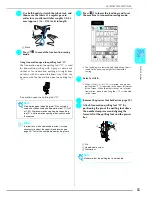
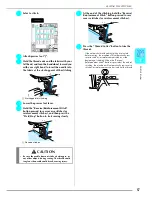
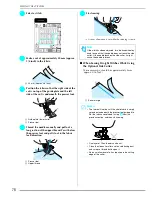
a
Press
, and then attach presser foot “J”.
b
Press the “Reverse/Reinforcement Stitch”
button to sew reinforcement stitches at the
beginning of the stitching.
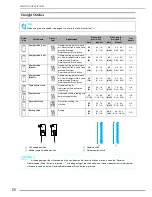
Memo
When
appears in the stitch width display,
select a different straight stitch.
12.0 mm
(approx.
1/2 inch)
8.5 mm
(approx.
11/32 inch)
6.5 mm
(approx.
1/4 inch)
5.0 mm
(approx.
3/16 inch)
a
J
J
J
J
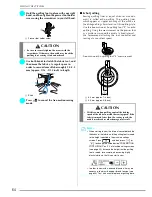
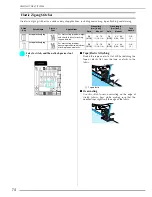
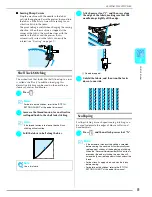
Memo
The stitch length can be set between 5 mm and 30 mm
(approx. 3/16 and 1-3/16 inches).
a
Between 5 mm (approx. 3/16 inch) and 30 mm
(approx. 1-3/16 inches)
J
b
a
c
d
e
f
g
a
Summary of Contents for Computerized Sewing and Quilting Machine
Page 9: ...8 ...
Page 51: ...USEFUL FUNCTIONS 50 ...
Page 101: ...SEWING THE STITCHES 100 ...
Page 119: ...COMBINING STITCH PATTERNS 118 Examples of Pattern Combinations ...
Page 137: ...USING STORED CUSTOM STITCHES 136 ...
Page 162: ...English 882 U60 XE0783 001 Printed in Taiwan Operation Manual 882 U60 ...

