GETTING READY
————————————————————————————————————————————————————————
32
GETTING READ
Y
CONTENTS
SEWING BASICS
U
T
IL
IT
Y
S
T
ITCHES
APPENDIX
INDEX
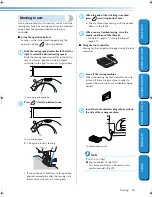
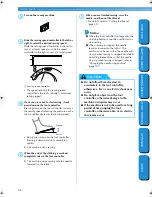
Replacing the needle
Replace the needle as described below. Use the
screwdriver and a needle that has been determined
to be straight according to the instructions in
“Checking the needle”.
1
Press
(needle position button) once or
twice to raise the needle.
1
Needle position button
2
Turn off the sewing machine.
3
Lower the presser foot lever.
1
Presser foot lever
4
Hold the needle with your left hand, and then
use a screwdriver to turn the needle clamp
screw counterclockwise to remove the
needle.
1
Screwdriver
2
Needle clamp screw
• Do not apply a strong force when loosening
or tightening the needle clamp screw,
otherwise certain parts of the sewing
machine may be damaged.
5
With the flat side of the needle toward the
rear of the machine, insert the needle until it
touches the needle stopper.
1
Needle stopper
●
Before replacing the needle, be sure to
turn off the sewing machine, otherwise
injuries may occur if the start/stop
button is accidentally pressed and the
machine starts sewing.
1
CAUTION
1
2
1
1
S2_brotherE.book Page 32 Wednesday, May 14, 2003 8:05 PM

