2-71
Confidential
■
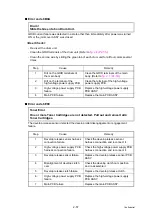
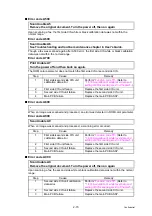
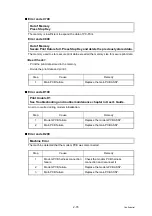
Error code 9A03
Error occurred during patch data printing in auto color registration performed from the control
panel.
<User Check>
- Check if the toner cartridges are set in the correct order of colors.
- Replace the toner cartridge.
- Replace the drum unit.
- If the belt unit has a scratch, replace it.
- If "WT Box End Soon" is displayed on the LCD and the belt unit has dirt, replace the waste
toner box.
■
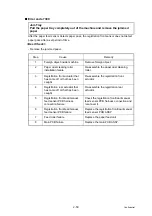
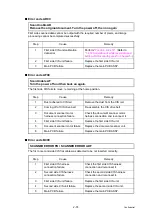
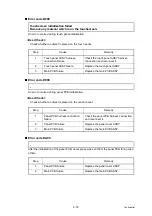
Error code A000
Upon scanning the second side in duplex scanning, scanned data cannot be output with the
required number of pixels and image processing is not completed successfully.
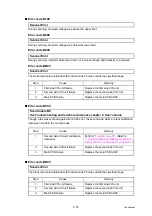
Registration failed
Press [OK], and try again.
Step
Cause
Remedy
1
Registration mark sensor L/
registration mark sensor R dirty
Clean the registration mark sensor L/
registration mark sensor R.
2
Registration mark L PCB/
Registration mark R PCB
harness connection failure
Check the registration mark L PCB/
registration mark R PCB harness
connection and reconnect it.
3
Eject sensor PCB harness
connection failure
Check the eject sensor PCB harness
connection and reconnect it.
4
Failure in printed measurement
pattern image
If failure occurs when printing "2D3S
YCMK_ _A" in
, refer to
"4.3 Image Defect Troubleshooting" in this
chapter
and take a measure.
5
Registration mark L failure
Replace the registration mark L PCB
ASSY.
6
Registration mark R failure
Replace the registration mark R PCB
ASSY.
7
Main PCB failure
Replace the main PCB ASSY.
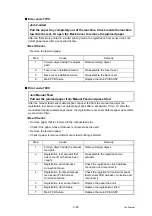
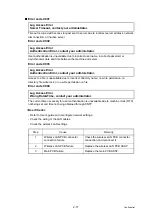
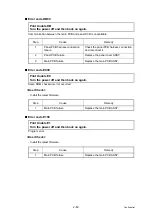
Scan Unable
Remove the original document. Turn the power off, then on again.
Step
Cause
Remedy
1
Second side CIS unit calibration
data error
Perform
"1.4.18 Acquisition of white level data and
setting of CIS scanning area" in Chapter 5
2
Second side CIS unit failure
Replace the second side CIS unit.
3
Main PCB failure
Replace the main PCB ASSY.
Summary of Contents for DCP-9020CDN
Page 47: ...2 8 Confidential 2 2 2 Scanning part Fig 2 4 ...
Page 89: ...2 50 Confidential Electrodes location of main body Fig 2 7 ...
Page 172: ...3 9 Confidential EM2 0 MOLYKOTE EM D110 2 0 mm dia ball EM2 0 Back cover ASSY Back cover ASSY ...
Page 345: ...5 7 Confidential Black and white scanning First side Front Fig 5 1 ...
Page 346: ...5 8 Confidential Black and white scanning Second side Back Fig 5 2 ...
Page 347: ...5 9 Confidential Color scanning First side Front Fig 5 3 ...
Page 348: ...5 10 Confidential Color scanning Second side Back Fig 5 4 ...
Page 384: ...5 46 Confidential LED test pattern M68_L Fig 5 17 ...
Page 429: ...App 3 8 Confidential When the following screen appears click Close to close the screen ...

