Synchronize Time with the SNTP Server Using Web
> Configure the SNTP Protocol Using Web Based Management
Configure the SNTP Protocol Using Web Based Management
Configure the SNTP protocol to synchronize the time the machine uses for authentication with the time kept by
the SNTP time server.
1. Start your web browser.
2. Type "https://machine's IP address" in your browser's address bar (where "machine's IP address" is the
machine's IP address).
For example:
https://192.168.1.2
3. If the machine prompts you for a password, type it, and then click
.
4. Click the
Network
tab.
5. Click the
Protocol
menu in the left navigation bar.
6. Select the
SNTP
check box to activate the settings.
7. Click
Submit
.
8. Restart your Brother machine to activate the configuration.
9. Next to the SNTP check box, click
Advanced Settings
.
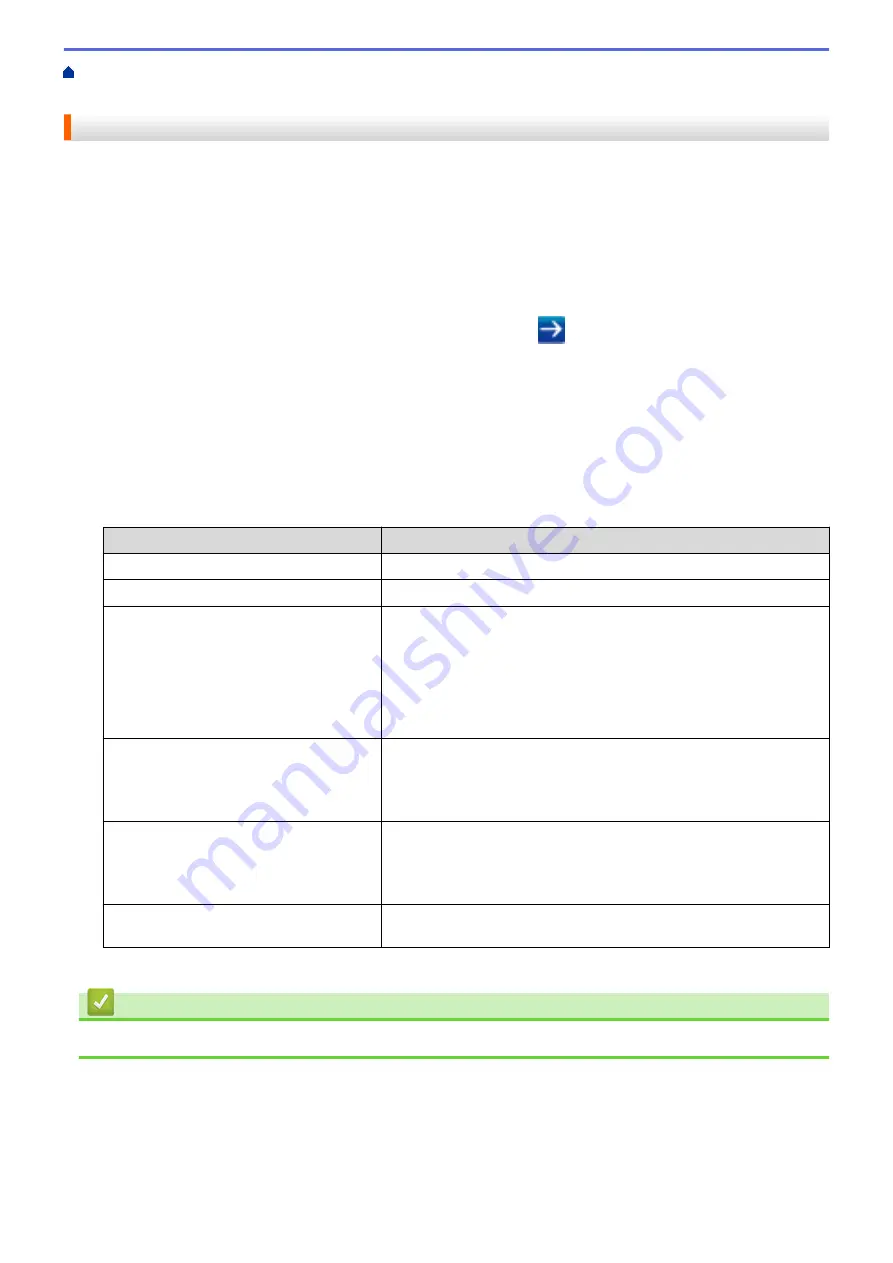
10. Configure the settings.
Option
Description
Status
Displays whether the SNTP protocol is enabled or disabled.
Synchronization Status
Confirm the latest synchronization status.
SNTP Server Method
Select
AUTO
or
STATIC
.
•
AUTO
If you have a DHCP server in your network, the SNTP server will
obtain the address from that server automatically.
•
STATIC
Type the address you want to use.
Primary SNTP Server Address
Secondary SNTP Server Address
Type the server address (up to 64 characters).
The secondary SNTP server address is used as a backup to the
primary SNTP server address. If the primary server is unavailable,
the machine will contact the secondary SNTP server.
Primary SNTP Server Port
Secondary SNTP Server Port
Type the port number (1-65535).
The secondary SNTP server port is used as a backup to the primary
SNTP server port. If the primary port is unavailable, the machine will
contact the secondary SNTP port.
Synchronization Interval
Type the number of hours between server synchronization attempts
(1-168 hours).
11. Click
Submit
.
Related Information
•
Synchronize Time with the SNTP Server Using Web Based Management
352
Summary of Contents for DCP-J1100DW
Page 1: ...Online User s Guide DCP J1100DW MFC J1300DW 2018 Brother Industries Ltd All rights reserved ...
Page 20: ... Check the Ink Volume Page Gauge Settings Screen Overview Error and Maintenance Messages 13 ...
Page 23: ...Related Topics Touchscreen LCD Overview Check the Ink Volume Page Gauge Distinctive Ring 16 ...
Page 29: ...Related Information Introduction to Your Brother Machine 22 ...
Page 30: ...Home Paper Handling Paper Handling Load Paper Load Documents 23 ...
Page 44: ...4 Load only one sheet of paper in the manual feed slot with the printing surface face up 37 ...
Page 63: ...Home Print Print Print from Your Computer Windows Print from Your Computer Mac 56 ...
Page 97: ... Change the Print Setting Options When Having Printing Problems 90 ...
Page 172: ...Related Information Scan Using ControlCenter4 Advanced Mode Windows 165 ...
Page 179: ... WIA Driver Settings Windows 172 ...
Page 200: ...Related Information Copy 193 ...
Page 212: ... Enter Text on Your Brother Machine 205 ...
Page 285: ...Home Fax PC FAX PC FAX Related Models MFC J1300DW PC FAX for Windows PC FAX for Mac 278 ...
Page 365: ...Home Security Security Network Security Features 358 ...
Page 414: ...Related Information Configure an IPsec Template Using Web Based Management 407 ...
Page 440: ...Related Information Set Up Brother Web Connect 433 ...
Page 485: ...Related Information ControlCenter4 Windows 478 ...
Page 543: ...Related Topics My Brother Machine Cannot Print Scan or PC FAX Receive over the Network 536 ...
Page 555: ...Related Topics Telephone and Fax Problems Other Problems 548 ...
Page 558: ... Clean the Print Head from Your Brother Machine 551 ...
Page 657: ...OCE ASA Version C ...


