background image

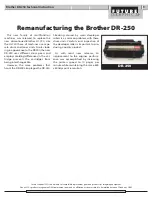
This new family of multifunction

machines was released to replace the
now discontinued Brother HL 720. Like
the HL720, these of machines use sepa-
rate drum and toner units. Similar look-
ing in appearance to the DR200, the new
DR-250 uses different drum gears and
employs molding differences in the car-
tridge prevents the cartridges from
being interchangeable.

However, the same problems that

haunt the DR-200 also plague the DR-250.

Streaking caused by worn developer
rollers is a common problem with these
drum units. Careful visual inspection of
the developer roller is important to pro-
ducing a quality product.

As with most new releases, an

improvement to the engines perform-
ance was accomplished by increasing
the printers speed to 10 pages per
minute while maintaining the same 600
x 600dpi print resolution.

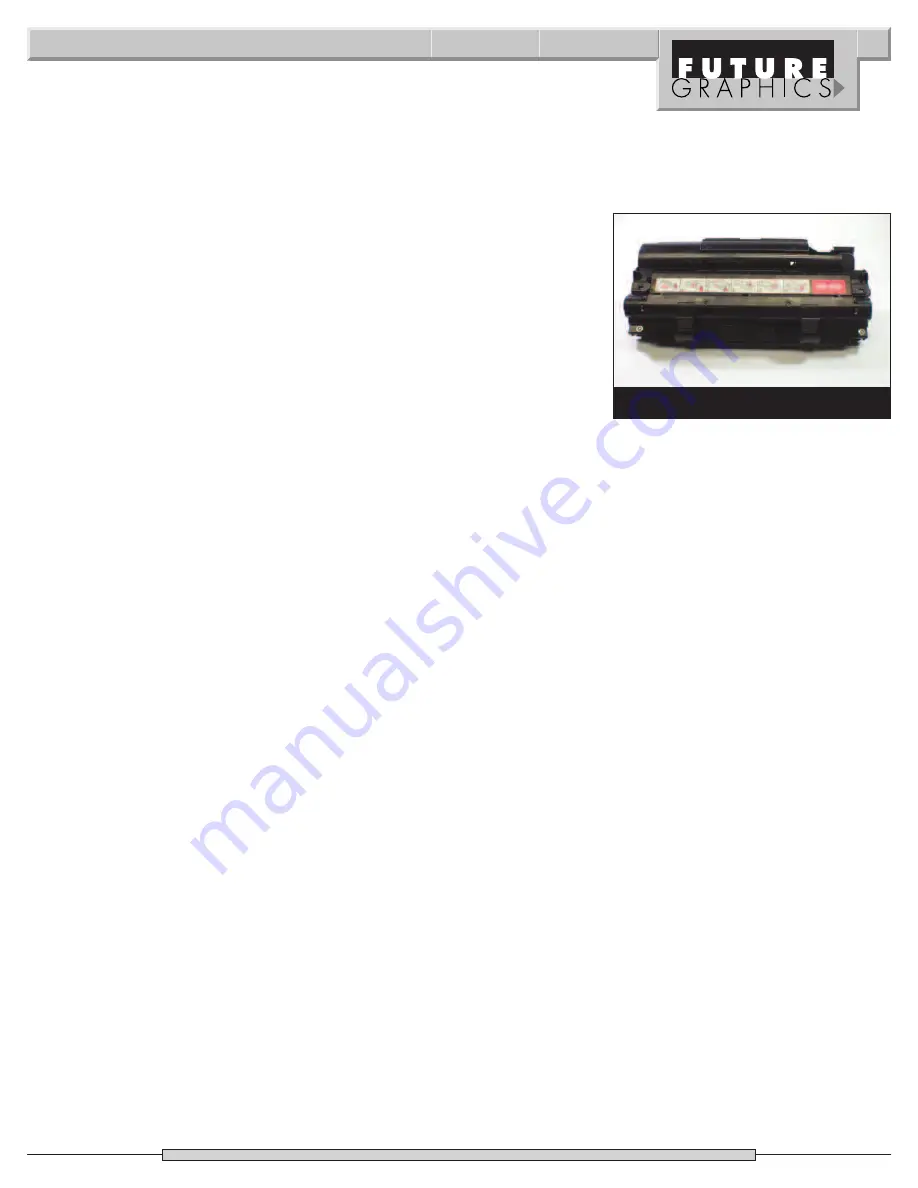
DR-250

Remanufacturing the Brother DR-250

Brother DR-250 Technical Instruction

9

Future Graphics (FG) is a distributor of compatible replacement parts and products for imagining equipment.

None of FG's products are genuine OEM replacement parts and no affiliation or sponsorship is to be implied between FG and any OEM.

Summary of Contents for DR-250

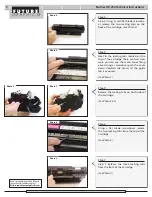
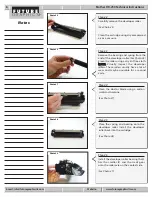
Page 1: ...river Small flat blade Screwdriver S Su up pp pl li ie es s R Re eq qu ui ir re ed d Cotton Swab 99 Alcohol Replacement Drum US 1 800 394 9900 Int l 1 818 837 8100 FAX 1 800 394 9910 Int l 1 818 838 7047 DALLAS USA US 1 877 499 4989 Int l 1 972 840 4989 FAX 1 877 774 1750 Int l 1 972 840 1750 ATLANTA USA US 1 877 676 4223 Int l 1 770 516 9488 FAX 1 877 337 7976 Int l 1 770 516 7794 MIAMI USA US 1 ...

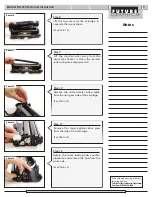
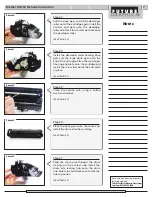
Page 2: ...wo locking tabs from the top of the cartridge See Photo 8 Photo 9 Photo 8 Need trustworthy detailed Technical Instructions for another engine Visit www futuregraphicsllc com 2 Brother DR 250 Technical Instructions Photo 5 Step 3 Step 3 Using a small flat blade screwdriv er release the two locking clips on the back of the cartridge See Photo 4 Step 5 Release the locking tabs on both sides of the ca...

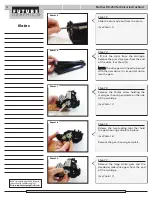
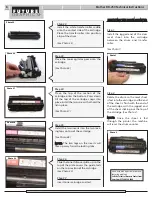
Page 3: ...u facturing problem Call the Technical Resource Center from 8am 5pm PST 800 394 9900 Photo 10 Photo 11 Step 9 Lift the transfer roller away from the drum See Photo 11 Clean the transfer roller using dry compressed air Step 8 Lift the top cover of the cartridge to separate the two sections See Photo 10 Brother DR 250 Technical Instruction 3 Step 12 Rotate the drum locking hub counter clockwise and ...

Page 4: ... new drum It is important not to lose the gear Step 15 Remove the Philips screw holding the metal gear housing end plate on the side of the cartridge See Photo 17 Step 16 Release the two locking tabs that hold the gear housing end plate in place See Photo 18 Remove the gear housing end plate Need trustworthy detailed Technical Instructions for another engine Visit www futuregraphicsllc com Step 17...

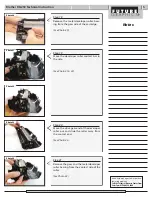
Page 5: ...ical Resource Center from 8am 5pm PST 800 394 9900 Photo 20 Photo 21 Step 18 Remove the metal developer roller bear ing from the gear side of the cartridge See Photo 20 Step 19 Move the developer roller contact bar to the side See Photo 21 22 Step 20 Move the drive gear end of the developer roller out and slide the roller away from the contact end See Photo 23 Brother DR 250 Technical Instruction ...

Page 6: ... of wear and maybe unusable for a second cycle Step 22 Carefully remove the developer roller See Photo 25 Clean the cartridge using dry compressed air or a vacuum Step 24 Clean the doctor blade using a cotton swab and Acetone See Photo 27 Step 25 Place the spring and bearing onto the developer roller Install the developer roller back into the cartridge See Photo 28 Step 26 Install the developer ro...

Page 7: ... and the large white gear onto the end of the cartridge Place the metal gear housing end plate onto the cartridge and install the screw that holds the end plate in place See Photo 31 Step 29 Clean the corona wire using a cotton swab and alcohol See Photo 32 Photo 31 Step 30 Place the drive gear onto the drum and install the drum into the cartridge See Photo 33 Step 31 Slide the drum axle through t...

Page 8: ... D DR RU UM M C CO OU UN NT TE ER R 8 Brother DR 250 Technical Instructions Step 33 Place the toner agitator gear onto the cartridge See Photo 36 Step 32 Install the white transfer roller saddle onto the contact side of the cartridge Place the transfer roller into position atop of the drum See Photo 35 Step 34 Place the top of the section of the cartridge onto the bottom Press down till the top of...

Page 9: ...r rollers is a common problem with these drum units Careful visual inspection of the developer roller is important to pro ducing a quality product As with most new releases an improvement to the engines perform ance was accomplished by increasing the printers speed to 10 pages per minute while maintaining the same 600 x 600dpi print resolution DR 250 Remanufacturing the Brother DR 250 Brother DR 2...

Reviews: