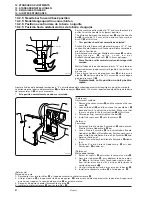
DT3-B291
36
9. CLEANING
9. REINIGUNG
9. NETTOYAGE
9. LIMPIEZA
4
3
4
3
■
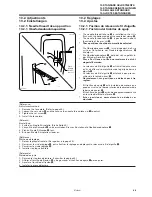
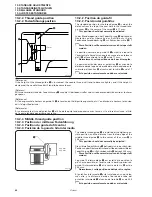
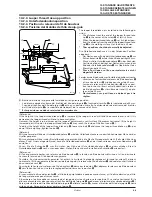
Checking
1. Check that the threads have been threaded correctly.
(Refer to page 22 – 24.)
2. Check that the end of the needles is not broken.
* If the end of the needle is broken, the needle should
be replaced.
3. Carry out a test sewing.
■
Kontrollieren
1. Kontrollieren Sie, ob die Fäden richtig eingefädelt sind.
(Siehe Seite 22 – 24.)
2. Kontrollieren Sie, ob die Nadelspitze nicht stumpf ist.
* Falls die Nadelspitze abgebrochen ist, muß die
Nadel ersetzt werden.
3. Führen Sie eine Nähprobe aus.
■
Vérification
1. Vérifiler que les fils soient bien correctement enfilés. (Se reporter à la page 22 – 24.)
2. Vérifier que la pointe de l’aiguille ne soit pas cassée.
* Si la pointe de l’aiguille est cassée, il faut remplacer l’aiguille.
3. Effectuer un essai de couture.
■
Verificación
1. Verificar que los hilos hayan sido enhebrados correctamente. (Consultar la página 22 – 24.)
2. Verificar que la punta de la aguja no está rota.
* Si la punta de la aguja estuviera rota, la aguja deberá ser reemplazada.
3. Realizar una costura de prueba.
■
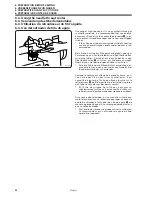
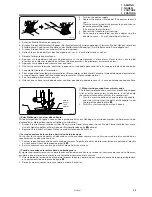
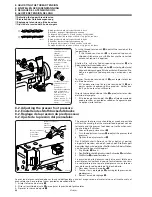
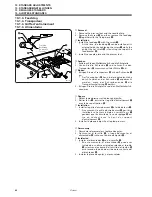
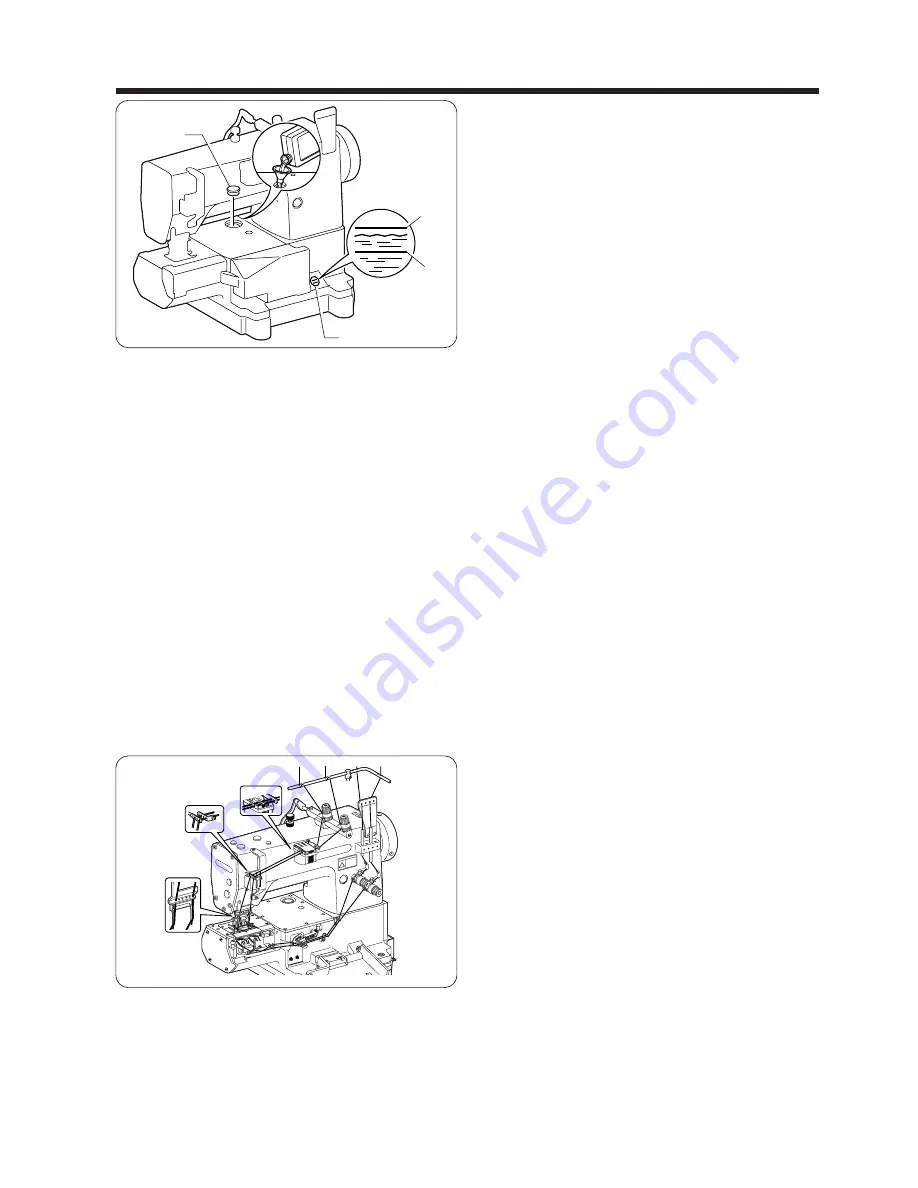
Lubrication
Use only the lubricating oil (Nisseki Sewing Lube 15) speci-
fied by Brother
•
If the oil level drops to the lower reference line (L) in
the oil gauge
q
, remove the rubber cap
w
and add
more lubricating oil until the oil level reaches the up-
per reference line (H) in the oil gauge
q
.
NOTE:Use a cloth to wipe away any dust from around
the rubber cap
w
before removing the rubber
cap
w
. If any dust gets inside the bed, it may
cause problems with sewing machine operation.
•
If the machine has not been used for a long period of
time, add 1 – 2drops of lubricating oil to the needle
bar. (Refer to page 18.)
q
w
(H)
(L)
0388M
■
Schmieren
Verwenden Sie nur das von Brother vorgeschriebene Schmieröl (Nisseki Sewing Lube 15).
•
Falls der Ölstand im Sichtglas
q
auf die untere Bezugslinie (L) abgefallen ist, entfernen Sie den Gummistopfen
w
und füllen Sie Öl bis zur oberen Bezugslinie (H) am Sichtglas
q
ein.
HINWEIS:Wischen Sie vor dem Abnehmen den Staub um den Gummistopfen
w
ab. Falls Staub in das
Maschinenoberteil gelangt, können Betriebsstörungen auftreten.
•
Falls die Nähmaschine für längere Zeit nicht verwendet wurde, müssen Sie die Nadelstange mit 1 bis 2 Tropfen Öl
schmieren. (Siehe Seite 18.)
■
Lubrification
Utiliser seulement I’huile de lubrification (Nisseki Sewing Lube 15) recommandée par Brother.
•
Si le niveau d’huile baisse jusqu’à la ligne de référence inférieure (L) dans la jauge d’huile
q
, retirer le capuchon en
caoutchouc
w
et ajouter de l’huile lubrifiante jusqu’à ce que le niveau d’huile atteigne la ligne de référence supérieure
(H) dans la jauge d’huile
q
.
REMARQUE:Utiliser un chiffon pour éliminer la poussière se trouvant au voisinage du capuchon en caoutchouc
w
avant de retirer le capuchon en caoutchouc
w
. Si de la poussière pénètre dans le plateau, ceci risquera
de causer des anomalies de fonctionnement de la machine à coudre.
•
Si la machine n’a pas utilisée pendant une longue période, ajouter 1 ou 2 gouttes d’huile lubrifiante sur la barre à
aiguille. (Se reporter à la page 18.)
■
Lubricación
Usar sólo aceite lubricante (Nisseki Sewing Lube 15) especificado por Brother.
•
Si el nivel de aceite baja por debajo de la línea de referencia (L) en el medidor de aceite
q
, quitar la tapa de caucho
w
y agregar más aceite lubricante hasta que el nivel de aceite llegue a la línea de referencia superior (H) en el
medidor de aceite
q
.
NOTA:Usar un paño para limpiar el polvo de alrededor de la tapa de caucho
w
antes de quitar la tapa de caucho
w
.
Si entra polvo dentro de la cama, podría causar problemas en el funcionamiento de la máquina de coser.
•
Si la máquina no ha sido usada durante un largo período de tiempo, agregar 1 – 2 gotas de aceite lubricante a la
barra de agujas. (Consultar la página 18.)
0408M


