GT-3 Series
4. Printing Directly from Applications
71
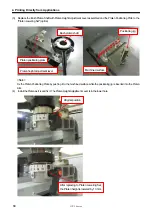
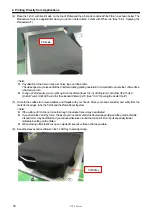
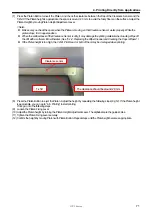
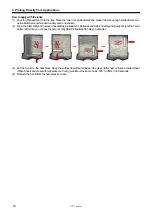
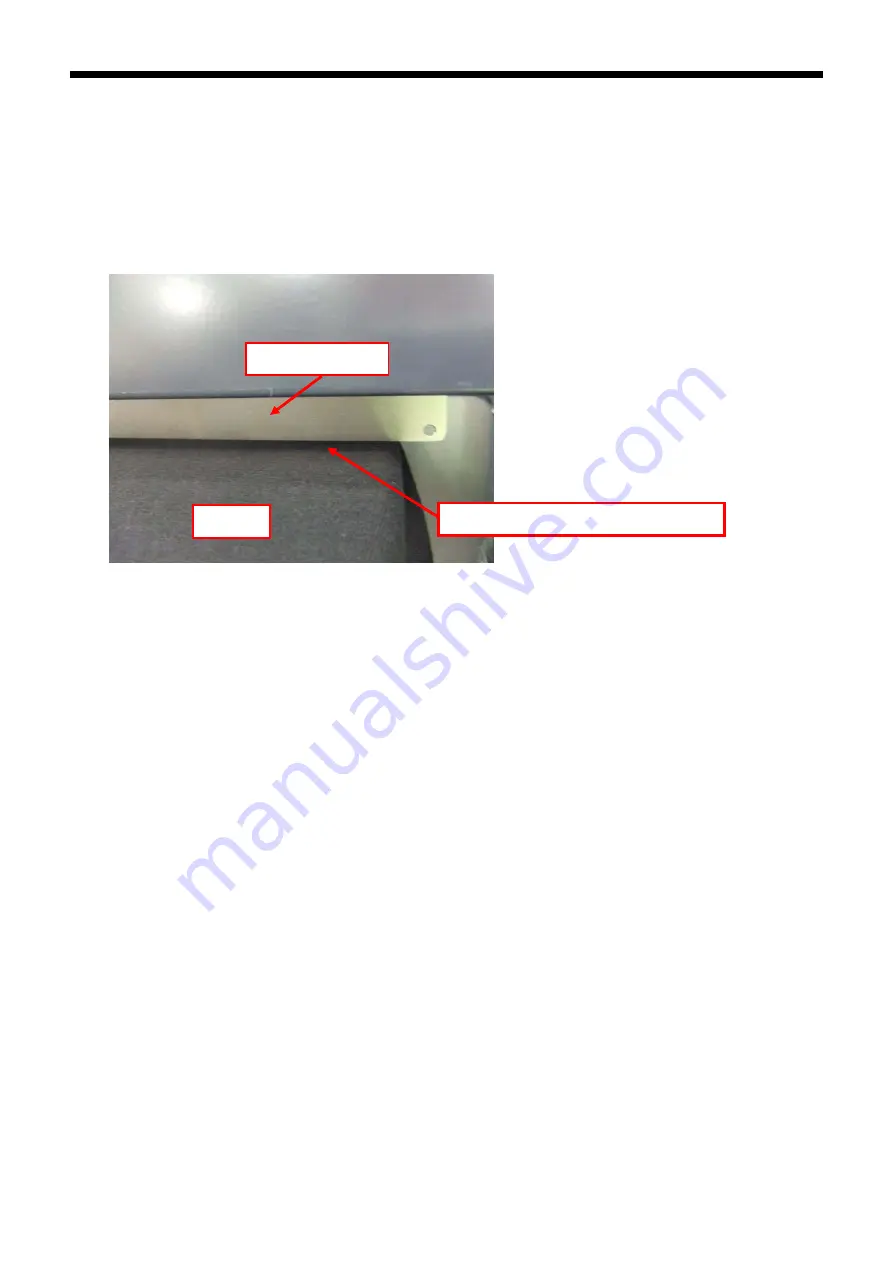
(7) Press the Platen Button to insert the Platen, and check the clearance between the flap of the Clearance Sensor and the
T-shirt. If the Platen height is appropriate, the space is around 2.0 mm, to avoid the fuzzy fibers on the surface. Adjust the
Platen Height by moving Platen Height Adjustment Lever.
<Note>
z
Make sure you check the space when the Platen is moving, so that Clearance Sensor works properly. While the
platen stops, it is in upper position.
z
When the surface/back of the Clearance Sensor is dirty, it may damage the printing material when loading. Wipe off
the dirt with a soft wet cloth with water. (See “6-1-2. Replacing the Wiper Cleaner and Cleaning the Caps / Wipers”.)
z
If the Platen height is too high, the T-shirt, Print Head, or both of them may be damaged when printing.
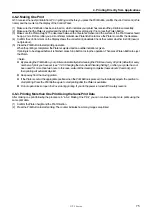
(8) Press the Platen Button to eject the Platen. Adjust the height by repeating the following steps (9)-(12). If the Platen height
is appropriate, you can go to “4-6. Printing” to start printing.
If not, go on to the following steps.
(9) Loosen the Platen Fixing Lever.
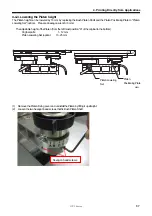
(10) Adjust the Platen height by turning the Platen Height Adjustment Lever. The alphabets are the guide scales.
(11) Tighten the Platen Fixing Lever securely.
(12) Confirm the height by moving Platen with Platen Button. Repeat steps until the Plate height becomes appropriate.
Clearance sensor
The clearance should be around 2.0 mm
T-shirt

