2
Useful Functions
61
— — — — — — — — — — — — — — — — — — — — — — — — — — — — — — — — — — — — — — — — — — — — — — — — — — — —
d
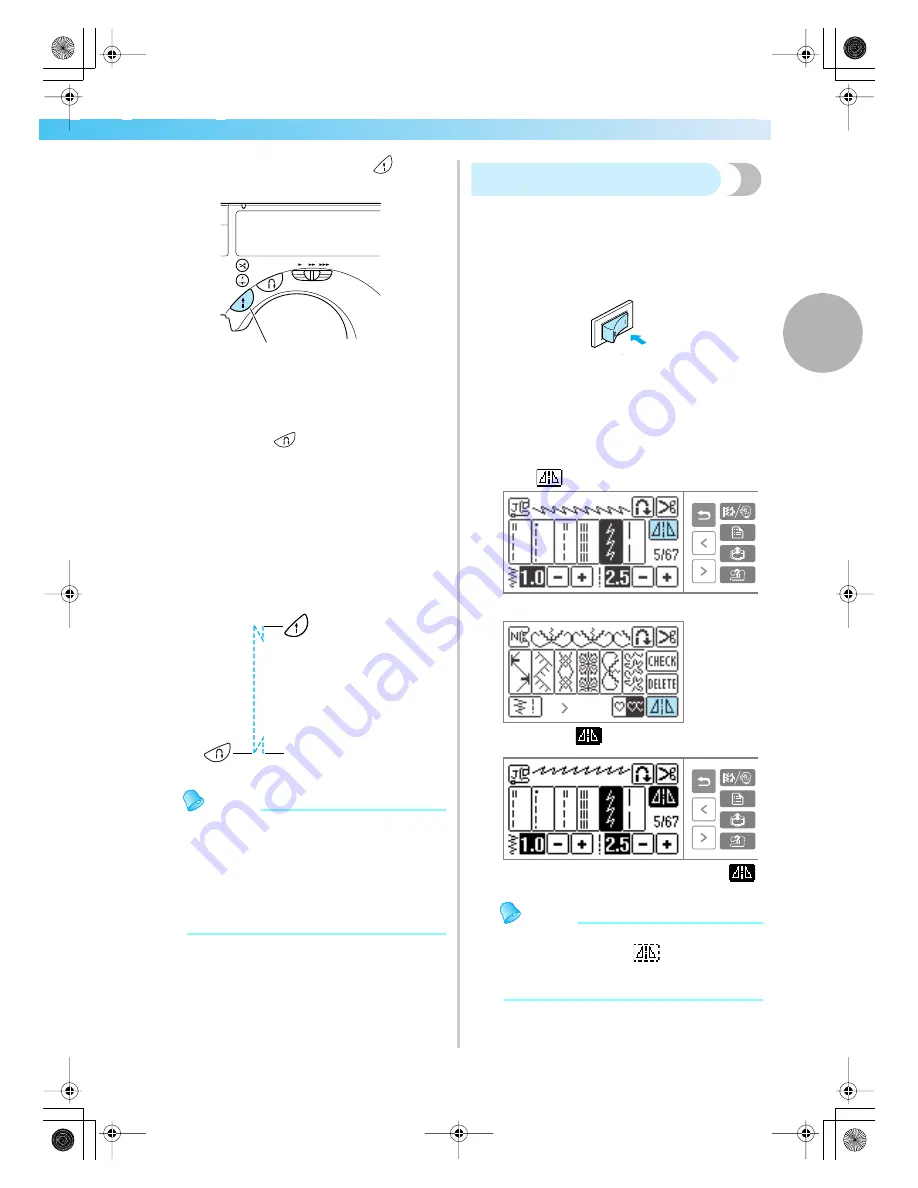
Set the fabric in place, and press
(Start/
stop button) once.
X
Stitching starts after reverse stitching or
reinforcement stitching.
e
Once you have reached the end of the
stitching, press
(Reverse/reinforcement
stitch button) once.
If stitching, such as buttonholes and bar
tacking, that includes reinforcement stitching
has been selected, this operation is
unnecessary.
X
After the reverse stitching or reinforcement
stitching has been done, the sewing machine
stops, and the thread is cut.
Memo
z
Programmed thread-cutting will not be
performed if the start/stop button is pressed
while sewing. Press the reverse/
reinforcement stitch button at the end of the
stitching.
z
If the power is turned off, programmed
thread-cutting will be turned off.
Mirroring stitches
You can sew the mirror image of a stitch horizontally
(left and right).
a
Turn on the sewing machine.
X
The LCD comes on.
b
Select a stitch.
• For details on selecting a stitch, refer to
"Selecting stitching" (page 47).
c
Press
on the LCD.
■
For groups other than utility stitches
X
It turns to
, and the pattern is mirrored.
• To turn the mirrored stitching off, press
.
Memo
z
Mirroring is not possible for buttonholes and
other stitches where
shows.
z
When the sewing machine is turned off, the
mirroring setting is cancelled.
1
The thread is cut here.
SE-BrotherE_sgml.book Page 61 Monday, June 30, 2003 3:44 PM


