9. ELECTRIC MECHANISM
HE-800B
128
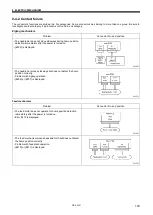
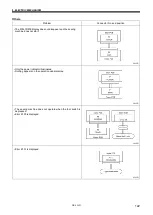
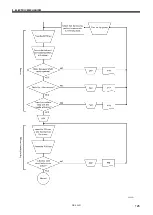
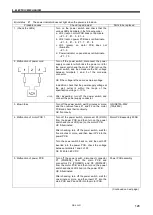
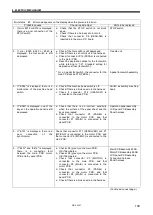
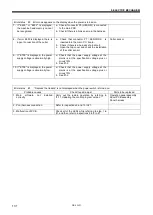
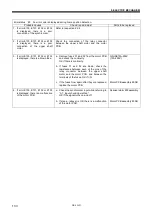
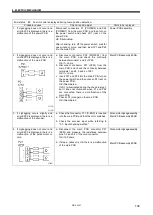
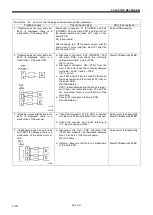
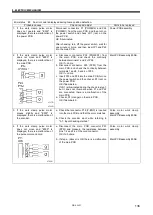
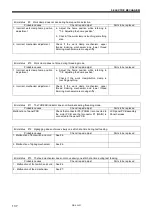
Error status #1 The power indicator does not light when the power is turned on.
Probable causes
Check/ repair/ adjust
Parts to be replaced
1.
(Check the LEDs)
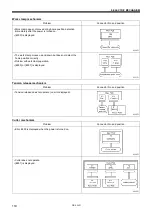
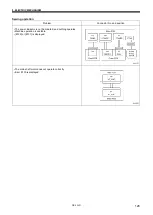
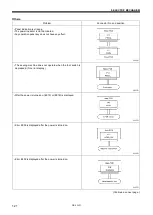
Turn on the power switch and check that the
various LEDs illuminate in the following order.
a.
LD2 (red) on motor PCB does not illuminate.
→
#1
-
2
、
#1
-
3
、
#1
-
4
b.
LD2 (red) on power PCB
does not illuminate.
→
#1
-
5
、
#1
-
6
、
#1
-
7
、
#1
-
8
c.
LD3 (green) on motor PCB does not
illuminate.
→
#1
-
9
d. Power indicator on panel does not illuminate.
→
#1
-
10
2.
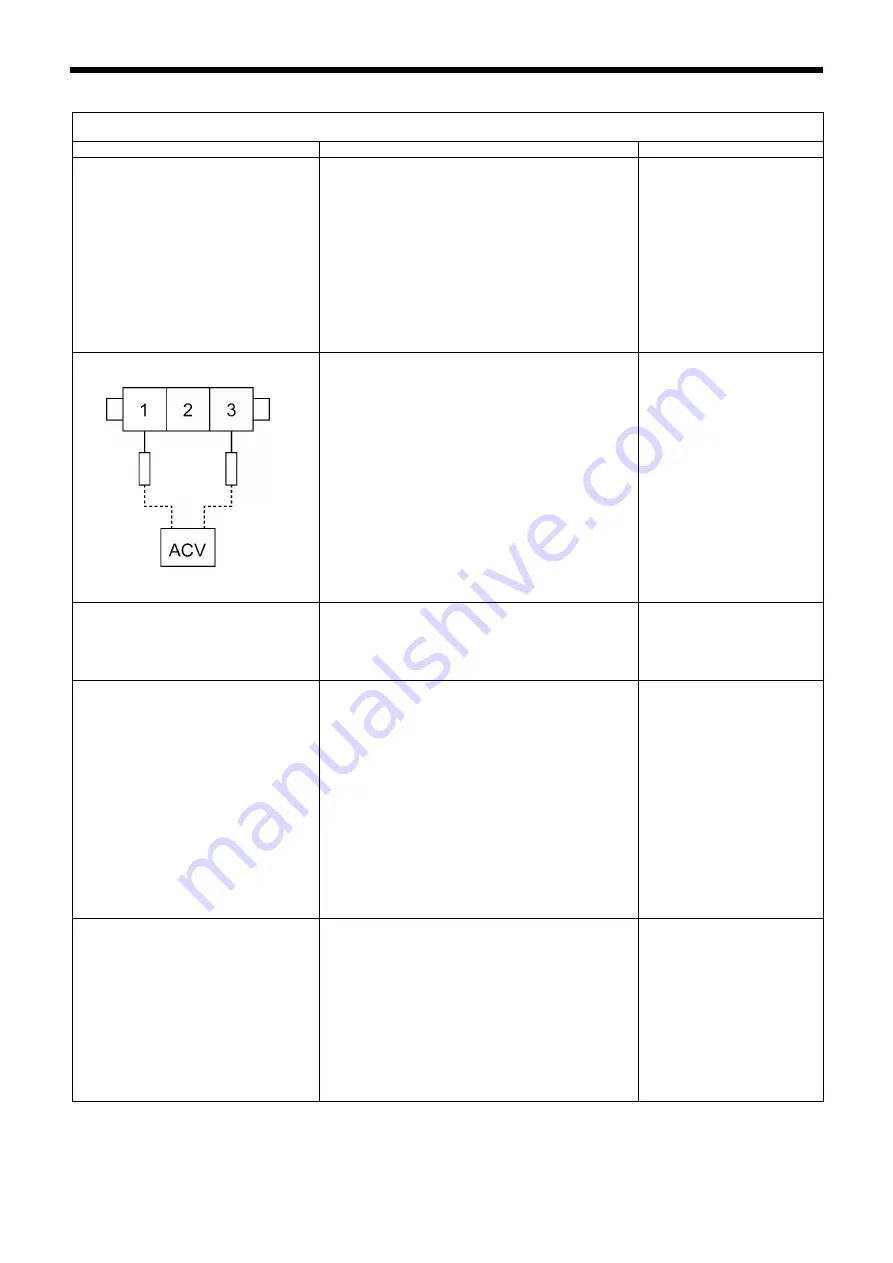
Malfunction of power cord
Turn off the power switch, disconnect the power
supply connector which links the power cord for
the power switch and the motor PCB, turn on the
power switch, and then measure the AC voltage
between terminals 1 and 3 of the cord-side
connector.
OK if the voltage is the same as mains voltage.
In addition, check that the power supply voltage at
the wall outlet is within the range of the
specification v/- 10%.
After inspecting, turn off the power switch and
connect the power supply connector.
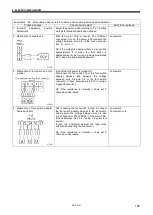
3. Blown fuse
Turn off the power switch, wait 5 minutes or more,
and then remove fuses F1 and F2 on the motor
PCB and check their continuity.
OK if continuity
GFUSE10A-250V
(10A-250V)
4.
Malfunction of motor PCB 1
Turn off the power switch, disconnect P2 (DCIN)
from the power PCB, and then turn on the power
switch and
check LD2 (red) on the motor PCB.
OK if illuminated.
After checking, turn off the power switch, wait for
five minutes or more, and then insert P2 into the
power PCB.
Turn the power switch back on, and then with P2
inserted into the power PCB, check the voltage
between terminals 1 and 3 of P2.
OK if 240 to 380 V DC.
Motor PCB assembly 800B
5.
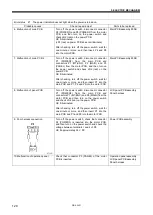
Malfunction of power PCB
Turn off the power switch, disconnect connector
P1 (POWER2) from the main PCB and
connectors P4 (POWER3) and P6 (POWER2)
from the motor PCB, and then turn on the power
switch and check LD2 (red) on the power PCB.
OK if illuminated.
After checking, turn off the power switch, wait for
one minute or more, and then insert P1 into the
main PCB and P4 and P6 into the motor PCB.
Power PCB assembly
(Continued on next page.)
2712B
Summary of Contents for HE-800B
Page 7: ...v HE 800B Oil tank accessory 4732M 4731M 4730M ...
Page 75: ...6 ASSEMBLY HE 800B 66 D E 0688D 0690D ...
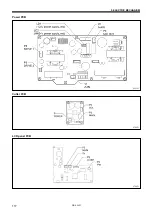
Page 126: ...9 ELECTRIC MECHANISM HE 800B 117 Power PCB Cutter PCB LCD panel PCB 0831D 0768D 0769D ...
Page 133: ...9 ELECTRIC MECHANISM HE 800B 124 0851D ...
Page 134: ...9 ELECTRIC MECHANISM HE 800B 125 0852D ...
Page 135: ...9 ELECTRIC MECHANISM HE 800B 126 0853D ...
Page 177: ...MEMO 168 HE 800B ...
Page 178: ...SERVICE MANUAL 2014 Brother Industries Ltd All Rights Reserved HE 800B I3061003D 2014 03 D 1 ...

